Importing the select AC v3.x activities
After you've created the export.zip file, you can import the activities using import.xml file. A successful import completes the migration process, and you'll be able to access all the exported activities in your new environment.
 | If you ever make any changes to the resources in the migration values.yaml file, you need to change the JVM parameters accordingly through the environment variable JAVA_OPTS– It can be up to 70% of the allocated resources. |
|---|
Steps to import the activities
-
Copy the exported zip (from source) into the target environment shared location.****
-
Optional: Configure the retain.xml by following the steps given below:
-
In the target environment, locate the retain.xml file by navigating to: shared/migration/template
-
Copy the retain.xml and paste it into a custom folder, for example:
shared/migration/custom
-
Open the retain.xml you copied into the custom folder****and configure it to ensure that activities already present (if any) in the target environment are retained during the import process. You can retain activities at both the service level and the field level. For more details on the supported structure and retention rules, refer to Structure of Retain XML.
-
-
Locate the import.xml by navigating to:
shared/migration/template
-
Copy the import.xml and paste it into a custom folder, for example:
shared/migration/custom
-
Open the import.xml file you copied into the custom folder and:
-
Update the values for the following tags:
Tag Description <SourceZipLoc> Enter the path of the exported zip you copied into target environment as shown in the screenshot below: 
<RetainXMlLocation> Enter the path of the retain.xml file you configured to retain the required activities as shown in the screenshot below: 
<OverrideUser> Enter the User ID of an IT user who should own the deployed activities.. -
Add <CreateRecovery>false</CreateRecovery> tag to disable the creation of rollback zip.

Alternatively, you can set the environment variable RECOVERY_ENABLED to false in the values.yaml file.
-
-
Save the changes you made to the file.
-
Select the appropriate version of the migration helm chart.
-
Click INSTALL.

-
On the migration pop-up, click this link to download the package.
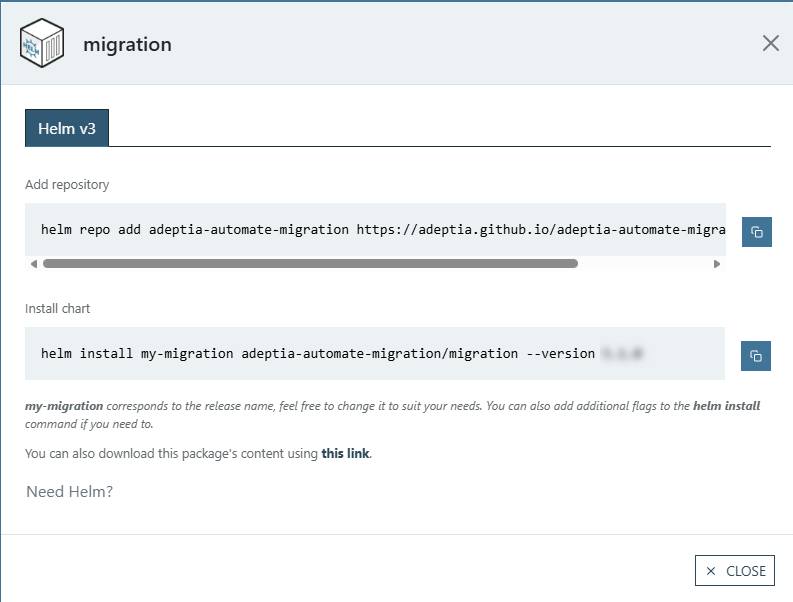
-
Extract the downloaded package.
-
Locate the values (Type: Yaml Source File) file in the extracted package and open it.
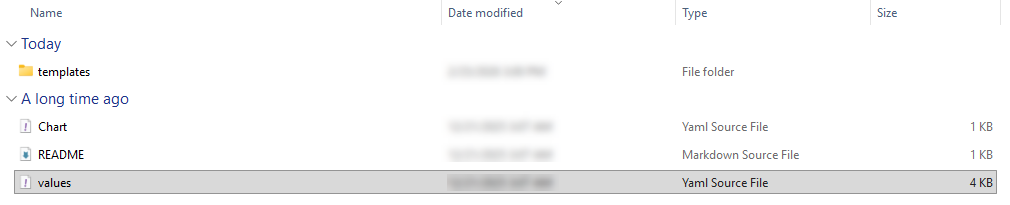
-
Provide values for the following properties and environment variables in the migration values.yaml file you opened.
Variable/Property Value BACKEND_DB_URL
• Value for Azure SQL DB:
jdbc:sqlserver://<DB Hostname>:<Port Number>;database=<Backend Database Name>;sendStringParametersAsUnicode=false;
• Value for Oracle DB:
jdbc:oracle:thin:@<hostName>:<portNumber>:<S ID/ServiceName>
• Value for Azure MySQL DB:
jdbc:mysql://<hostName>:<portNumber>/<Backend DB Name>?sslMode=VERIFY_IDENTITY&fallbackToSystemKeyStore=falseBACKEND_DB_USERNAME <Username of your backend database server> BACKEND_DB_PASSWORD <Password for your backend database server> BACKEND_DB_DRIVER_CLASS <Backend database driver class name> BACKEND_DB_TYPE
• Value for Azure SQL DB: SQL-Server
• Value for Oracle DB: Oracle
• Value for Azure MySQL DB: MySQLSHARED_PATH <Environment variable in the values.yaml file that contains the configured shared path> The default value for this variable is /shared. This is the folder created at the root level in the PVC when you deploy Adeptia Automate. MIGRATION_XML_FILE_PATH <Path of the import.xml in PVC> For example, shared/migration/custom/import.xml. RECOVERY_ENABLED true (default). -
Save the values.yaml file.
-
On the command line interface, navigate to the directory where you extracted the Migration Helm package.
-
Add migration repo by running following command:
Code
helm repo add adeptia-automate-migration https://adeptia.github.io/adeptia-automate-migration-package/charts/
Where, adeptia-automate-migration is the repo name. 17. Run the following command to import the activities.
Code
helm install my-migration adeptia-automate-migration/migration -f <Path of the values.yaml> --version 5.2.0 -n <Namespace where the application is deployed>
Where, my-migration is the name of the release. adeptia-automate-migration is the repo name.
| The Migration job does not get deleted automatically after the migration is complete. You need to manually delete it before you start a new migration process. |
|---|