Exporting the activities - Windows
This section assists you in exporting Adeptia Connect activities on a Windows operating system where the application is installed.
Steps to export the activities
To export activities from your AC v3.5 Windows environment, you must run the Migration Utility. Running this utility generates an export ZIP file that can be used to restore the exported activities in the target environment.
Follow the steps below to export the activities into an export ZIP file.
 | If you're on a lower version of the application, you first need to upgrade to AC v3.5 and thereafter apply its latest patch to come to its most recent version. |
|---|
-
Go to the location where Adeptia Connect is installed, for example, C:\Program Files\AdeptiaConnect\AdeptiaConnect-<version>.
-
Open the bin folder.
-
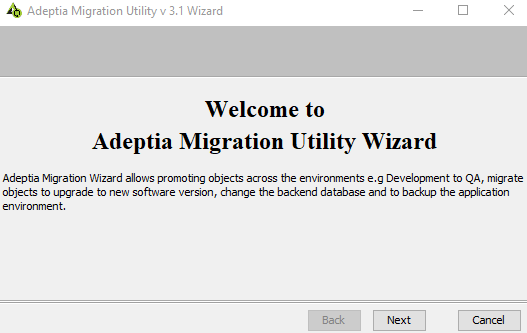
Double-click MigrationUtility.exeto run the Migration Utility Wizard.
-
Click Next.
-
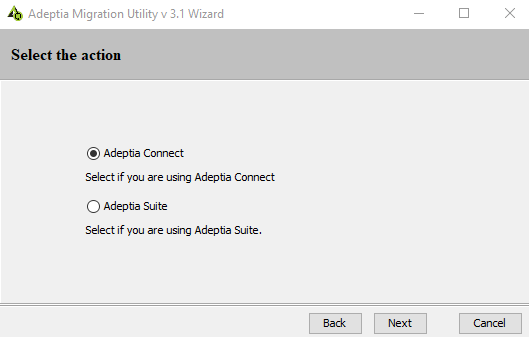
Select Adeptia Connect, and then click Next.
-
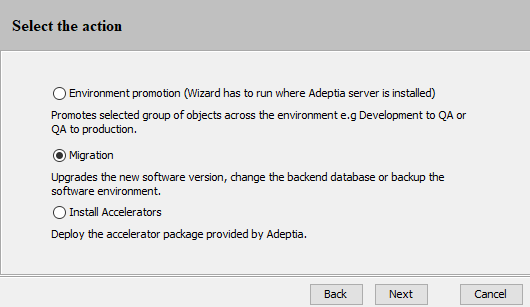
Select Migration, and then click Next.
-
Select Export/Backup without Logs and click Next .

Selecting Export/Backup Without Logs allows you to export all source database activities and configuration files without logs. 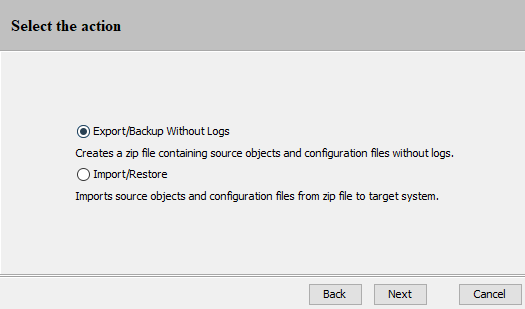
-
Select an option based on your requirement, and then click Next.

If you select Export/Backup With Quartz Tables option, all the activities and services including Transactions/Templates with their current status will be exported. 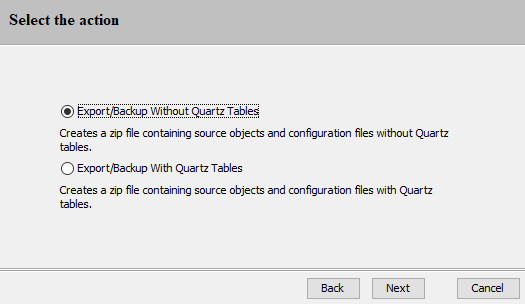
-
Browse to and select the directory where Connect Server is installed, for example, C:\Program Files\AdeptiaConnect\AdeptiaConnect-<version>\ConnectServer, and then click Next.

-
Browse to and select the target location where you want to save the exported zip file, and then click Next.
Ensure that you have the same file name with .zip extension at target location. 
-
Select No to exclude the optional files.
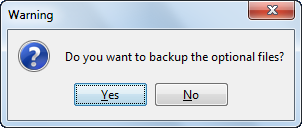
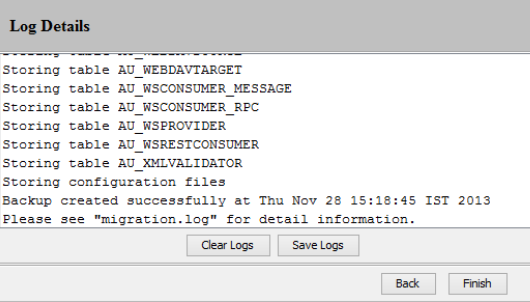
KernelApplication.log and WebrunnerApplication.log are the optional files. The utility starts exporting the activities. If it is successful, a message stating "Backup created successfully" is displayed on the Log Details window, and the zip file is created. In case of failure, it displays an error message and rolls back the entire operation.
-
Click Save Logs, and then select the location where you want to save the logs.
-
Click Finish to exit the Migration Utility.
Once you have created the zip file containing the exported activities, you can use it to restorethe activities to the new environment.