Using an Inbound Accelerator for File Template
After defining the Standard Layout for data management, users can advance the workflow by utilizing a pre-defined accelerator to facilitate a Transaction for ingestion of files. The accelerator streamlines the mapping of source data to the predefined target structure, enhancing efficiency and ensuring consistency throughout the data handling process.
To create an Inbound Accelerator Transaction:
-
Click Transactions > T****emplates.
-
On the Templates screen, navigate to the Inbound Accelerator for File Template and click
 .
. -
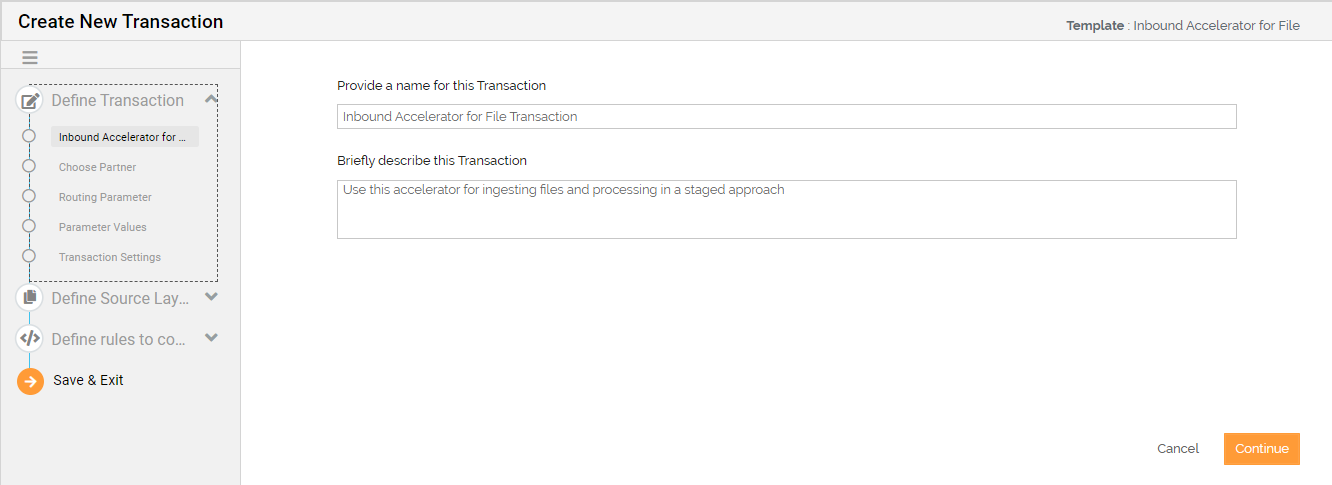
Provide the name and description of the Transaction. The name and description of the Transaction are generated automatically based on the selected Template. You can edit the Transaction name and description that can be up to 48 and 300 characters long.
-
Click Continue.
-
In the Select Partner field, select a partner for whom you are creating the transaction.
-
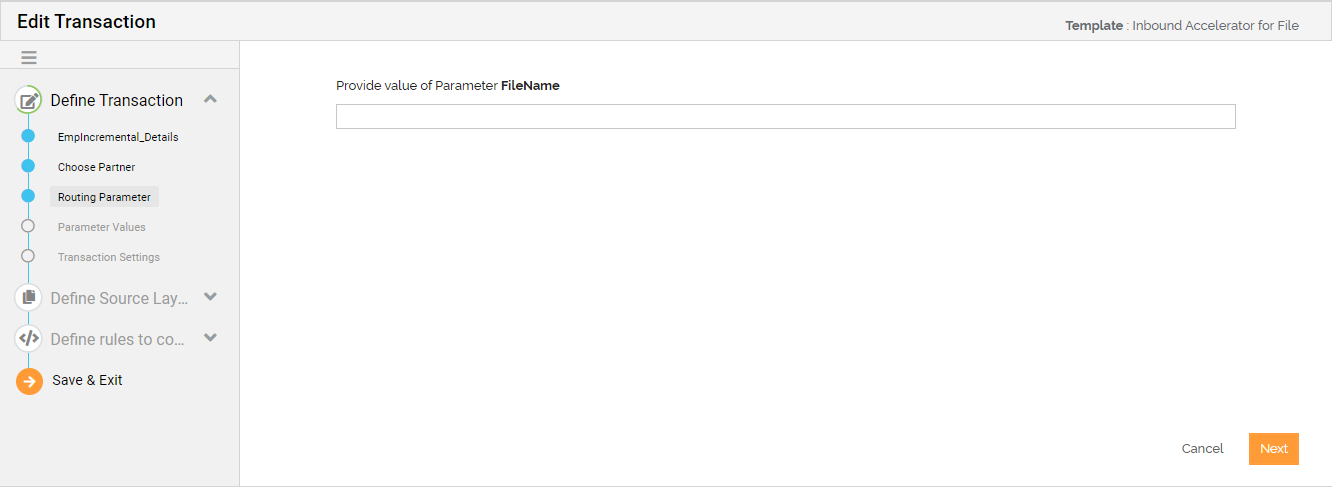
Click Next to define Routing Parameter value.
-
Provide the file routing name.
-
On the Parameter Values screen, enter the following details:
Partner Information Field Name Description Customer Id Enter a unique identifier representing a customer Customer Name Name of the Partner or Customer whose data need to be processed. This will be displayed on the dashboard. Data Provider Name of the Partner or Customer System which is responsible for generating the data file that will be processed by the System Data Processing Configuration Field Name Description Process data in FIFO manner On enabling this field, the transaction will process the data in FIFO (First-In, First-Out) manner. In case of any failure, the transaction will go in a hold state until an action taken from the dashboard. Processing Mode This field determines the handling of the data within the system. The available options are: Test and Prod.
"Test" indicates the data will not be delivered to the final destination. "Prod" indicates the data will be delivered to the final destination. Use "Test" mode initially to minimise the impact on the final destinationError Threshold for Data Validation This field indicates in percentage the acceptable value for errors reported from Data Validation. Transaction will be marked as Failed if the errors are greater than the specified value. Email Notifications - Within the Company Field Name Description Notify on Passed On enabling this field, an email notification is sent to internal company users if the Transaction's final status is "Passed". Email Addresses Comma-separated email addresses for the internal company users Notify on Passed with Errors On enabling this field, an email notification is sent for internal company users if the Transaction's final status is "PassedWithErrors" Email Addresses Comma-separated email addresses for the internal company users Notify on Failure On enabling this field, an email notification is sent for internal company users if the Transaction's final status is "Failed" Email Addresses Comma-separated email addresses for the internal company users Email Notifications - Outside the Company Field Name Description Notify on Passed On enabling this field, an email notification is sent for external company users if the Transaction's final status is "Passed". Email Addresses Comma-separated email addresses for the external company users Notify on Passed with Errors On enabling this field, an email notification is sent for external company users if the Transaction's final status is "PassedWithErrors". Email Addresses Comma-separated email addresses for the external company users Notify on Failure On enabling this field, an email notification is sent for external company users if the Transaction's final status is "Failed" Email Addresses Comma-separated email addresses for the external company users -
Enter the following details to configure the Transaction Settings.

Field Name Description Contact User
Email id(s) listed here will receive a notification email whenever the Transaction is executed successfully or if there is an error during execution. Multiple email ids are separated by comma.
If Adeptia Connect is running on multiple environments and you want to receive environment name in the emails, then you need to specify the environment name in the relevant property (Account > Settings > Expand Application Settings > Common > Expand Personalization).
When to notify the contact user thru email? Always: Send an email whenever a Transaction executes.
On Error: Send an email if an error occurred during the execution of the Transaction.
Do Not Notify: Select this option if you do not want to receive an email notification for Transaction execution.
Email Notification Format This field is visible only when you have selected Always or On Error option to send the notification to the user.
Select the email notification format that you want to use for notification emails sent to the user for successful and failed transaction.Default: If you select Default, the system will use the default email notification format.
Customized Notification Format: If you select this option, a Custom Error Notification Format field appears. In this field, you can select an existing custom email notification format or create a new one, and use it for email notifications.
-
Select the source data format and source data layout for the Source application. Source data format is the format in which the data of the source file exist, for example, text, excel. Source data layout is the layout of the source file. You can either use an existing layout or create a new one. Click
 to create a new layout.
-
Click Next to define the mapping.
-
Select the mapping from the dropdown to map the source element with the Target element as defined in the Standard Layout. Or click
to create a new mapping. 
-
Click **Save & Exit.
**A confirmation screen displays for turning on the transaction.