Web Forms
Web Forms let you embed custom web pages and transaction templates directly into the platform, giving partners and internal users a familiar, form-based interface for submitting data that feeds into your integrations.
What web forms do
A web form acts as a bridge between a user-facing page and the integration workflows running on the platform. When a user fills out and submits a form, the data is passed into the platform and can trigger or populate a transaction. This makes it straightforward to collect structured input, such as order details or partner submissions, without requiring the submitter to interact with the integration layer directly.
Web forms are surfaced to users through the portal navigation, so the right people see the right forms in the right context.
Types of web forms
When you create a web form, you choose one of two types:
| Type | What it does |
|---|---|
| Web Page | Embeds an existing web page into the portal as a navigable form experience. |
| Transaction Template | Connects a custom page to a transaction template, allowing form submissions to drive transaction processing. |
What you configure
Creating a web form involves two groups of settings: standard properties and advanced properties.
Standard properties
| Field | Required | Notes |
|---|---|---|
| Web form name | Yes | Up to 48 characters. Must be unique; the platform alerts you if the name is already in use. |
| Description | Yes | Up to 300 characters. |
| Type | Yes | Choose Web Page or Transaction Template. |
| URL | Yes | The relative path of the page to embed. Must not begin with a slash or use an absolute address starting with http:// or https://. |
For Web Page type forms, additional settings become available:
Scope (visible when partner self-service is enabled): choose whether the form is accessible to your company only or to partners.
When the form is scoped to partners, you also select one or more networks that should have access.
Navigation path: controls where in the portal the form appears. The available options are:
| Navigation path | Where the form appears |
|---|---|
| Partners Tab | In the Partners section of the portal |
| Transactions Tab | In the Transactions section |
| Dashboard Tab | On the Dashboard |
| My Solution Tab | In the My Solution section |
| Publish as Link | Published as a link |
| Action | Associated with one or more specific actions |
When Action is selected as the navigation path, you also choose which actions the form is associated with using the Select Action field.
Advanced properties
The advanced section lets you assign the web form to a Project, which controls how the form is organized and who can access it based on your project structure.
Creating a web form
Where: My Solution Tab (sidebar)
- Navigate to the My Solution Tab in the sidebar.
- Select the option to create a new web form.
- In the Standard Properties section, enter a unique name in the Web Form Name field (required, up to 48 characters).
- Enter a description in the Description field (required, up to 300 characters).
- Select a type from the Type dropdown: Web Page or Transaction Template (required).
- Enter the relative path of your page in the URL field (required). Do not begin the path with a slash or an absolute address.
- If you selected Web Page: a. If partner self-service is enabled, choose the scope under Define Navigation: For Company or For Partner. b. If For Partner is selected, choose one or more networks using Select Network. c. Select a Navigation Path (required). d. If Action is selected as the navigation path, choose one or more actions using Select Action (required). e. If the navigation path is not Publish as Link, enter a Link Name (required, up to 48 characters).
- Optionally, expand Advanced Properties and assign the form to a project.
- Save the web form. If the name is already in use, the platform highlights the name field and you must provide a unique name before saving.
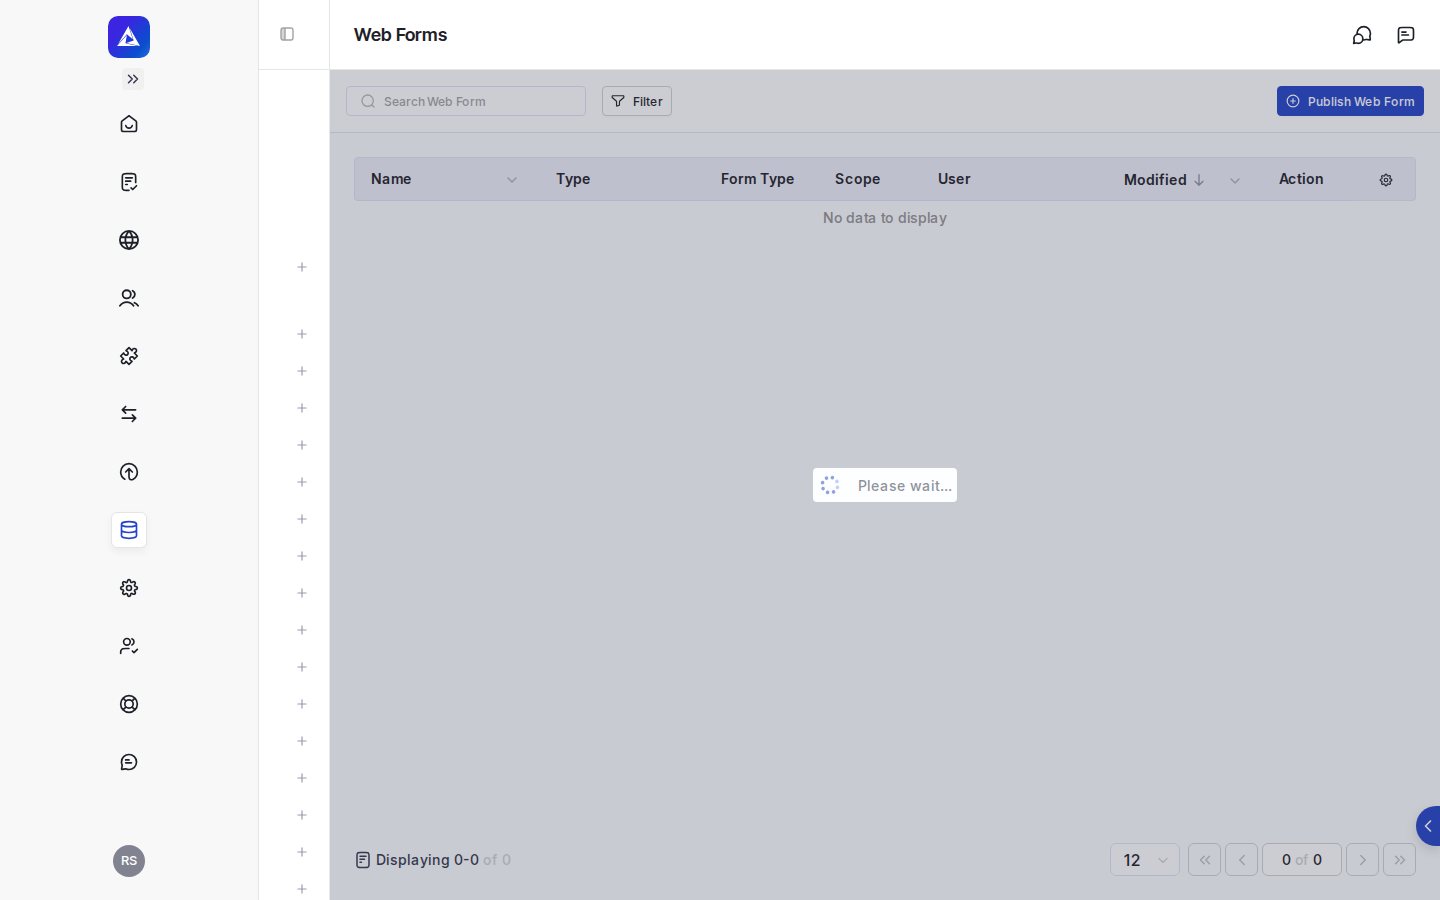
Viewing web form details
After a web form is saved, you can review its details, including its current status (on or off), the type, the full URL it is published at, the scope and networks it is available to, the navigation path, any associated actions, the link name, and the project it belongs to. Creation and modification timestamps and the name of the user who created the form are also shown.
How web forms fit into integrations
Once published, a web form is accessible to users at the navigation location you configured. When a user submits the form, the platform processes the submission and can pass the data into a transaction or trigger further integration activity.