Create a rule
Adeptia's AI Business Rules enables you to create rules—logical conditions that determine how data should be processed—with ease and precision by uploading a JSON file and consequently defining rules in plain English.
To create a rule:
-
In the Adeptia Connect application, navigate to the Dashboard, and select AI Business Rules on the left panel.**
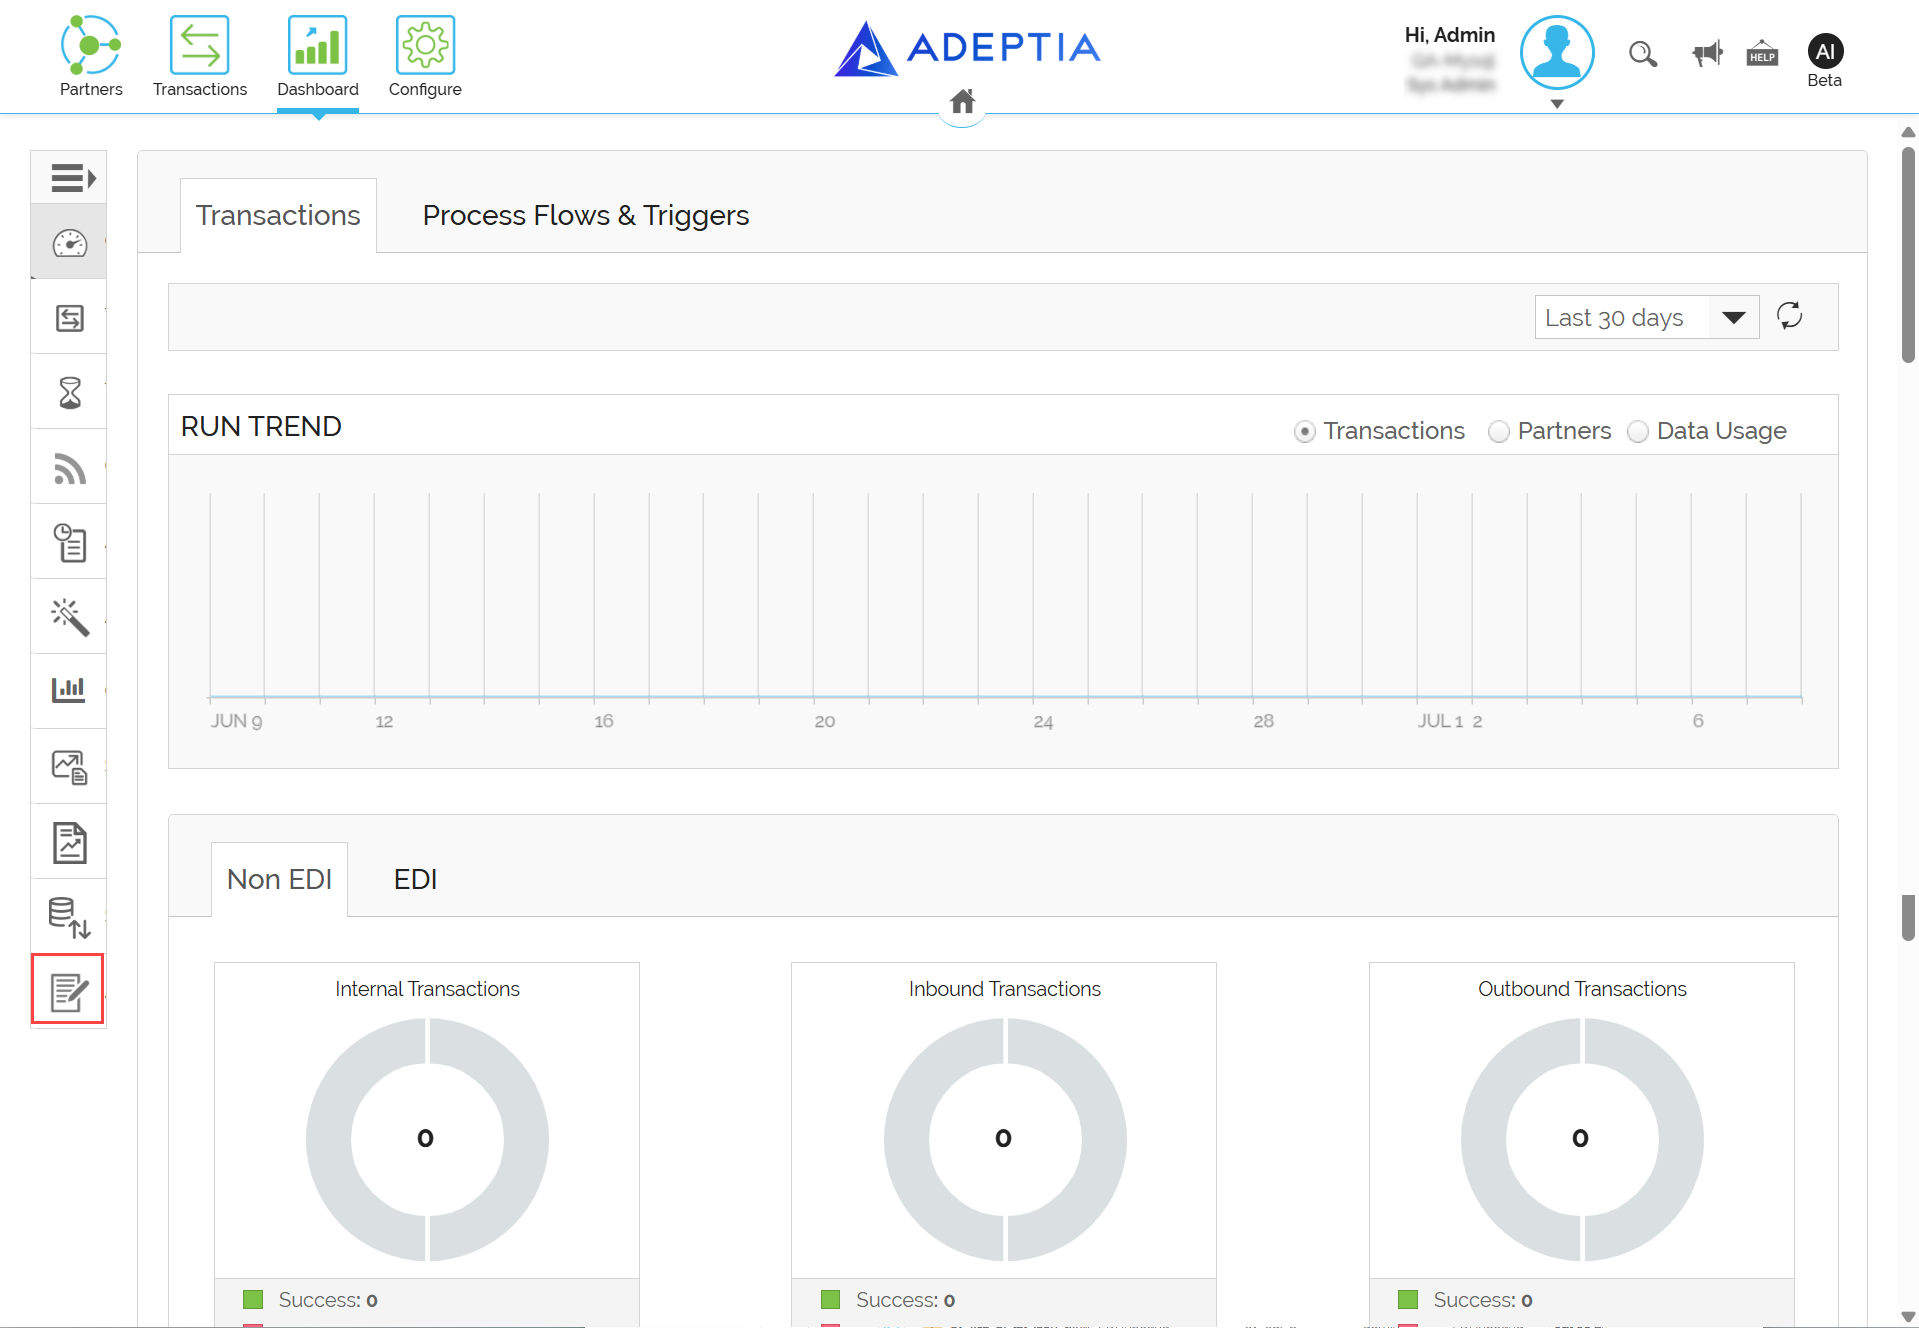
** -
On the AI Business Rules screen, click Let's Get Started.
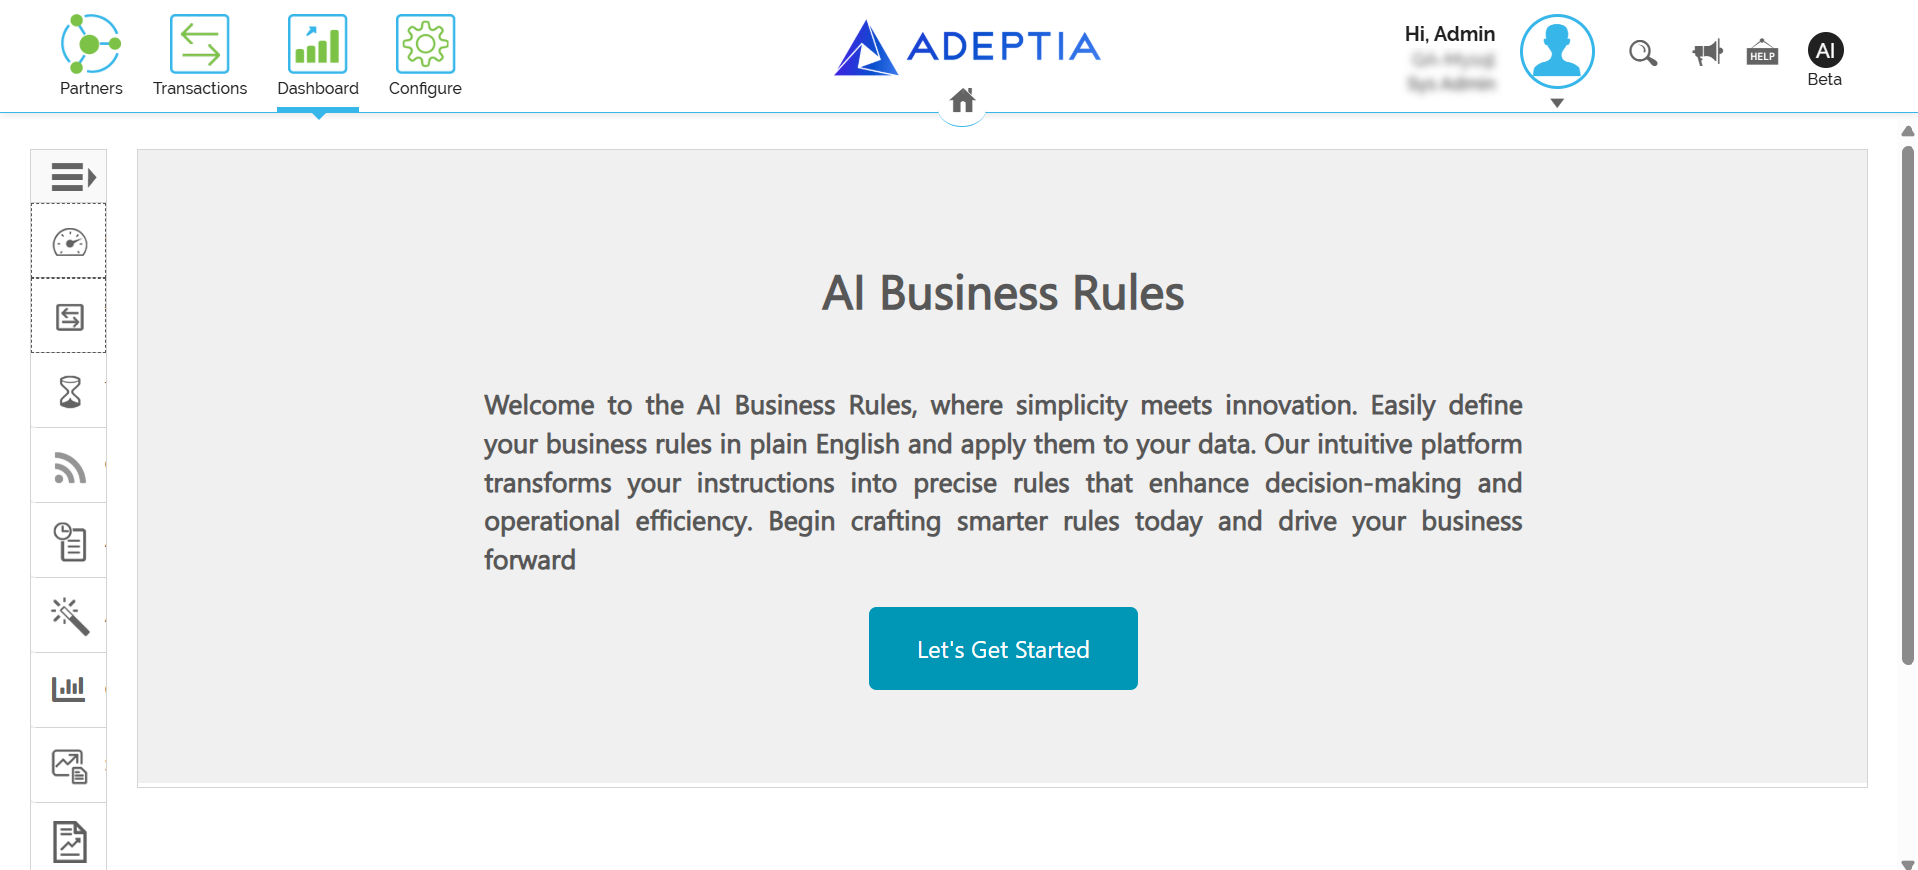
You will be redirected to the AI Business Rules Dashboard. -
On the left pane, click Rules.
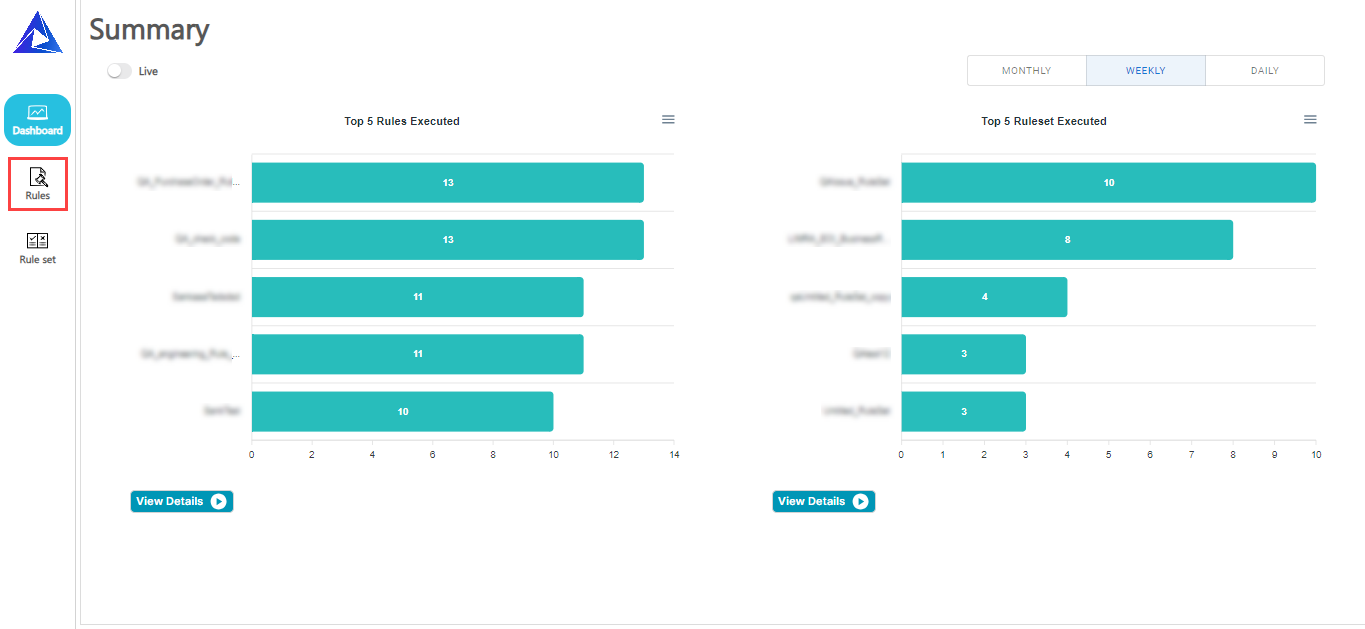
-
On the Rules screen, click CREATE RULES.
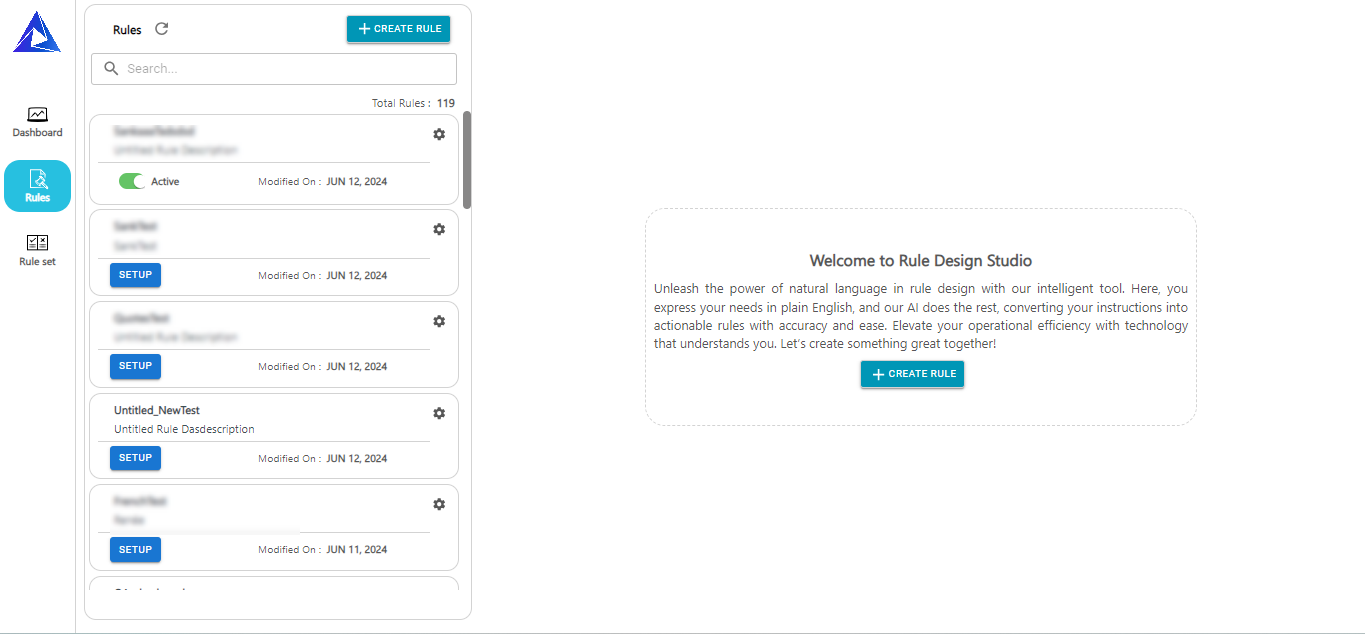
-
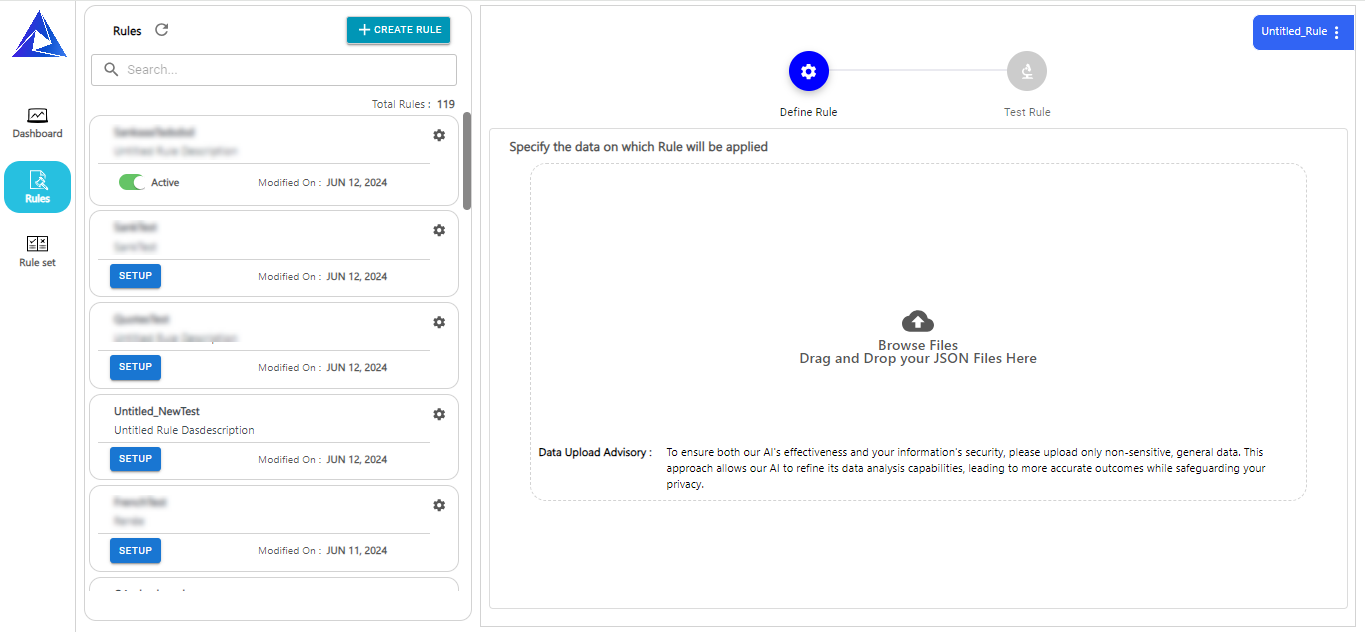
On the Define Rule screen, click Browse Files to upload your JSON file on which the rule will be defined.
-
Click the Define Rule field.

-
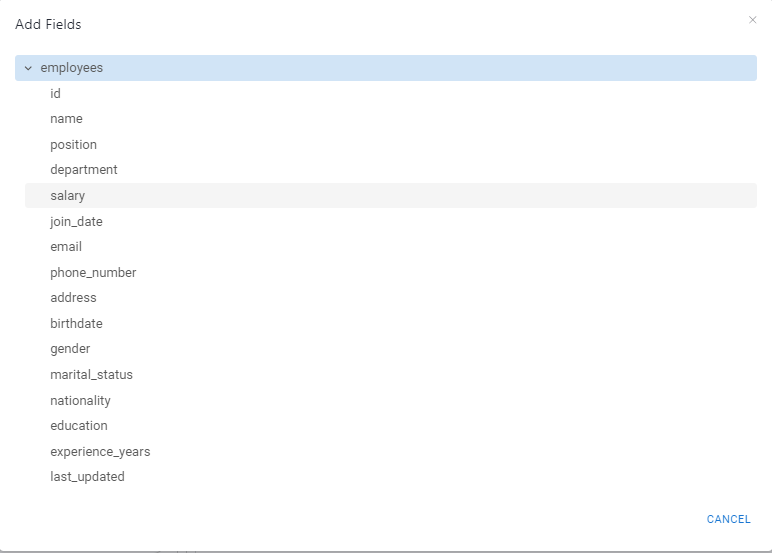
Click ADD FIELD to select a field to which the rule will be applied.
For example, you have a JSON file containing the employee details, including fields such as employeeId, firstName, salary etc. If you want to create a rule to verify whether the salary for any employee exceeds INR 80,000, you may select the salary field from the uploaded JSON record to define the rule as shown in the example screenshot.

- You can view or replace the uploaded JSON file from the Define Rule screen. In the Specify the data on which Rule will be applied section, click
 or
or  to view the existing file or upload a new JSON file respectively.
- You can view or replace the uploaded JSON file from the Define Rule screen. In the Specify the data on which Rule will be applied section, click
-
Define the rule. For example, the rule to check whether the salary of any employee exceeds INR 80,000 may be defined as shown in the screenshot below. This rule will enable automated validation of employee salaries against the specified threshold.

Ensure that the rule definition starts with a check if statement. For examples of rule definitions, refer to this section.
-
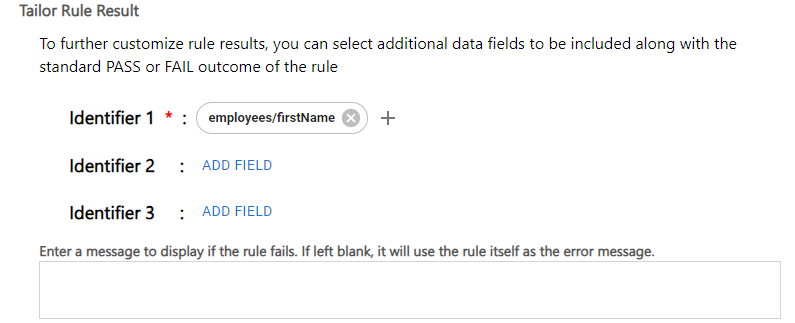
In the Tailor Rule Result section, click ADD FIELD next to the Identifier fields to select the data fields that will serve as record identifiers in the result.

- As you select a field to define a Rule (in step 8), it is added as an identifier.
- Click
 to add an identifier. You can define a maximum of ten identifiers.
-
Enter a custom error message in the respective text area to be displayed if the rule fails.
- If the field is left blank, the rule definition will be used as the error message.
- To add a field to the failure message, click
 next to the field set as an Identifier.
-
Click NEXT.
-
In the Rule Details screen, enter a name and description for the Rule.

-
Click SAVE.
-
On the Test Rule screen, click Use Data from Rule Definition to test the Rules with the JSON file used to define the Rules.

To test the Rules with a new JSON file, select Browse Files. The result is generated on the Rule Results section.
Once the result is generated you can perform any of the following actions:OPTION DESCRIPTION BEAUTIFY Select this option to format your JSON data into an organized structure for better readability.
REPLACE FILE Select this option to re-test the defined Rules with a new JSON file. CLEAR Select this option to clear the test results and re-test using either the existing file or a new JSON file. TEST AGAIN Select this option to re-test the Rules after making changes to the JSON file using the editor provided in the Test Rule screen. -
Click SATISFIED SAVE RULE.
This saves and activates the Rule.- In case you are not satisfied with the test result and want to add additional instructions to enhance the rule result, click NOT SATISFIED RETRY WITH MORE INSTRUCTIONS.
Enter instructions in the Provide Additional Instructions to AI window that pops up to improve the outcome of the Rule result.
- Click VIEW GENERATED CODE to view the generated Python code along with a simplified explanation of the logic.

- You can deactivate a Rule from the Rule panel using the ACTIVE toggle button.
- To copy, delete, or view Rule details, click
 next to the Rule. Click here for more information.