Exporting objects using Adeptia Connect APIs in Jenkins
Adeptia offers an export pipeline file, integrating Adeptia Connect APIs for exporting, which you can utilize to generate the export pipeline. This section elaborates on the steps to create an export pipeline and subsequently activate it to export objects from an environment.
The export pipeline relies on the Export package's ID, which you must have created beforehand as a prerequisite for the export process. For further information regarding the necessary prerequisites for exporting objects, refer to this page.
Creating and triggering the Export pipeline
To begin exporting the objects, the initial step involves creating an export pipeline containing all necessary parameters for the export process. Once the pipeline is established, it needs to be triggered to execute the export operation.
To set up the pipeline in Jenkins utilizing the export pipeline supplied by Adeptia, adhere to the following steps.
-
Log in to the Jenkins with admin privileges.
-
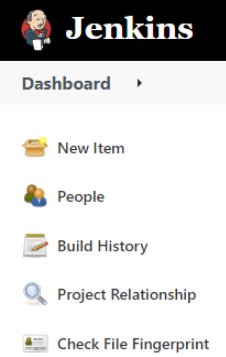
Select New Item.
-
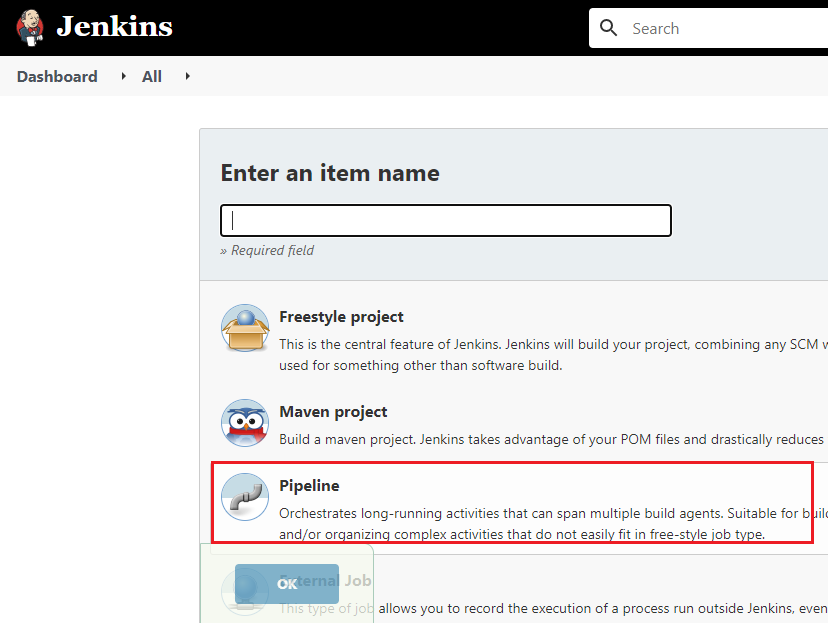
Enter a name for the Export pipeline, and then select Pipeline.
-
Click OK.
-
Copy the content from the provided export pipeline file.
[+] Export Pipeline
[-] Hide
-
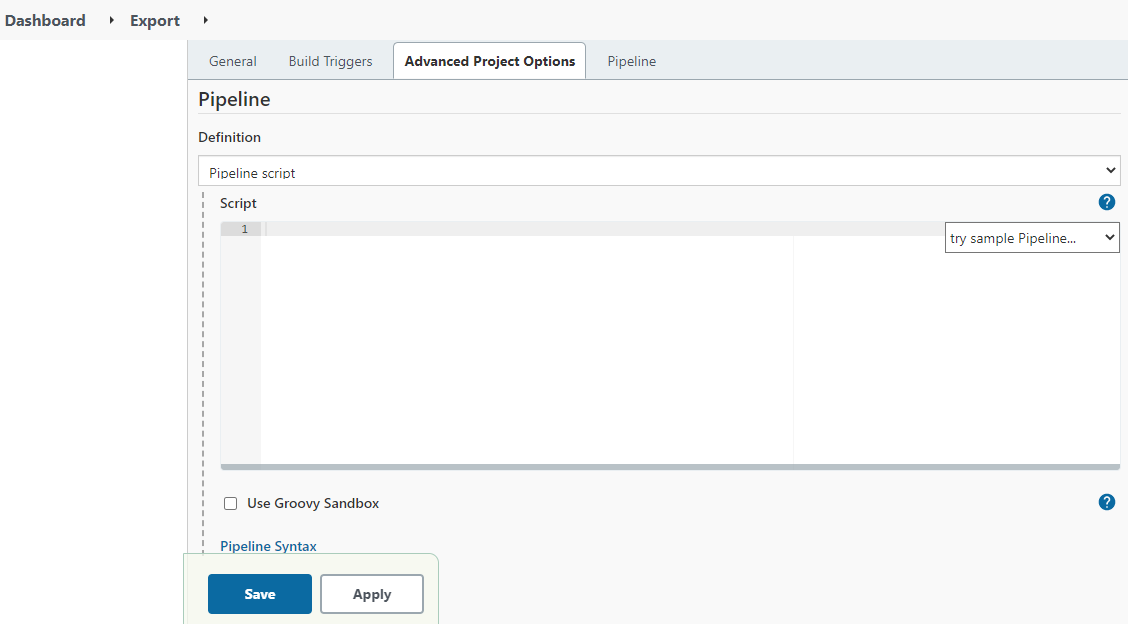
In the Pipeline Definition section, paste the copied content and uncheck the Use Groovy Sandbox checkbox.

If you are using Jenkins on Windows OS, and have created an agent on Linux OS, you need to do the following in the export pipeline file.
1. Uncomment the following code snippet.
<ch:codesample>Where,
LinuxAgent is the name of the agent that you have created.
2. Comment the following lines of code.
<ch:codesample></ch:codesample></ch:codesample> -
Click Save.
-
On the screen that follows, click Build Now.
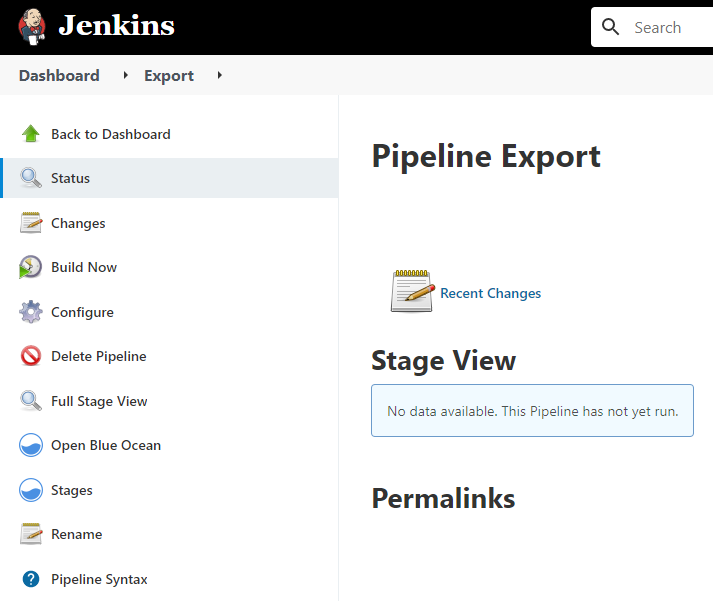
As you build the pipeline for the very first time, all the parameters get initialized. -
Refresh the page.
The Build Now option now changes to Build with Parameters. -
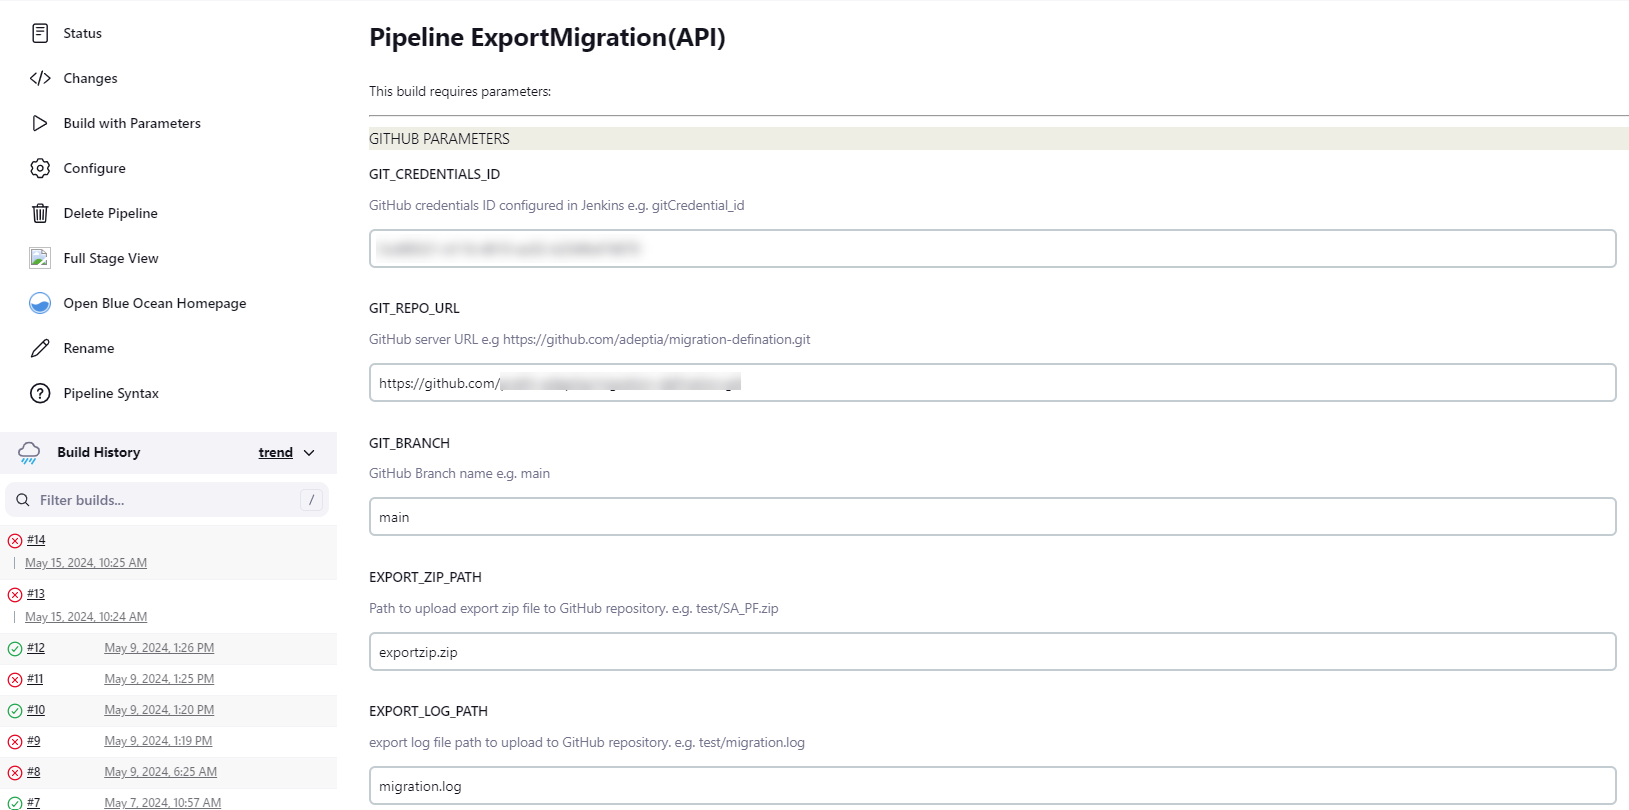
Click Build with Parameters.
You will see all the parameters inherited from the export pipeline file.
-
Enter the parameter values as per your requirement.
[+] Click here to expand the list of Export parameters
[-] Hide
Parameters Value Description GIT_CREDENTIALS_ID <credential ID generated by Jenkins>
Credential ID for GitHub in Jenkins.
Refer to the prerequisites for more details.
GIT_REPO_URL https://github.com/adeptia/migration-definition.git URL of the GitHub repository. GIT_BRANCH main GitHub branch name. APPLICATION_URL https://abc.com Adeptia Connect application URL. APPLICATION_CREDENTIALS_ID user@abc.com Adeptia Connect User Id to be used for performing the Export operation. EXPORT_ZIP_PATH test/export.zip Path in the GitHub repository where the export zip will be placed after the Export operation completes. EXPORT_LOG_PATH test/migration.log Path in the GitHub repository where the export logs file will be placed after the Export operation completes. EXPORT_PACKAGE_ID 1235472230119256064 Id of the export package.
For more details on viewing the Id of an Export package, refer to this section.
-
Click Build to trigger the pipeline.
This exports the objects to an export zip which is placed in the GitHub repository at the location you defined in the EXPORT_ZIP_PATH parameter. After you have exported the objects, you need to import them to the new environment by creating and triggering the import pipeline.