Activating a Transaction
After you create a Transaction, you will be prompted to turn ON the Transaction. Unless you confirm it, the state remains OFF. You may choose to turn ON/OFF either at the time of creation or through the Transactions screen later. Turning ON a Transaction means activating a Transaction to start processing the files from the Source application to the Destination application. To turn ON the Transaction:
-
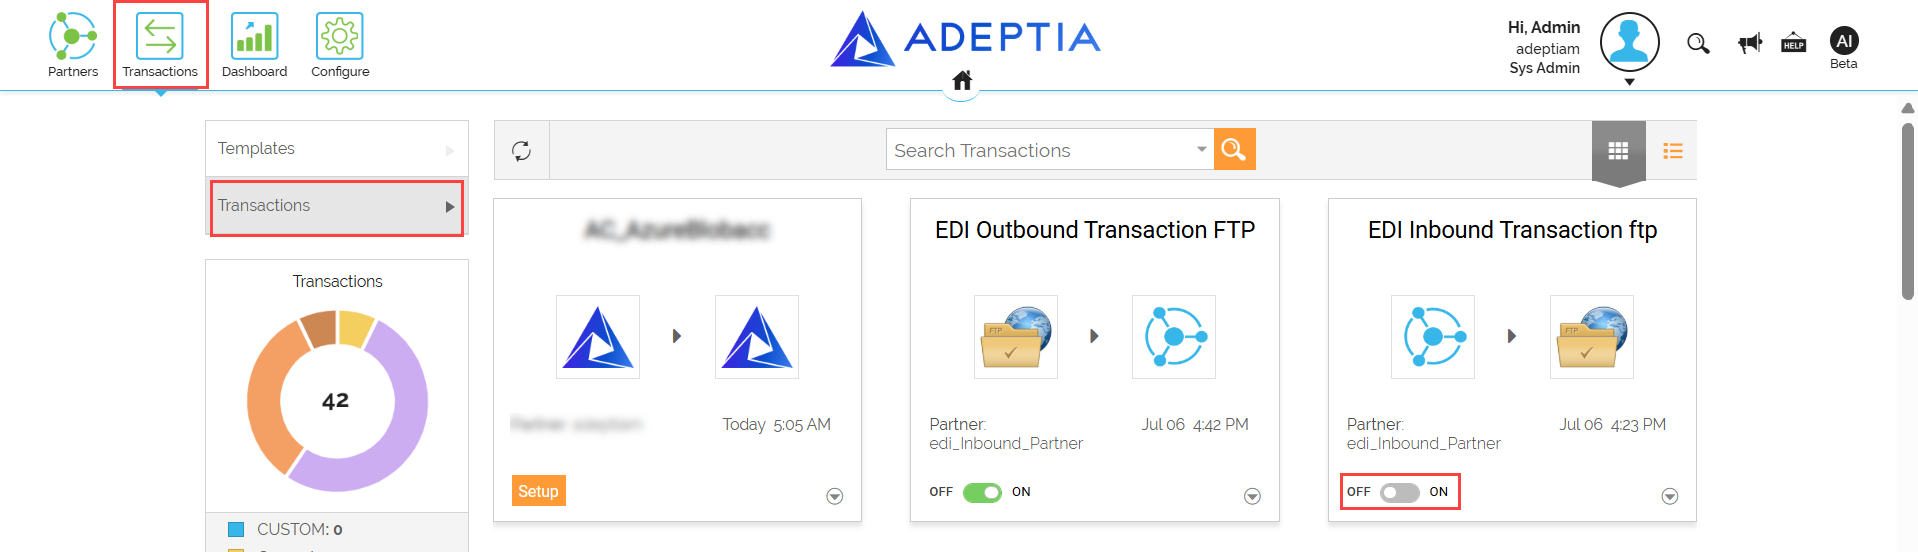
Click Transactions > Transactions.
-
On the Transactions screen, click
 to activate.
-
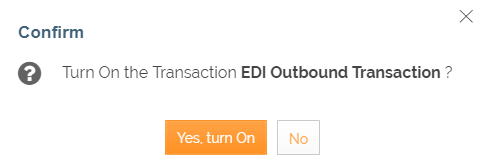
Click Yes, turn On, when prompted to confirm.
-
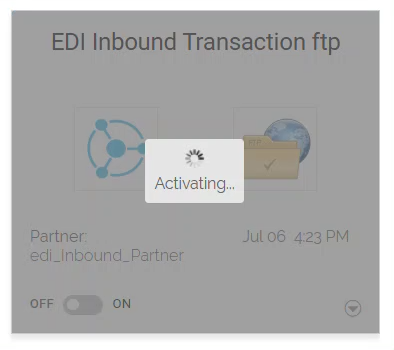
A mask displays over the Transaction indicating Activation is in progress.
-
The transaction will get activated within the configured time interval. However, if time exceeds, the refresh icon will be displayed.
-
Click refresh
 icon to activate the Transaction and a confirmation message is displayed.

-
The
 icon depicts that the Transaction is activated.
- <ch:anchor>You can sort the Transactions listed on the Transaction Manage page by clicking
 next to the required column and then selecting Sort Ascending or Sort Descending as per your need.
</ch:anchor> - You can also hide or show a column on the Transaction Manage page. To do so, click next to a column and then select Columns to choose from the following list:
- Actions
- ID
- NAME
- DESCRIPTION
- PROJECT
- OWNER
- MODIFIED
- Actions
- <ch:anchor>You can sort the Transactions listed on the Transaction Manage page by clicking