Accessing Event Status of a Transaction
Adeptia Connect enables you to access information related to the Event associated with a Transaction. You can select the Transactions on the Transactions Manage page and activate or deactivate the associated Event based on your requirement.
The page contains the following information
- Viewing the Event details
- Activating an Event associated with a Transaction
- Deactivating an Event associated with a Transaction
Viewing the Event details
Adeptia Connect provides a designated screen to view the details about an Event associated with a Transaction, including the Event name and description.
To view the details of an Event associated with a Transaction do the following:
-
Click Transactions > Transactions.
-
Click More Action > Event Status against the Transaction whose Event status you want to view.
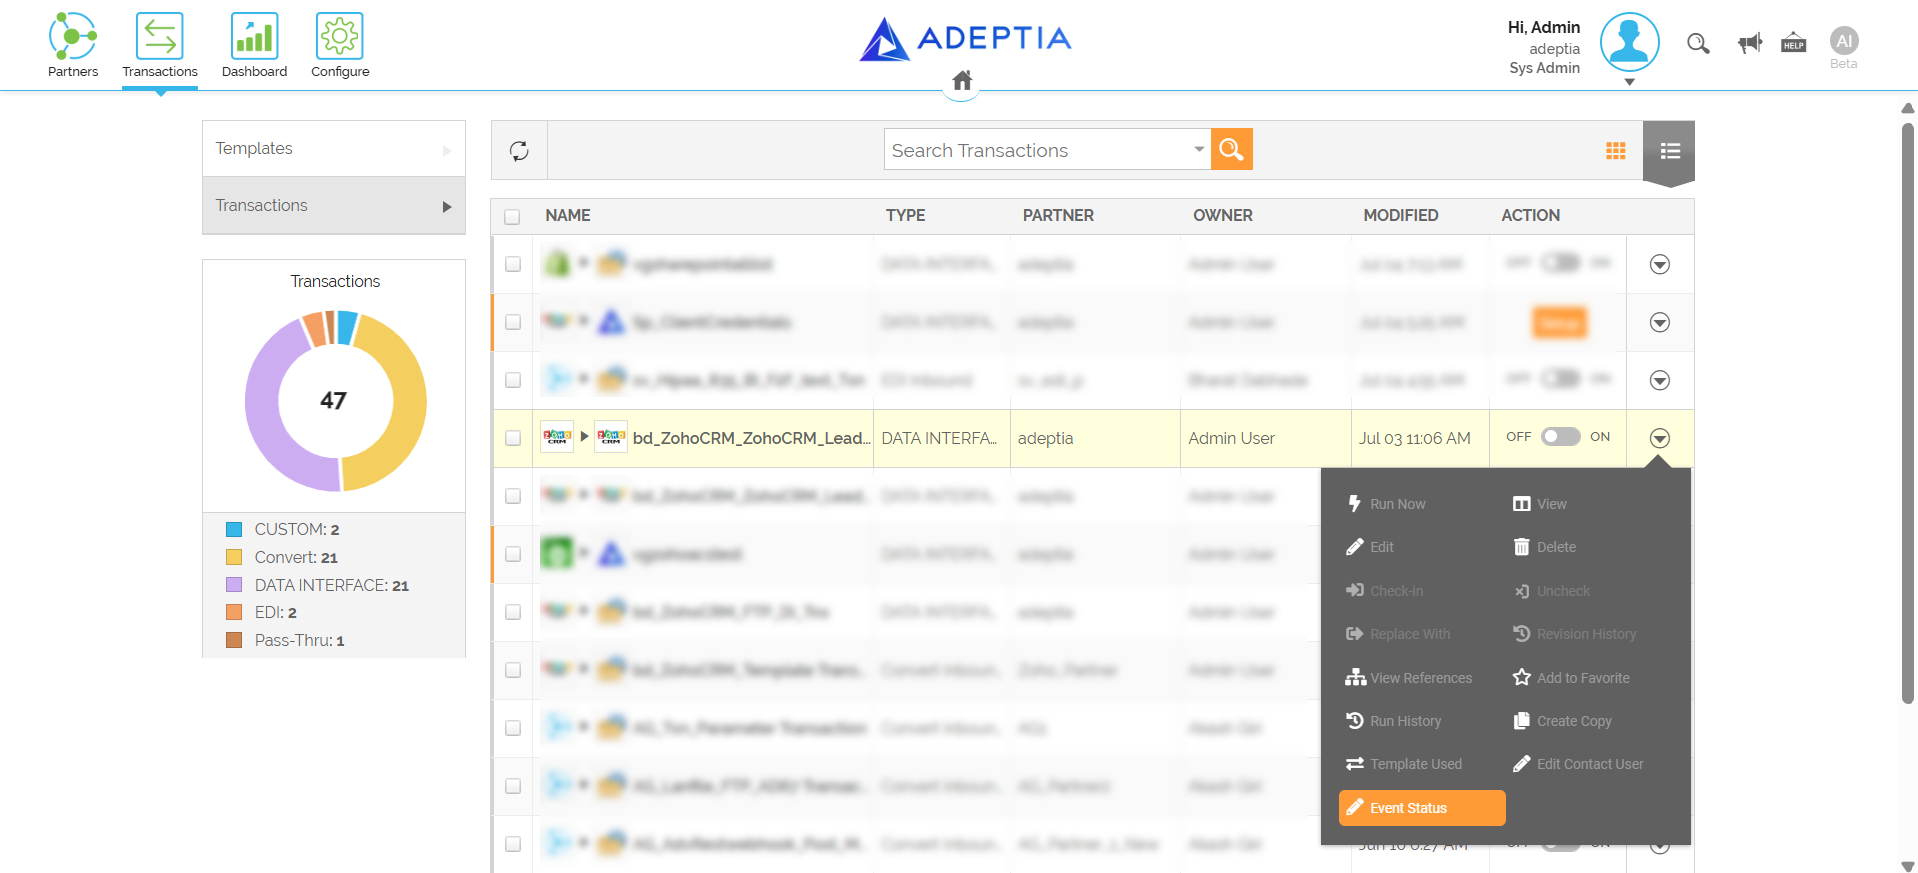
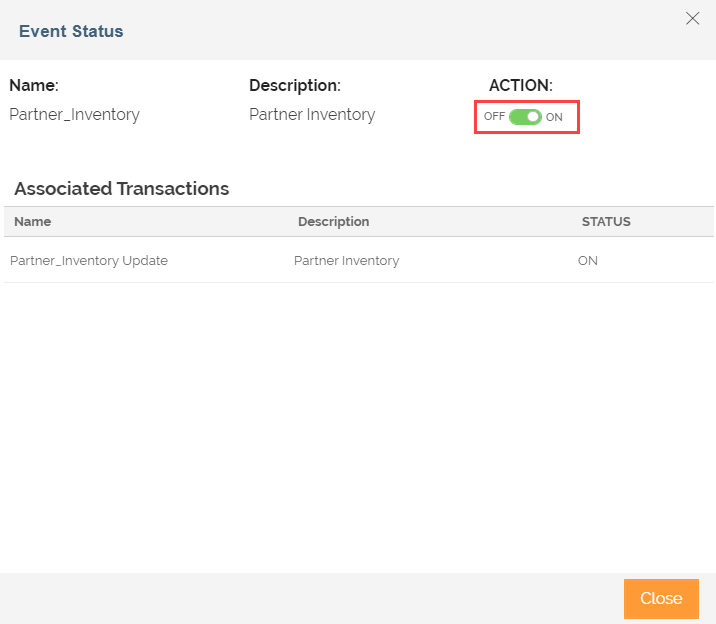
The Event Status screen displays the name and description of the Event as shown below.
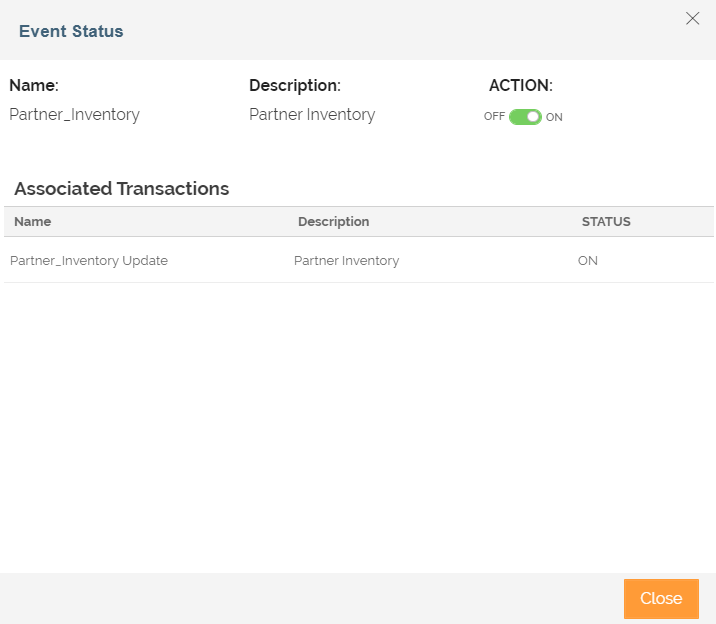

- You can view the details of the Transactions associated with an Event, including its name, description, and status in the Associated Transactions section.
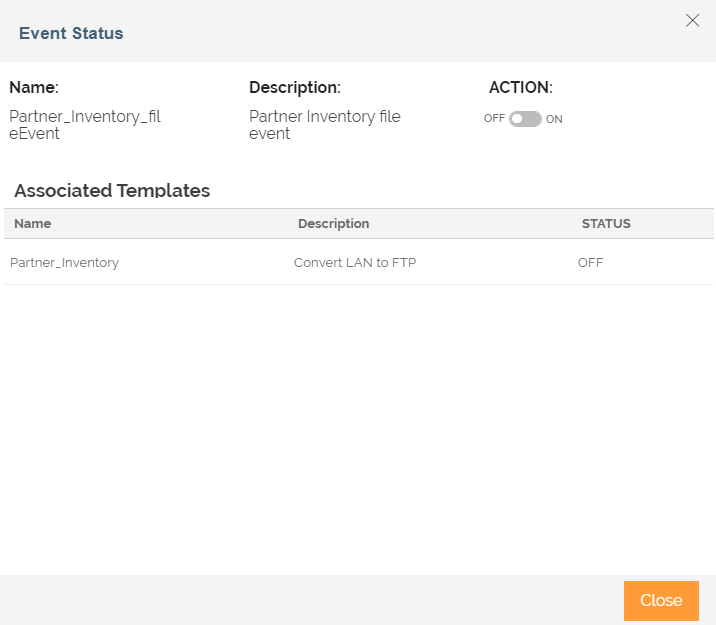
- If the Event has been defined at the Template level, you can view the details of the Template associated with an Event, including its name, description and status in the Associated Templates section.
Activating an Event associated with a Transaction
To activate an Event associated with a Transaction do the following:
| You can activate the Event only if it has been defined at the Transaction level. |
-
Click Transactions > Transactions.
-
Click More Action > Event Status against the Transaction whose Event status you want to view.
-
Click the Action toggle button to set the status as ON.
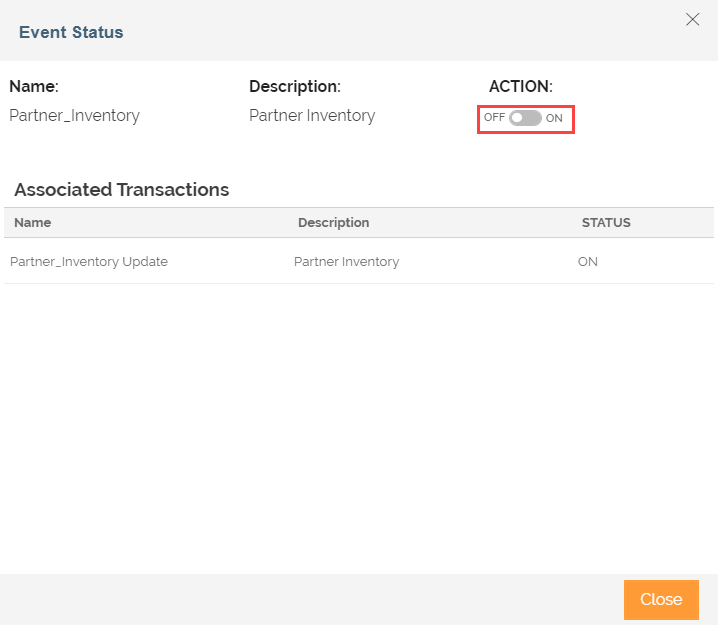
This activates the associated Event.
Deactivating an Event associated with a Transaction
To deactivate an Event associated with a Transaction do the followings:
| You can deactivate the Event only if it has been defined at the Transaction level. |
-
Click Transactions > Transactions.
-
On the toolbar, click List View to open the Transactions Manage page in List View.
-
Click More Action > Event Status against the Transaction whose Event status you want to view.
-
Click the Action toggle button to set the status as OFF.
 This deactivates the associated Event.