Mail Target
The Mail Target provides the ability to send the data to any mail box and this feature is available in all the editions of Adeptia Connect.
Perform the following steps to create a mail target:
-
Click Configure > TARGETS > Mail Target.
-
Click ****Create Mail Target.
-
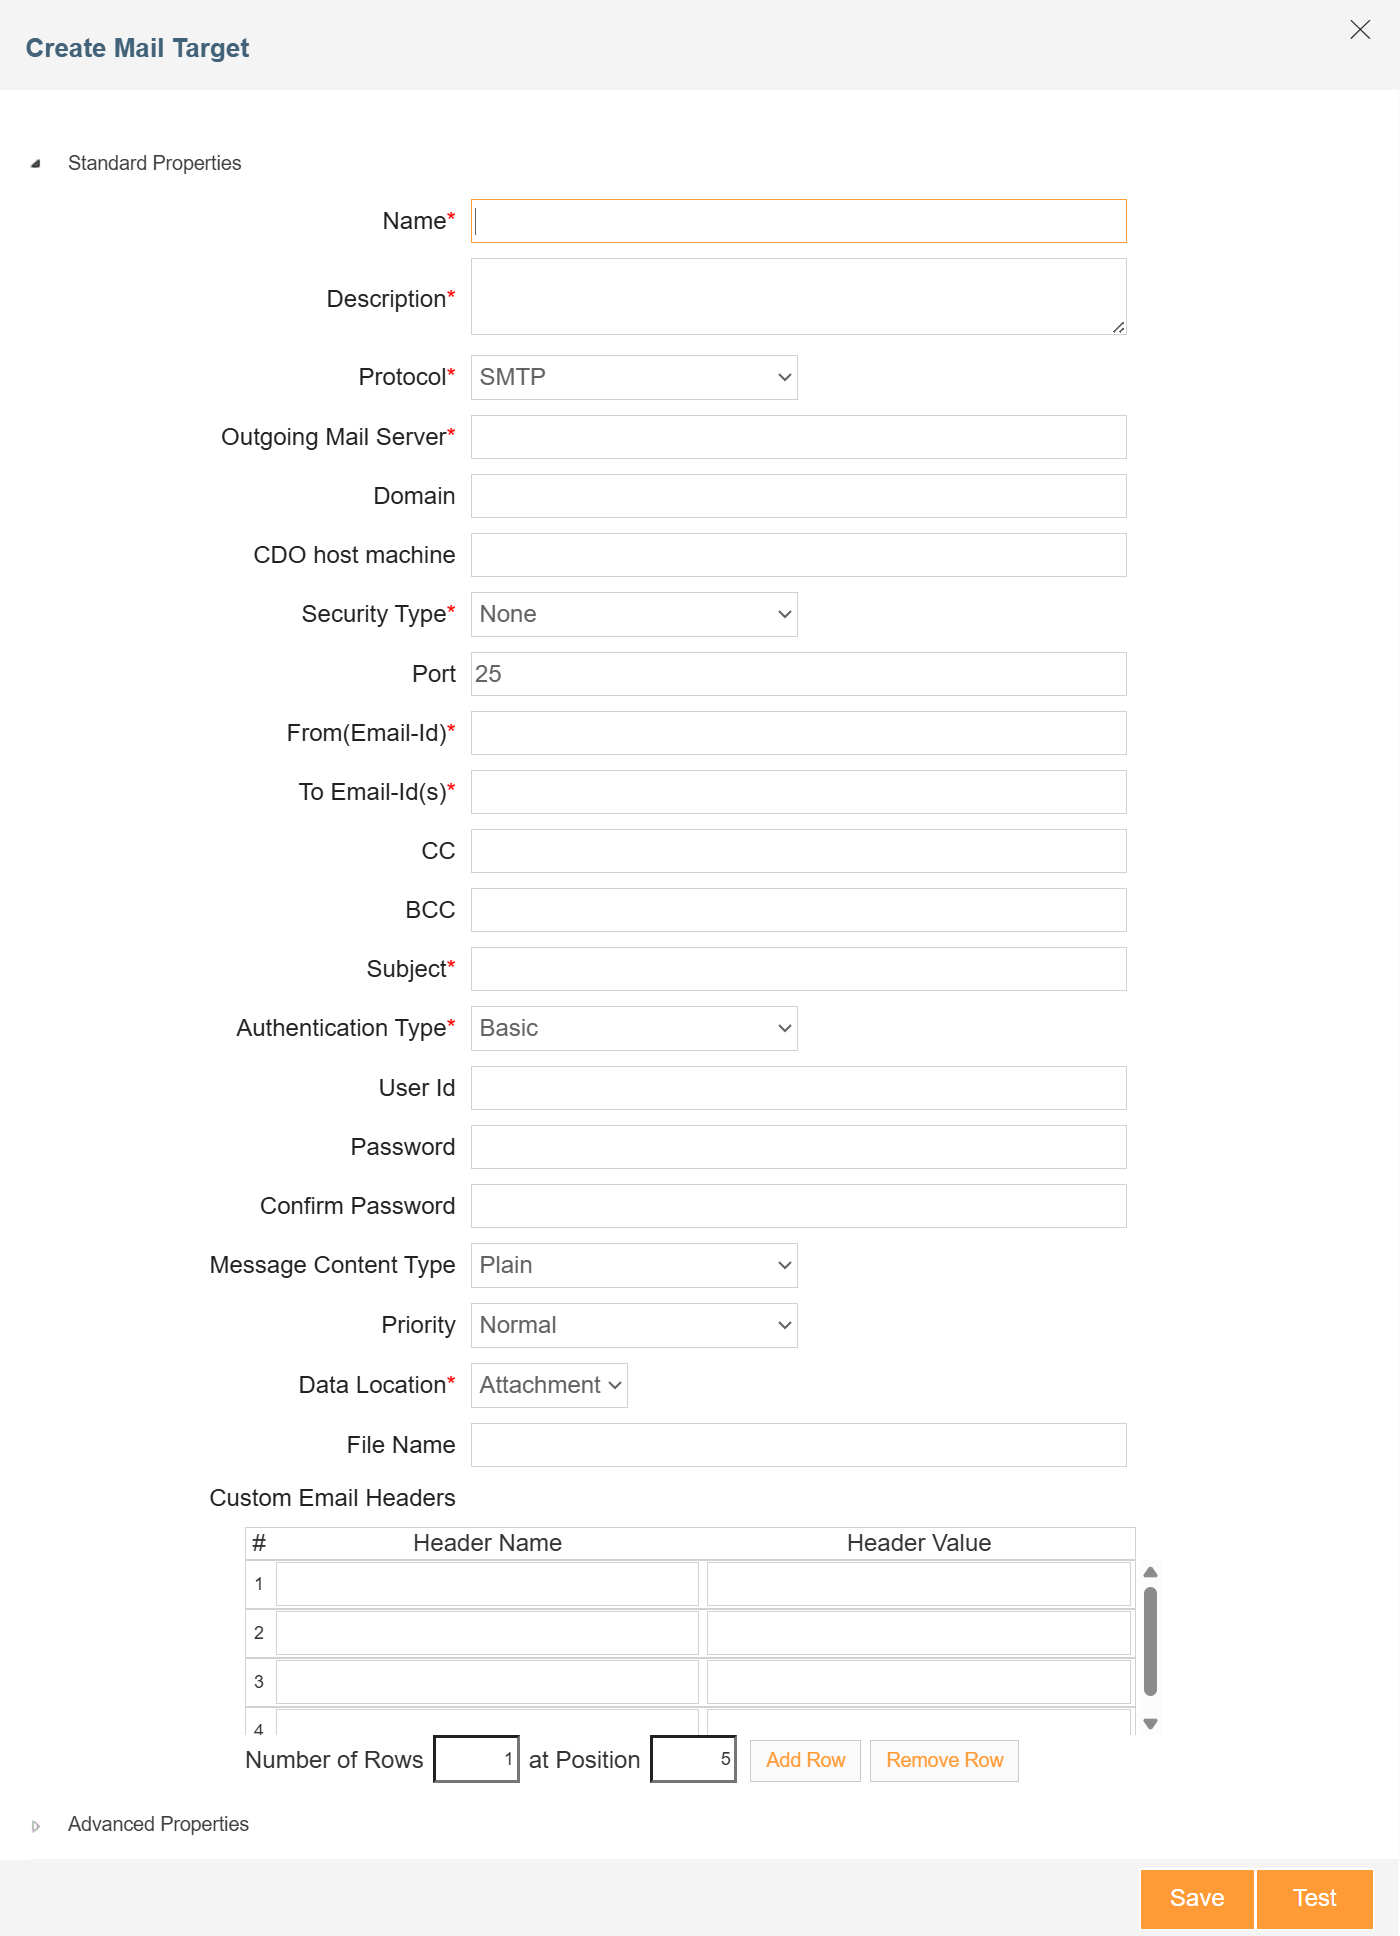
On the Create Mail Target screen, enter the name and description of the Mail Target.
-
If you select GRAPH API as the protocol then provide the following details:

You can select the Use Config checkbox (if available) to dynamically fetch the values of the fields from a Git repository at runtime using a variable.
<ch:anchor>Field Name</ch:anchor>
Description
From(Email-Id) Sender's Email id. To Email-Id(s) Email-Id(s) of the recipients separated by commas. CC Provide the recipient's email id you want to copy for this mail target event. However, you can still change this email id later at run-time by changing the values in context variable. For steps to do change at runtime, refer towards end of this page. BCC Provide the recipient's email id you want to put in BCC for this mail target event. However, you can still change this email id later at run-time by changing the values in context variable. For steps to do change at runtime, refer towards end of this page. Subject Subject of the Target email. Authentication Type Select the authentication type--Basic or OAuth 2.0.

If GRAPH API is selected as the protocol, the Authentication Type field is disabled for selection with OAuth 2.0 as the default authentication method. - When you select Basic as the Authentication Type, provide the mail server credentials in the User Id, Password, and Confirm Password fields respectively.
You can also use HashiCorp Vault to fetch the secrets (credentials) for User Id and Password. Each secret is maintained as a key-value pair in Hashicorp Vault. Select the checkbox against the respective fields to use Vault to fetch secrets for the fields. Enter the variable in the following format in the field:
${Vault:<Key1>}Where, <Key1> is the key in Hashicorp Vault that is defined for the field.
For example, you need to enter ${Vault:mailEventUserId} in the User Id field, if you have defined maiEventUserId as the key for this field in the Vault. For more details, refer to this page. - When you select OAuth 2.0 as the Authentication Type, you need to provide an OAuth account in the field that follows.
OAuth Account Select one of the available OAuth accounts from this field.

OAuth Account field displays only those OAuth Accounts for which you have selected Use In Mail Activity check box while creating the account. Click here to know how to create an OAuth Account. Message Content Type Content type of the outgoing message. The available options are HTML and Plain. Priority Priority of the email. The email, which will be sent by this mail target activity, will have the priority flag as selected in this drop-down box. The available options are Normal, High, Low. Data Location Location of the data in the email whether sent as an Attachment or in the email Body. Select Multipart to send both attachments and email body in the mail target. If you select Multipart option, perform the following steps:
- Connect the output stream of the target layout to the mail target. The output of the target layout is sent as an Attachment in the mail target.
Create a Put-Context Var activity before the mail target and set the variable and Message Body in Variable Value to send it as an email Body in the mail target.
For example,
VariableName: Service.<<MailTargetActivityName>>.MessageBody
File Name Name of the file, if the data is to be sent in the email as an attachment. Custom Email Headers You can add custom email headers to a Mail Target activity. Refer to this section for detailed information. - When you select Basic as the Authentication Type, provide the mail server credentials in the User Id, Password, and Confirm Password fields respectively.
-
If you have selected the SMTP as the protocol, provide the details for the fields listed in the table below, followed by those mentioned above.
Field Name Description Outgoing Mail Server Provide the Outgoing mail (SMTP) Server address Domain Enter the domain where the CDO host machine belongs. CDO host machine Enter the name of the CDO host machine to interact with Microsoft exchange server and Outlook data. Security Type Protocol that provide data encryption and authentication between applications and servers in scenarios where that data is being sent across an insecure network. The available options are SSL, TLS, None. Supported TLS version is 1.2. Port Port number of the Outgoing Mail Server -
Expand **Advanced Properties.

** -
Define the required character set encoding code in the Character Set Encoding Used textbox.
-
Select the project from the drop-down list of Project.
-
Click Save.
You can verify the mail target activity at the design time. For this, click Test.
Changing the values CC & BCC at Runtime
Adeptia Connect allows you to change the values of CC or BCC in a Mail Target by creating a Context Variable in the Process Flow. Note the following points while creating Context Variable:
- Write the variable name as "Service.<<mail_target_activity_name>>.cc". For example if the mail target activity name is SF_VendorA_Targetmail, then the variable name should be Service.SF_VendorA_Targetmail.cc.
- Write the email id that needs to be put in the cc in Variable Value. You can write multiple emails separated by comma in the variable value.
- For using BCC write Service.<<mail_target_activity_name>>.bcc. Rest of the steps are similar to creating variable for CC.
- Place the Context Variable after the Mail Activity in the Process Flow.
- Click Done and save the process flow.
Adding custom email headers in a Mail Target activity
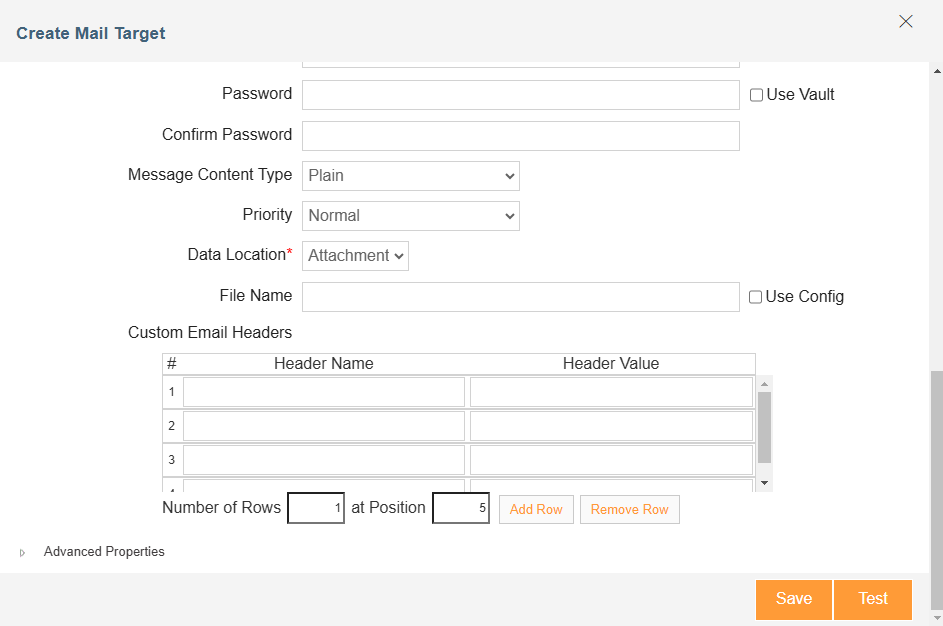
You can add custom email headers to a Mail Target activity. While creating a Mail Target activity, you’ll be able to see the Custom Email Headers section wherein you can add the email headers based on your choice.
Follow the steps below to define custom headers in a Mail Notification activity.
-
In the Custom Email Headers section,
-
In the Header Name field, enter the name of the header.
-
In the Header Value field, enter the value for the corresponding header.
By clicking Add Row you get more rows to add custom email headers and their values.
-
-
Complete the fields that follow, and then click Save.