LAN File Target
LAN File Target provides the ability to specify a target file location that is accessible on the network.
This section describes how to create a LAN Target activity using the following details as an example:
File Name | Employee_PersonalDetails.xls |
File Path | |
Transfer Type | Secure |
File System | Windows |
User Id | MyUserName |
Password | Mypassword |
Steps to create a LAN File Target:
-
Click Configure > TARGETS > LAN File Target.
-
Click CREATE LAN File Target.
-
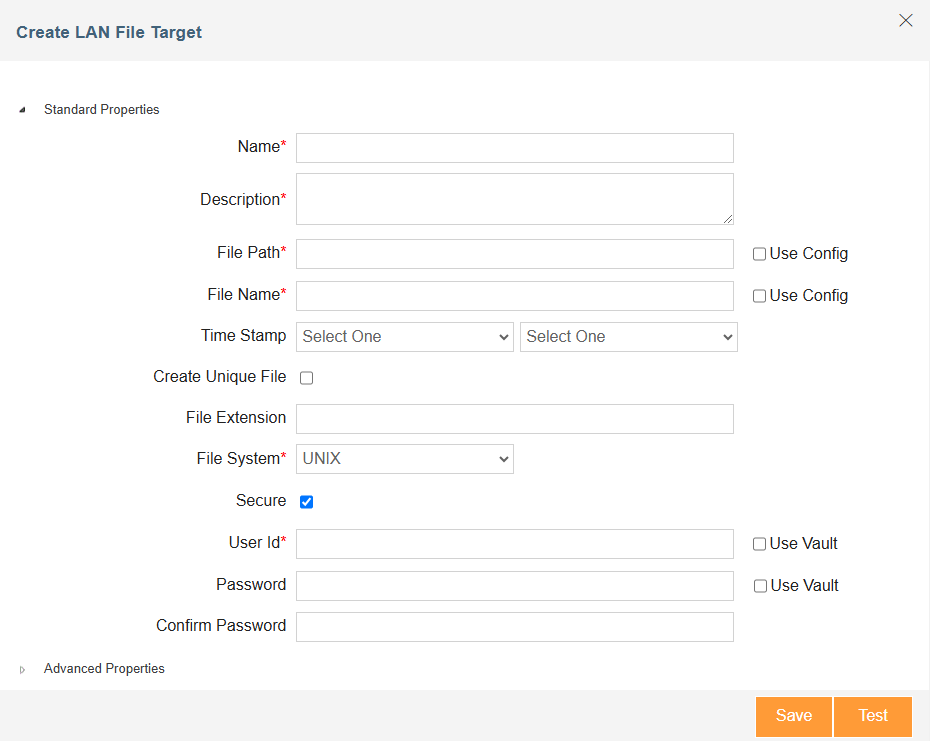
On Create LAN File Target screen, enter the name and description of the new LAN File Target in the textboxes Name and Description respectively.
-
In the File Path field, enter the network path of the folder where you want the target file to be created in the following format, or select the Use Config checkbox to dynamically fetch it from a Git repository at runtime through a variable.
\\hostname\folder name
However, if the respective drive does not contain the folder mentioned in the path then the creation of the new folder will depend on the value of the system property abpm.target.createFolder and on the option value selected from the new drop-down list Auto folder Creation added in the Advanced Properties section. -
In the File Name field, enter the name of the target file, or select the Use Config checkbox to dynamically fetch it from a Git repository at runtime through a variable.
-
If you want to append date and time stamp in the target file name, then select the date and time stamp from the drop-down list of Time Stamp.
-
If you want that each target file created by this activity should have unique name, then select the Create Unique File checkbox. When this option is enabled, a 30 digit random number is appended in the file name.
-
Enter the file extension in the field File Extension.
-
Select the target file system, whether Windows or Unix from the drop-down list of File System.
-
When Adeptia Connect is installed on Windows Operating System, LAN File Target uses windows service to connect to remote machine. It just connects once and uses the same connection with the same User ID and Password (which is stored in the cache) every time.
-
If username and password is required to access the target location, select the Secure checkbox.
-
Follow the steps below based on whether you are using Hashicorp Vault to fetch the secrets (credentials) or you want to enter the secrets manually.

To use Hashicorp Vault, you must enable Config Management feature and you may also need to do project mapping. For more details, refer to this page. -
To fetch the secrets from the Hashicorp Vault, do the followings:
You can choose to use Hashicorp Vault for all or a specific field that need to contain secret.
-
Select the Use Vault checkbox if you want to use Vault for retrieving the User Id.
-
In the User Id field, enter the variable in the following format:**${Vault:<Key1>}**Where, <Key1> is the key assigned to the username in the Hashicorp Vault.
Each secret is maintained as a key-value pair in Hashicorp Vault. 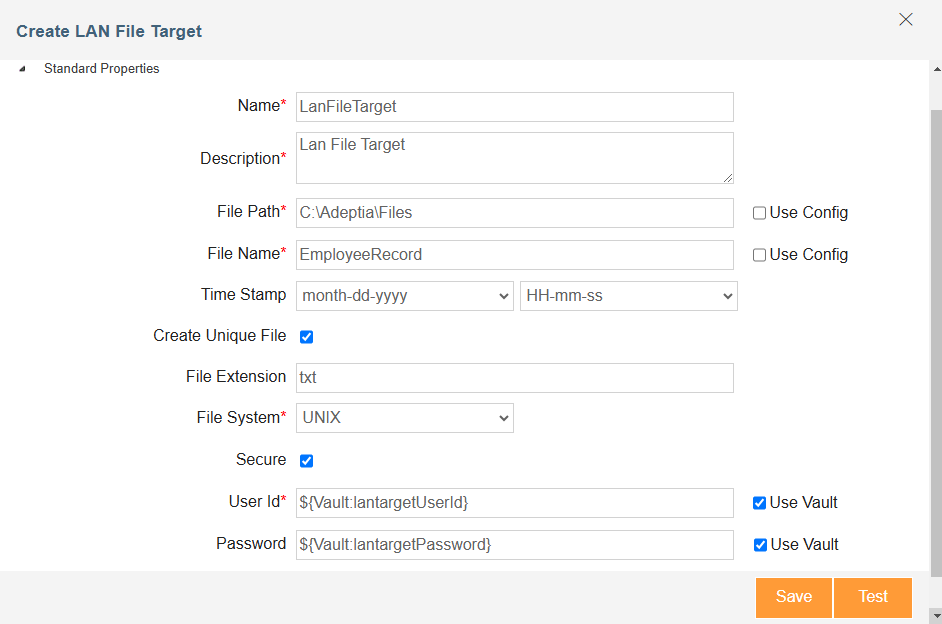
-
Select the Use Vault checkbox if you want to use Vault for retrieving the password.
-
In the Password field, enter the variable in the following format:**${Vault:<Key2>}**Where, <Key2> is the key assigned to the password in the Hashicorp Vault.
-
-
To enter the secrets manually, do the followings:
- In the User Id field, enter the username to connect to FTP Server.
- In the Password field, enter the password.
- In the Confirm Password field, re-enter the password.
-
Click Advanced Properties to expand the hierarchy. All items in Advance Properties are displayed.
A new drop-down list Auto Folder Creation has been added. This drop-down list has the following three options:By default, the option None is selected.
When the value of the system property abpm.target.createFolder is set to Yes and if the option value selected from the drop-down list New Folder is:When the value of the system property abpm.target.createFolder is set to No and if the option value selected from the drop-down list New Folder is:
If the option value selected from the drop-down list New Folder is None. In this case, None indicates that the folder will be created depending only on the value of the property abpm.target.createFolder.
If abpm.target.createFolder is set to Yes then the folder will be created and if abpm is set to No then the folder will not be created irrespective of the option value selected from the drop-down list New Folder.-
- None
- Yes
- No
-
- Yes, then the new folder will be created.
- No, then the new folder will not be created and an error message will be displayed.
- Yes, then the new folder will be created.
- No, then the new folder will not be created and an error message will be displayed.
-
-
Select the project of the activity from the drop-down list of Project.
-
Click Save.
You can verify the LAN file target activity at design time. For this, click Test. This verifies the values in the File Path, User ID and Password fields and checks whether the file actually exists in the specified location. To test this activity, fill up all the required fields and click Test. If the file specified in this activity is present in the specified folder, the test will be successful otherwise it will give an error.