Custom libraries
Adeptia Connect enables you to upload different types of custom classes and jars using the application's UI. This section guides you on uploading the required classes and jars to different folders in the shared location based on your requirement. On the UI, these upload options are available under the CUSTOM LIBRARIES section as shown in the following screenshot.
 | You can use this feature only if the Base Role assigned to you is of Sys Admin type, and you have been authorized to use this feature. |

You can upload the custom classes and jars to their designated folders listed below:
Uploading custom classes and jars to the customClasses folder
You can upload custom classes or jars to the customClasses folder by following the steps given below.
 |
|
-
Click Configure.
-
In the left panel, go to CUSTOM LIBRARIES > Custom Classes.
-
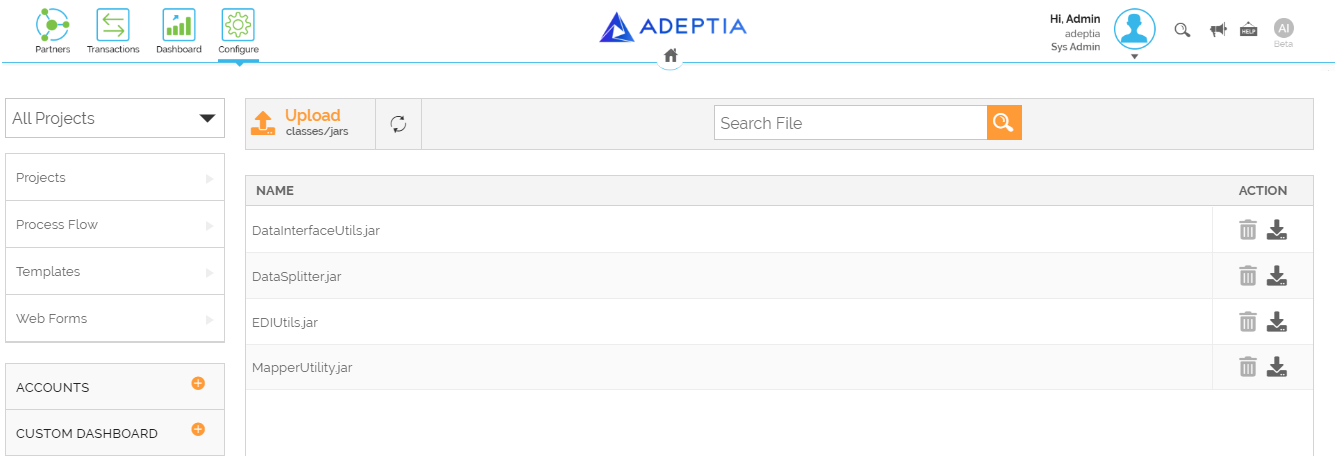
Click Upload classes/jars.
-
Browse to the required class or jar, and then click Open to upload it.

You can browse and upload multiple files. -
Restart the webrunner and runtime microservices to bring the changes into effect.
-
Restart the rest-api microservice if the file contains custom REST API endpoints.

Only a jar file can contain custom REST API endpoints.
Uploading custom jars to the ext folder
To add custom functionality to the application, you can upload a custom jar to the ext folder by follwowing the steps given below:
-
Click Configure.
-
In the left panel, go to CUSTOM LIBRARIES > Ext.
-
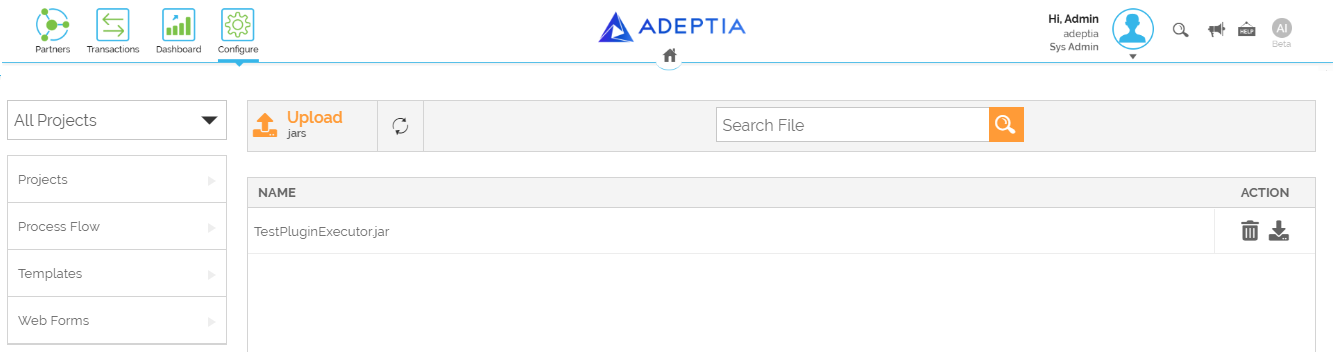
Click Upload jars.
-
Browse to the required jar, and then click Open to upload it.
You can browse and upload multiple files. -
Restart the webrunner and runtime microservices to bring the changes into effect.
-
Restart the rest-api microservice if the file contains custom REST API endpoints.
Only a jar file can contain custom REST API endpoints.
Uploading custom jars to the license folder
The license folder contains license for the application. In an event of license expiry or any other license related changes, you may want to upload the licence jar to this folder.
To upload the license jar, follow the steps given below:
-
Click Configure.
-
In the left panel, go to CUSTOM LIBRARIES > License.
-
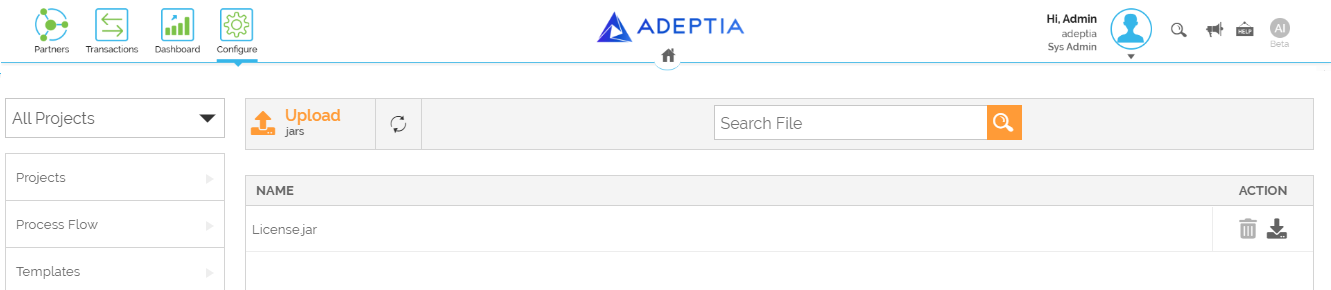
Click Upload jars.
-
Browse to the required license jar, and then click Open to upload it.
You can browse and upload multiple files. -
Restart the license microservice to bring the changes into effect.
Uploading custom jars to the webapps folder
Any custom Web Form (war) you create must be deployed to the webapps folder. Follow the steps given below to upload and deploy a war file.
-
Click Configure.
-
In the left panel, go to CUSTOM LIBRARIES > Web Apps.
-
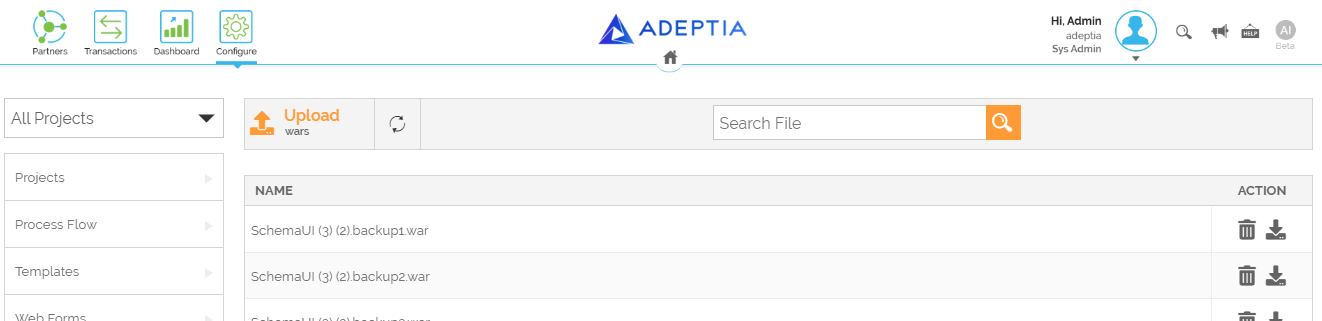
Click Upload wars.
-
Browse to the required war, and then click Open to uplaod it.
You can browse and upload multiple files. -
Restart the portal microservice to bring the changes into effect.
Deleting and downloading the jars
You can delete or download a custom class or jar that you have uploaded.
-
Delete - Click the
 icon against the jar under ACTION .
You cannot delete the following jars that are bundled with the application and placed in the customClasses folder:
- DataInterfaceUtils.jar
- EDIUtils.jar
- MapperUtility.jar
- DataSplitter.jar
-
Download - Click the
 icon against the jar under ACTION.