Creating Virtual Network (VNet)
A virtual network (VNet) enables secure internal communication between AKS, MySQL, and the Jump Host VM.
-
Go to https://portal.azure.com/ and log in with your Azure credentials.
-
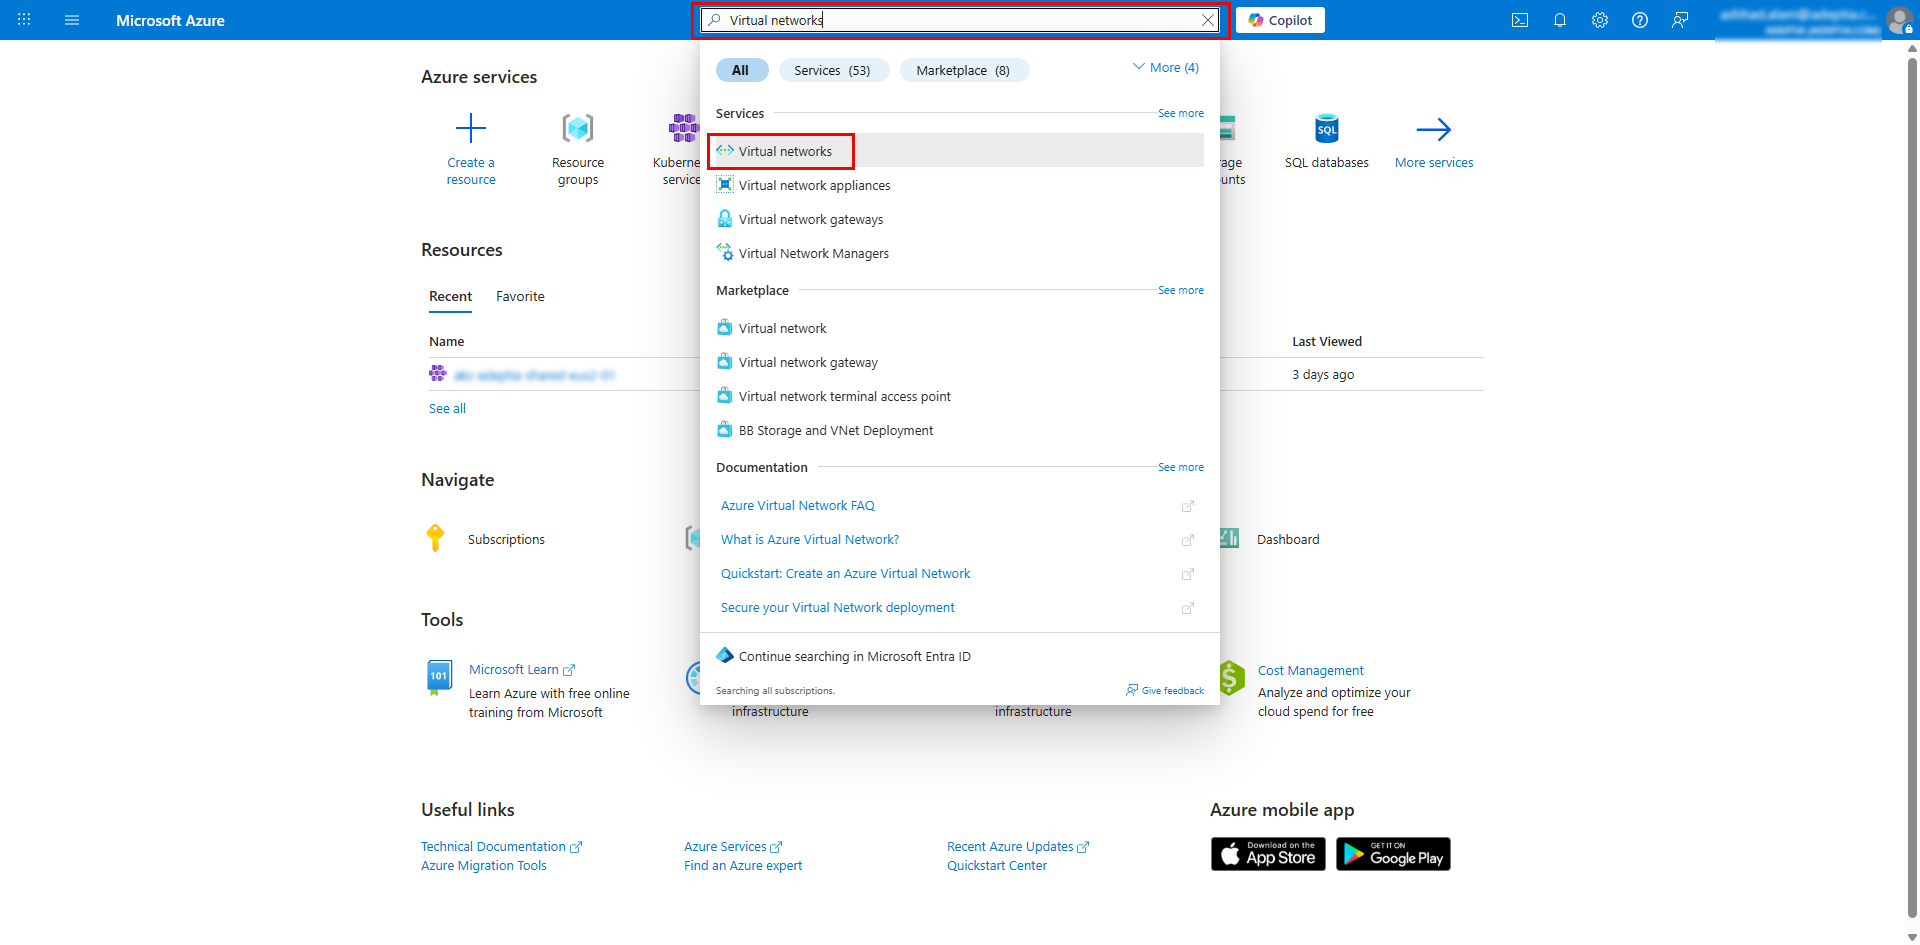
In the portal search bar, search for Virtual networks and select Virtual networks service.
-
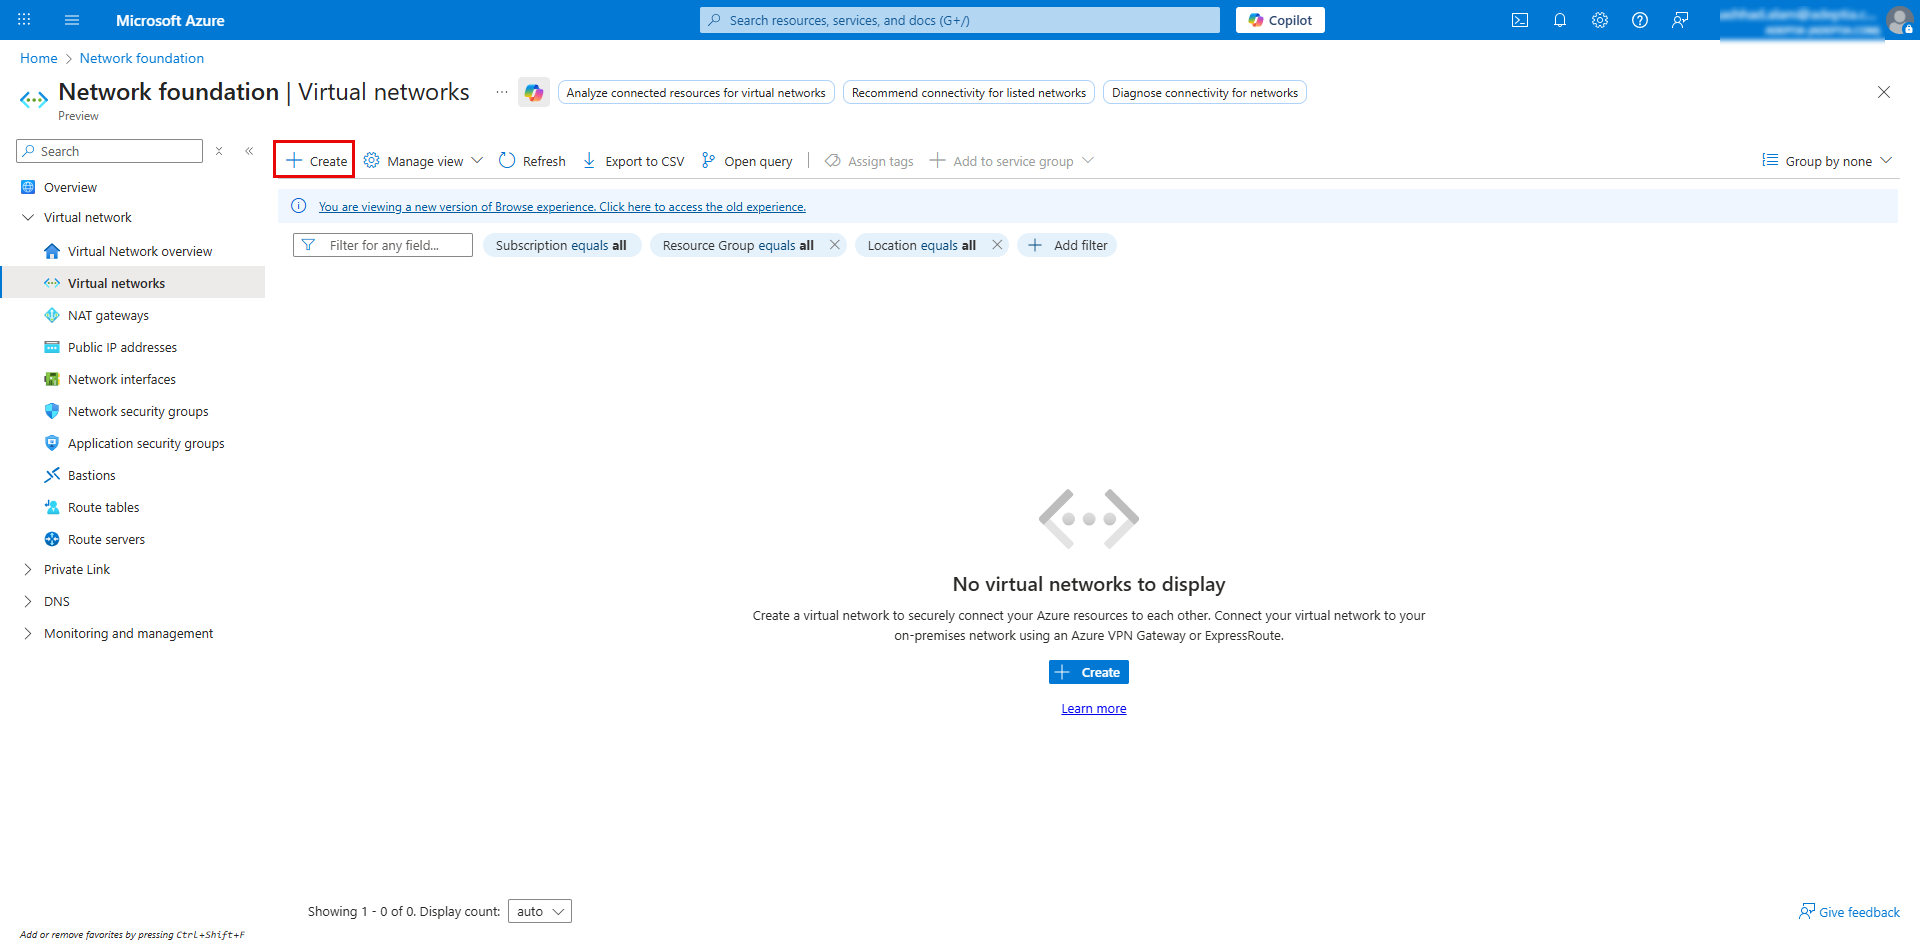
Click Create to open the Create virtual network screen.
-
In the Basics tab, enter the following details:
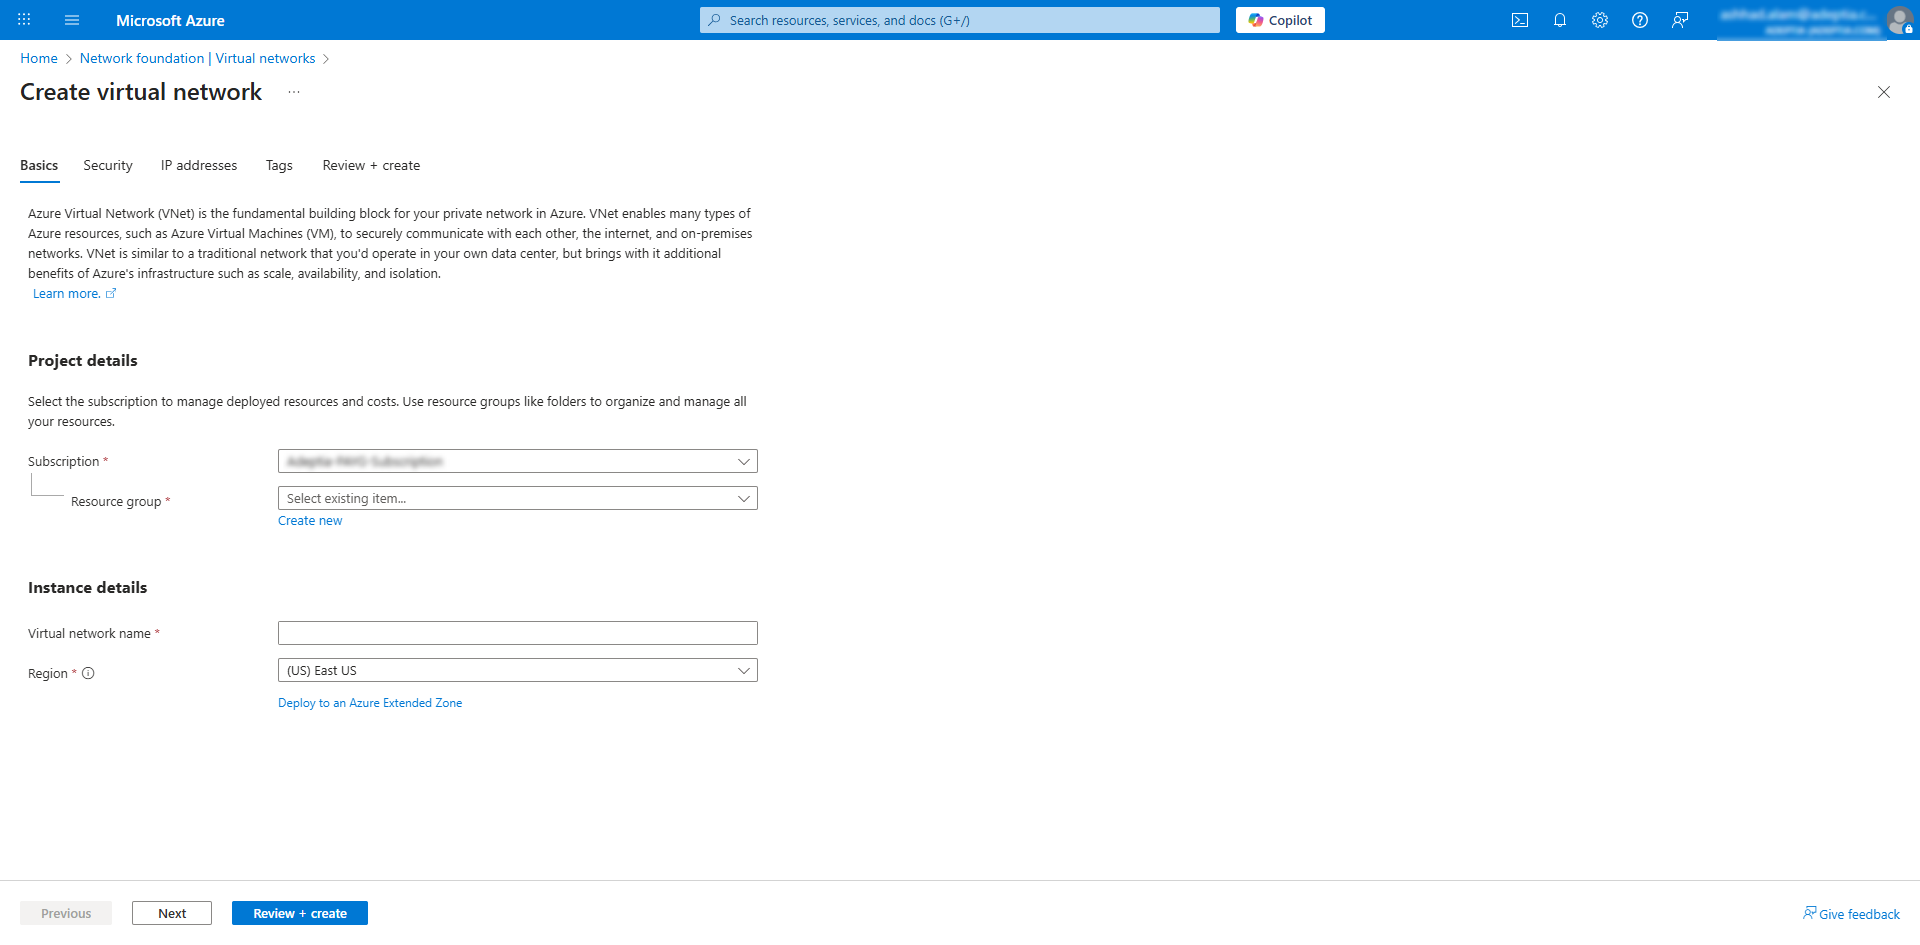
- Subscription: Select your Azure subscription name.
- Resource group: Select the resource group in which you want to create the virtual network.
- Virtual network name: Provide a name for the virtual network.
- Region: Select the same region that you selected while creating the resource group.
-
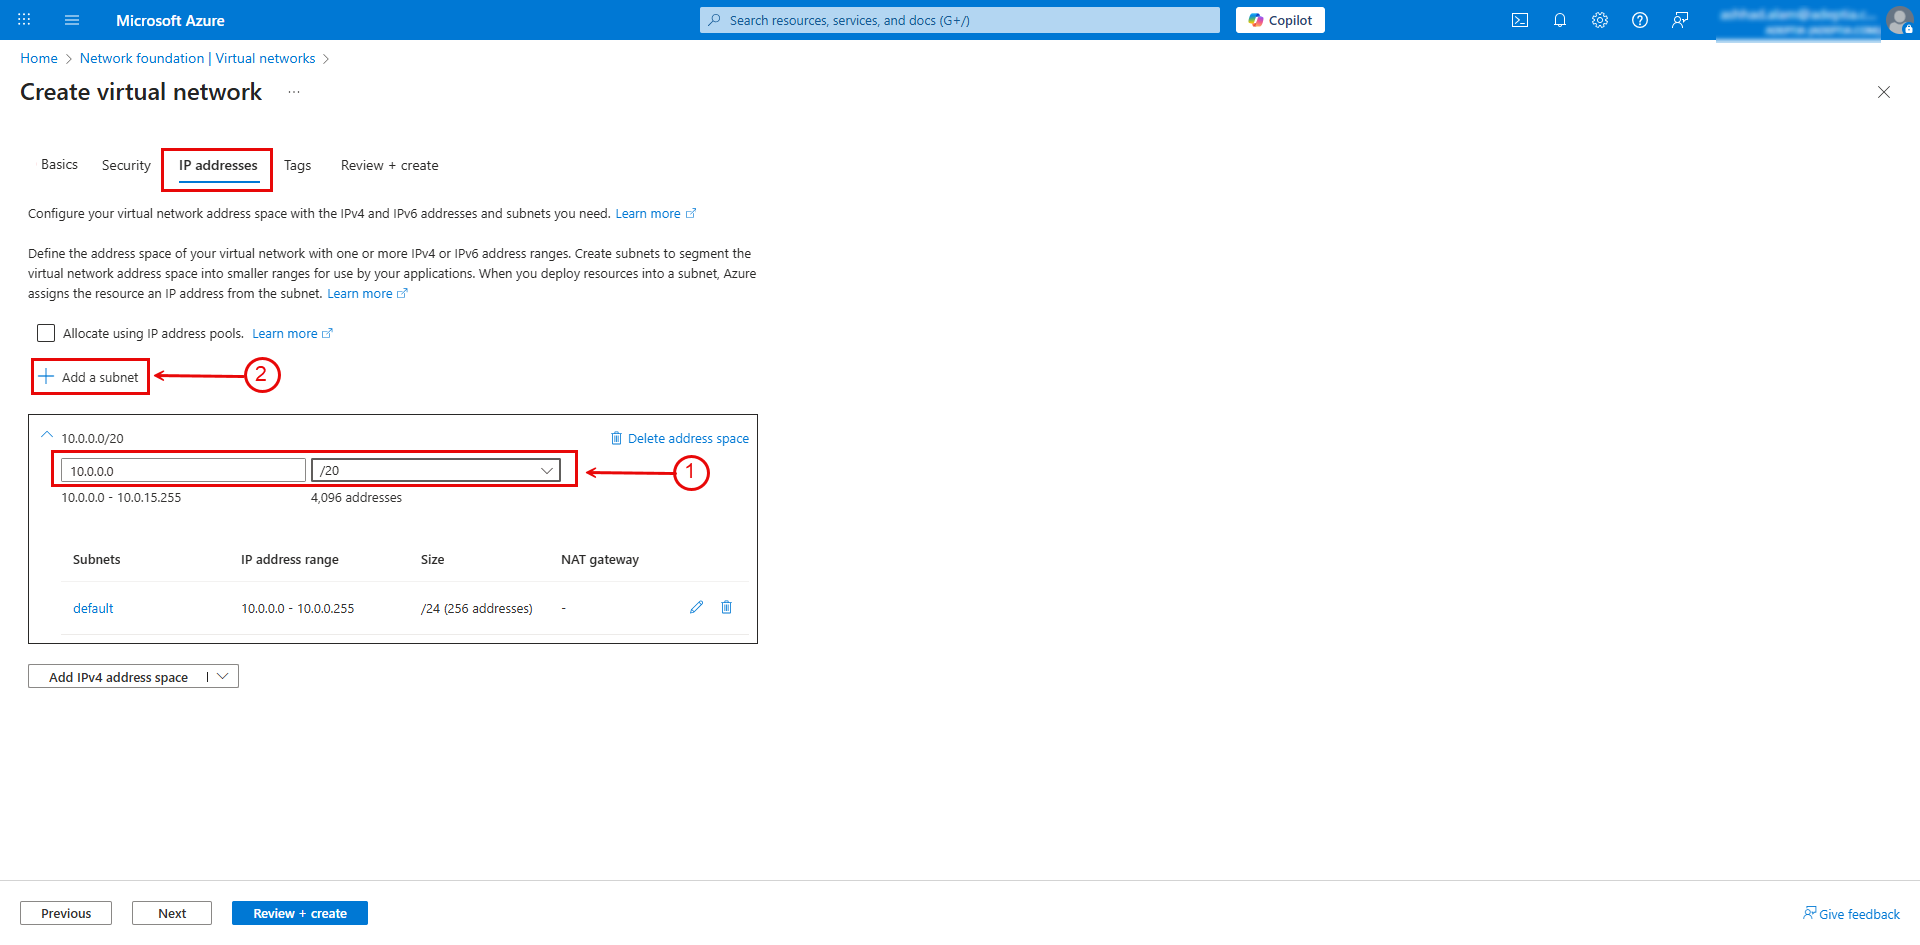
Select the IP addresses tab and do the following:
-
Enter any usable private IP address between the IP range 10.0.0.0 to 10.0.255.255, and set the size to /20. This size provides enough IPs for all required subnets.
-
Create three subnets, each for AKS, MySQL database, and Jump Host respectively by following the steps below:

Creating a subnet for Jump Host is required only when you want to use the Jump Host for connecting to the Cluster instead of a local Windows system. -
Click Add a subnet.
-
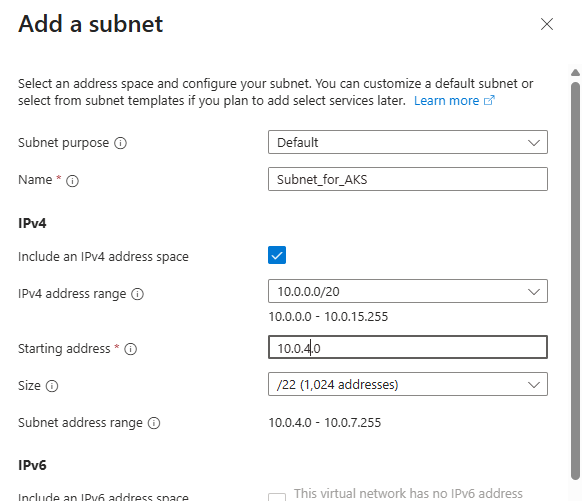
On the Add a subnet panel, provide a name for the subnet, for example, Subnet_for_AKS.
-
Select a size for the subnet.

The required sizes for AKS, MySQL database, and the Jump Host are given below:
- AKS: 22
- MySQL database: 27
- Jump Host: 26
-
Click Add to add the subnet to the VNet.
-
Repeat the same steps to create the remaining subnets.
-
-
-
Select the R****eview + Create tab to review the configurations.
-
Click Create at the bottom to complete the creation of the virtual network and subnets into it.
After you have created the virtual network and the subnets, create the AKS Cluster.