Connecting to AKS cluster
Before deploying the application, you need to connect to the target AKS cluster. This document provides a step-by-step procedure to authenticate with Azure, select the correct subscription, retrieve AKS cluster details, connect to the cluster, and configure kubeconfig for Azure CLI–based authentication.
Prerequisites
-
Azure CLI installed
-
Kubectl installed
-
Kubelogin installed (required for exec-based authentication)
-
Appropriate access permissions (Reader/Contributor/AKS Cluster User Role)
Steps to connect to the AKS Cluster
Perform the following steps on Windows Powershell:
-
Authenticate with Azure using Azure CLI
-
Run the following command:
A browser window will open prompting you to sign in.
-
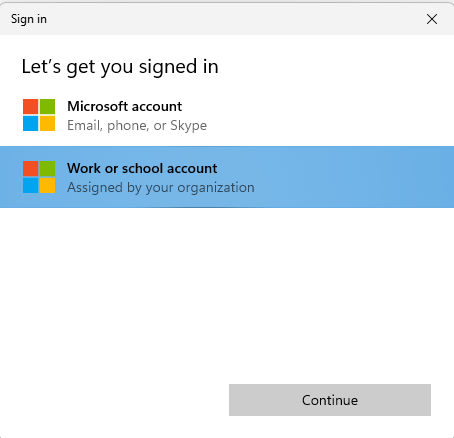
On the Sign in browser window, select Work or school account, and then click **Continue.
** -
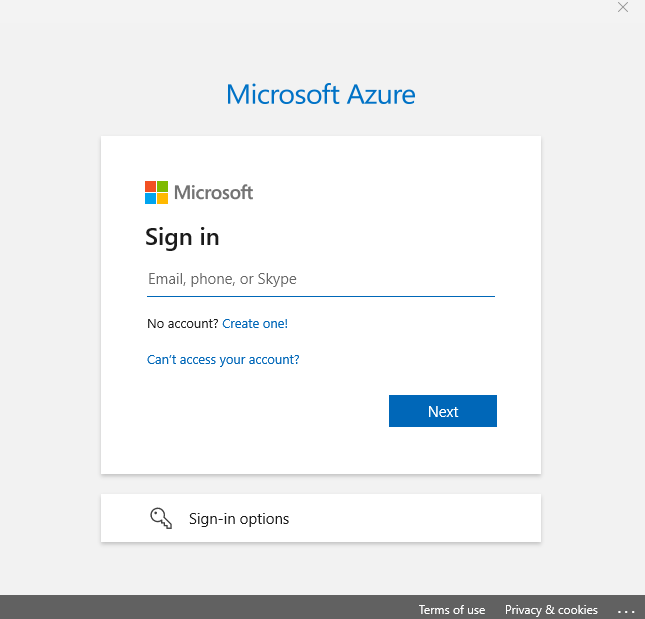
On the window that opens, enter the email id, phone number, or skype id for your Azure account, and then click Next.
Once logged in, your available subscriptions will be displayed.
-
-
Select the subscription
- When prompted, type the corresponding number to select a subscription that you want to use, and then press Enter.
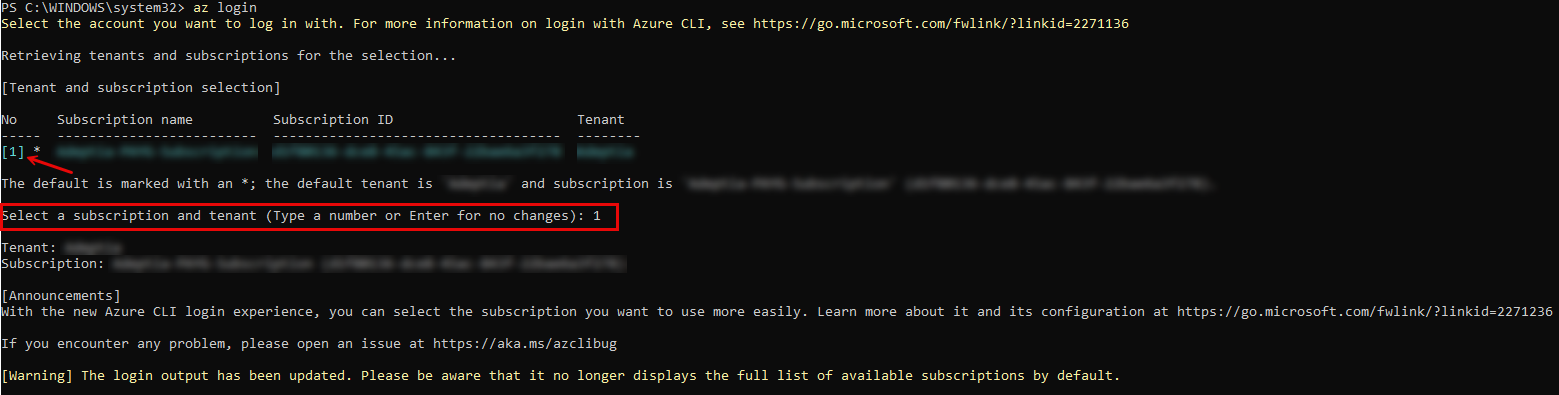
- When prompted, type the corresponding number to select a subscription that you want to use, and then press Enter.
-
Set the active subscription
-
Run the following command to set the subscription you selected in the previous step:
This ensures all subsequent Azure CLI commands target the specified subscription.
-
-
Retrieve AKS Cluster and Resource Group information
-
Run the following command to get all AKS cluster names and their resource groups for the specific Azure subscription ID.
-
From the output, note down the name of the Cluster you want to connect to and its and Resource Group.

-
-
Connect to the AKS Cluster
-
Use the following command to download kubeconfig credentials and merge them into your local kubeconfig file:

The --overwrite-existing parameter ensures any previous configurations for this cluster are replaced with updated credentials.
-
-
Verify the connection
-
Check the current Kubernetes context to confirm that kubectl is pointed to the correct cluster:
Expected output:
Name of the AKS Cluster.

-
-
Convert Kubeconfig to use Azure CLI authentication
-
Run the following command to convert your kubeconfig to use Azure CLI tokens instead of deprecated AAD auth:

*
This updates your kubeconfig so kubectl authenticates using the Azure CLI login session (*az login*), improving reliability and compatibility with current AKS authentication requirements.*
-
-
Go back to this document to deploy the application on the Cluster you connected to.