Using the EDI Outbound Template
You can create an EDI Outbound Transaction by using prebuilt EDI Template bundled with Connect.
To create an EDI Outbound Transaction:
-
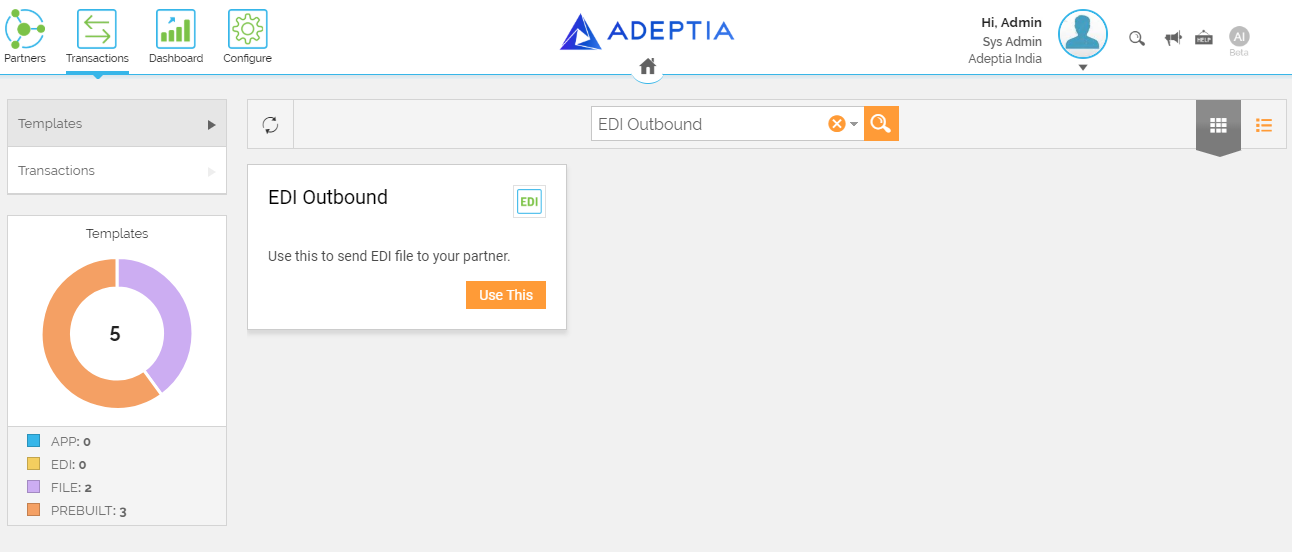
Click Transactions > T****emplates.
-
On the Templates screen, search EDI Outbound.
-
Click
 for the EDI Outbound Template to create an EDI Transaction.
-
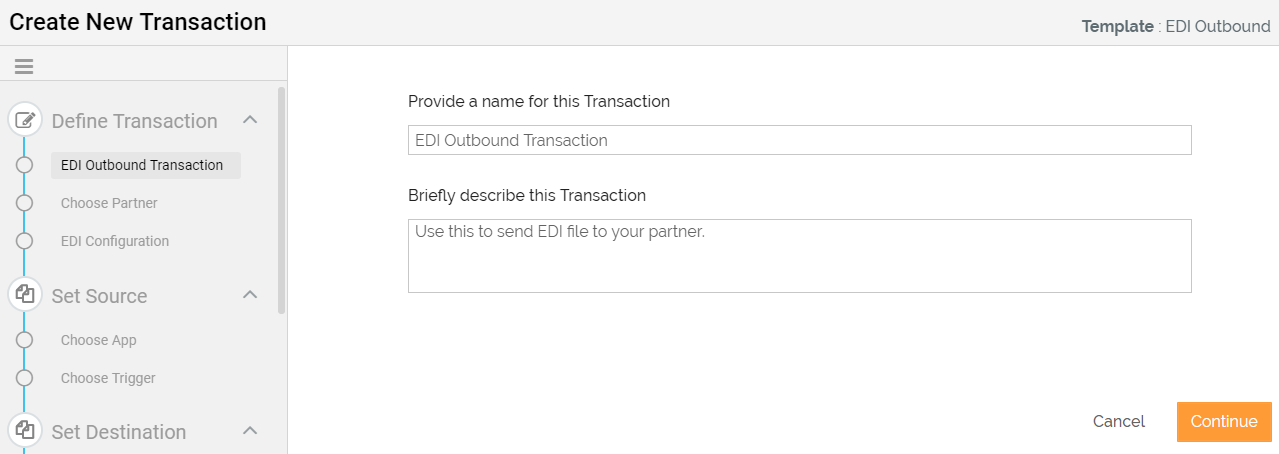
Connect automatically populates the name and description for the Transaction, you can edit the name and description, if necessary.
-
Click Continue to define the Network and Partner.
-
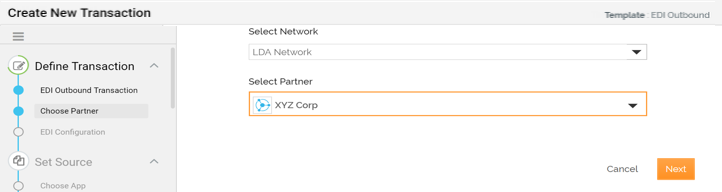
Select the Network and Partner for which you are creating the Transaction.
-
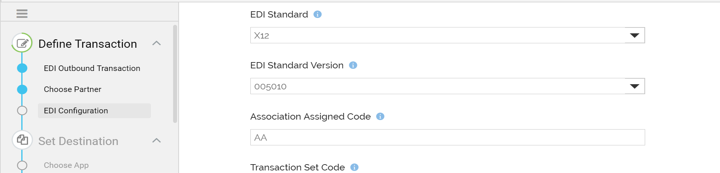
Click Next to define the EDI Configuration. Click here to get more details to define the EDI Configuration.
-
On EDI Configuration step, do the following:
-
Type the last used transaction control number in the Last used Transaction Control No text box.
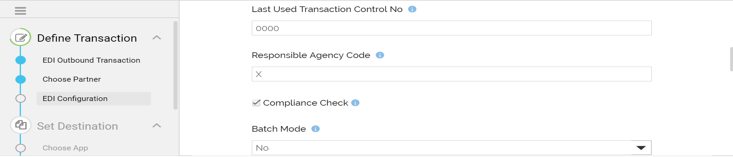
-
Expand Group Envelope Properties and define the properties.
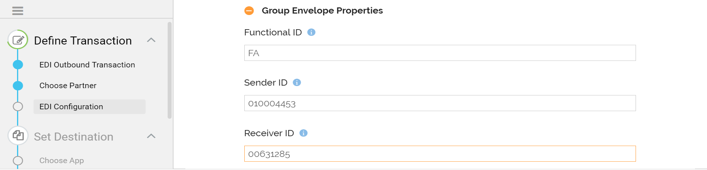
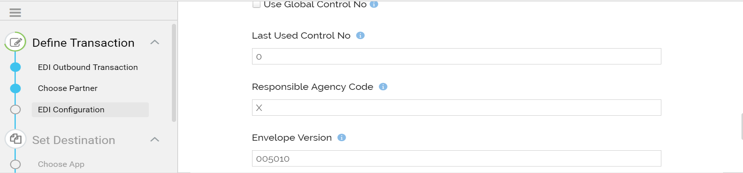
-
Expand ISA Envelope Properties and define ISA Envelope.
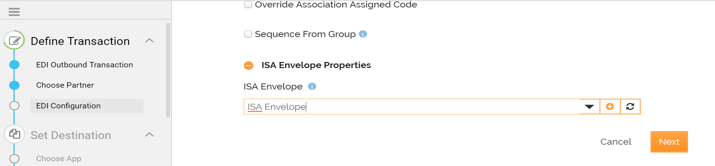
-
-
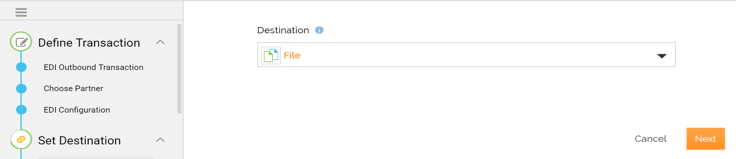
Click Next to define the File as destination for acknowledgement.
-
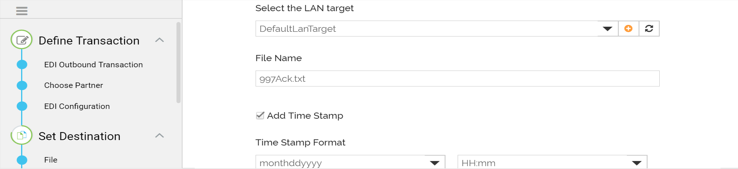
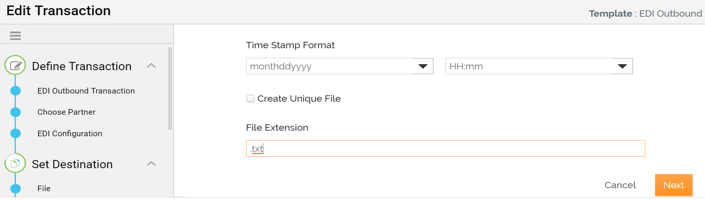
Click Next to define the LAN target details.
-
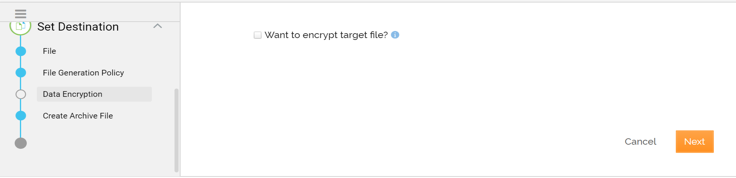
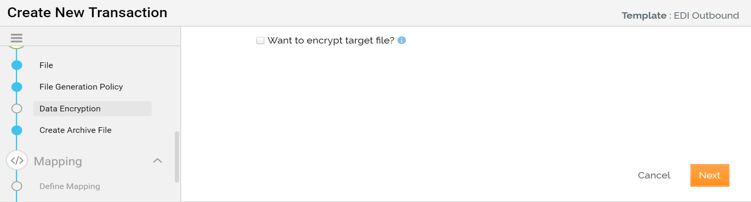
Click Next to define the encryption. Select Want to encrypt target file? check box if you want to encrypt the destination file.
-
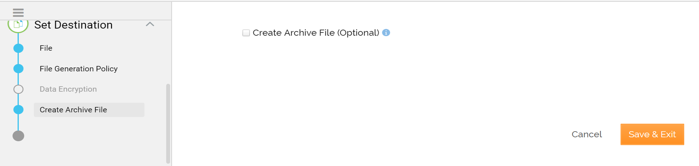
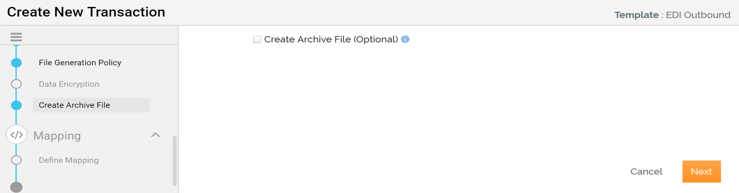
Click Next to define the Archival option.
-
EDI Outbound Acknowledgement Transaction is created.
These steps indicate to create a regular EDI outbound like a Purchase Order Transactions steps up to selecting the Template, Network and Partner and name of transactions are same as in the above use case.
-
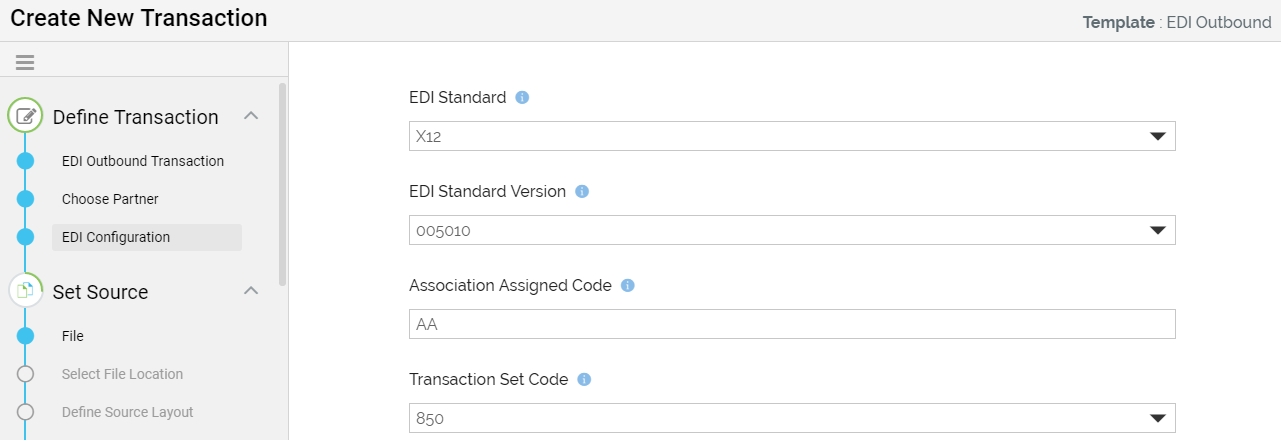
Define the EDI Configuration. Click here to get more details to define the EDI Configuration.
-
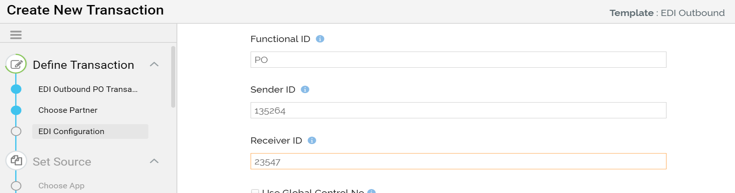
On EDI Configuration step, do the following:
-
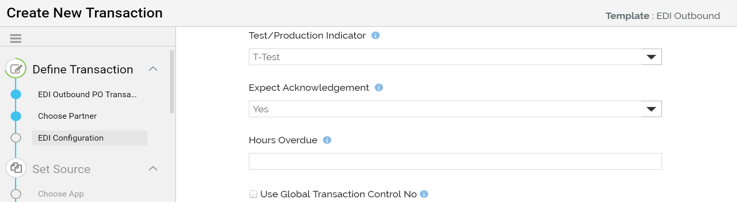
Select the Test/Production Indicator.
-
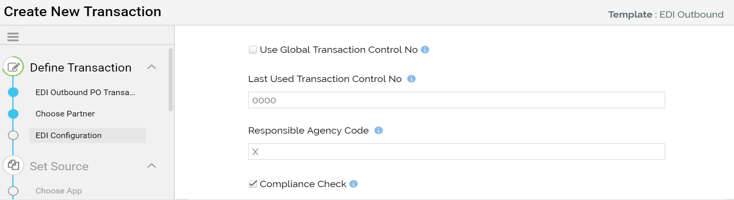
Type the last used transaction control number in the Last used Transaction Control No text box.
-
Expand Group Envelope Properties and define the properties.
-
Expand ISA Envelope Properties and define ISA Envelope.
-
-
Click Next to define the Source application account.
-
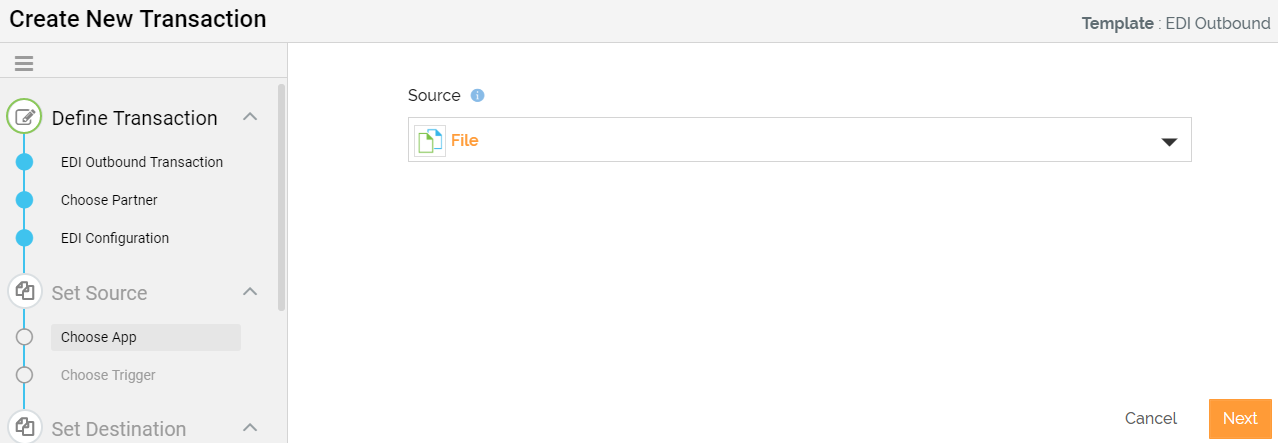
Select the File source application.
-
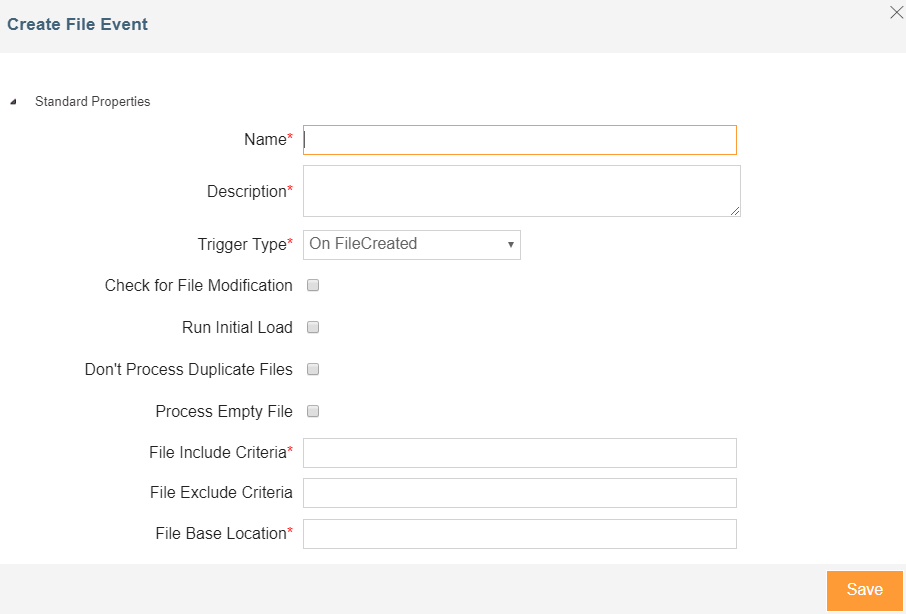
Click Next to select the File Event from drop-down list.
Or
Click [+] to create a File Event for the source.
-
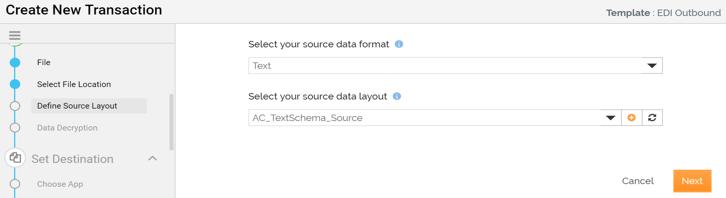
Click Next to define the Source layout.
-
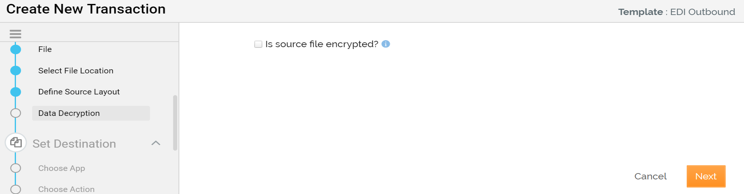
Click Next to define the encryption. Select the Is Source File Encrypted? check box if the source file is in the encrypted form.
-
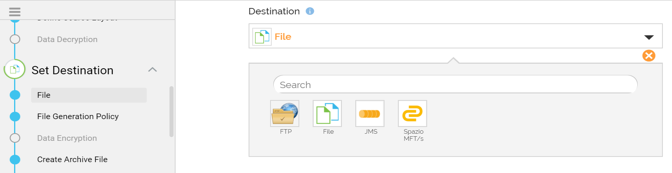
Click Next to select the File destination application.
-
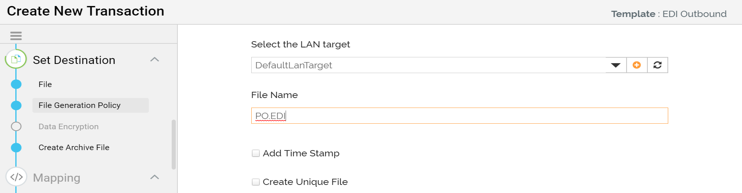
Click Next to define the file generation policy details.
-
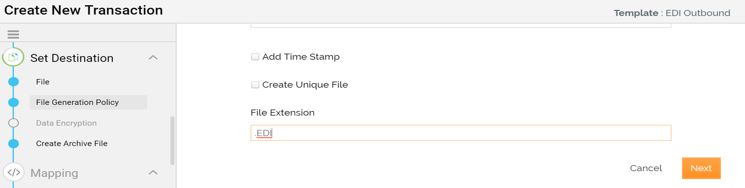
On File Generation Policy step, type the extension of the file in the File Extension text box.
-
Click Next to define the encryption. Select Want to encrypt target file? check box if you want to encrypt the destination file.
-
Click Next to define the Archive File.
-
Click Next to define the Mapping between the fields of the selected source and the destination application.
-
Select the mapping from the Select Mapping drop-down list and click Next.
Or
-
Click [+] to create a new mapping. A new window will appear, enter the details and click Create.
-
Map the elements in Mapper and save the mapping.
-
-
Click Save & Exit to save the Transaction.