Electronic mail, most commonly referred to as email, is a method of exchanging digital messages from an author to one or more recipients. Modern email operates across the Internet or other computer networks. Current email systems are based on a store-and-forward model. Email servers accept, forward, deliver, and store messages. Neither the users nor their computers are required to be online simultaneously; they need a connection to a mail server, for as long as it takes to send or receive messages.
Field (Account) Information
While configuring the Source or Destination of a Template or Transaction, you need to create an account to connect Email with Adeptia Connect. To do so, follow the steps given below:
-
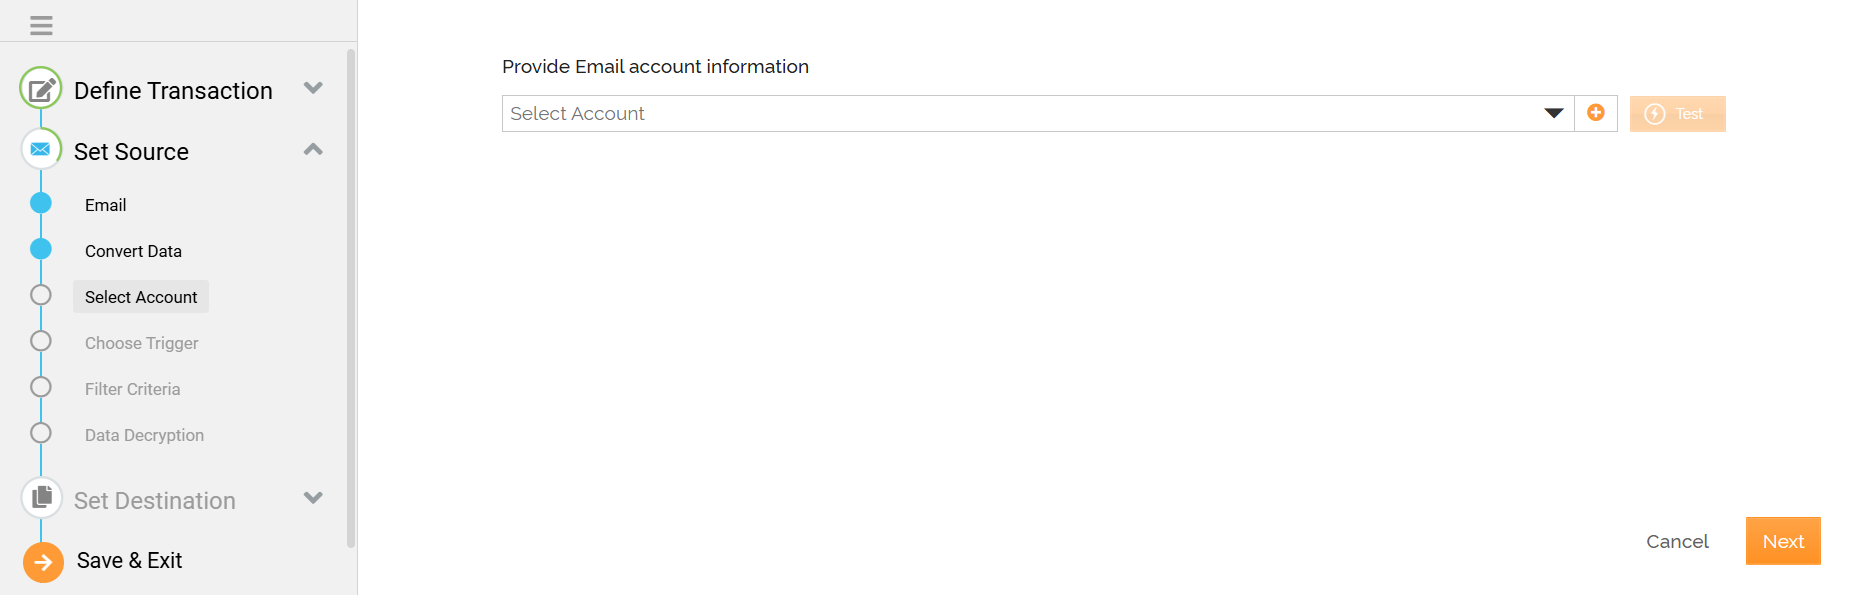
On the Select Account screen, click
 to add an account.
-
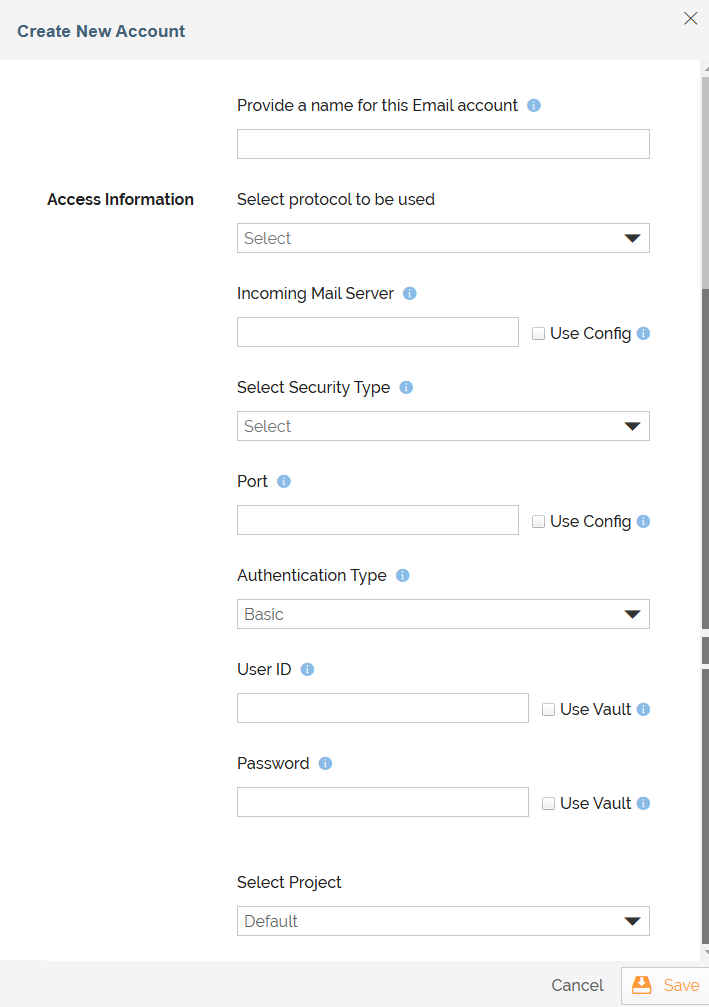
On the Create New Account screen, provide the name of the email account.
-
If you select GRAPH API as the protocol then provide the following detail:
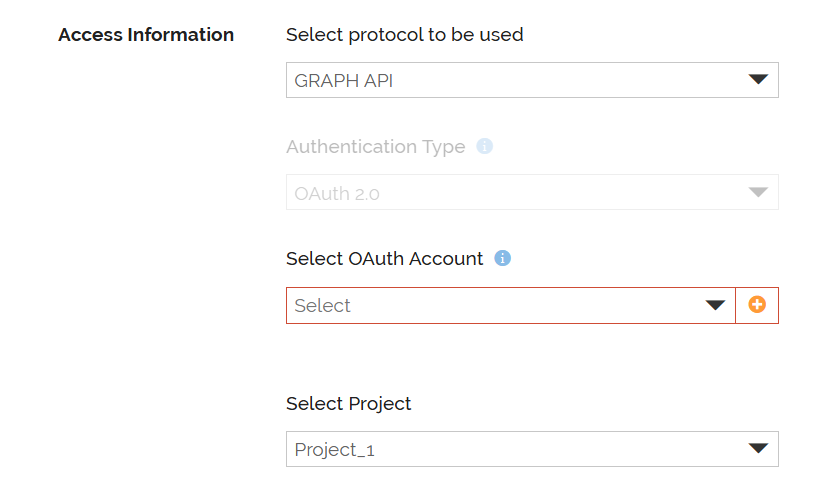
Field Name Description Select OAuth Account Select one of the available OAuth accounts from this field. -
If you select POP3 or IMAP4 as the protocol, then provide the following details:

You can select the Use Config checkbox (if available) to dynamically fetch the values of the fields from a Git repository at runtime using a variable. Field Name Description Incoming Mail Server
Provide the Incoming mail Server address.
Select Security Type Protocol that provide data encryption and authentication between applications and servers in scenarios where that data is being sent across an insecure network. The available options are SSL, TLS, None. Port The port on which the mail server listens.
Authentication Type Select the type of authentication from the Authentication Type field. The available options are: Basic and OAuth 2.0.
- When you select Basic as the Authentication Type, provide the mail server credentials in the User Id, Password, and Confirm Password fields respectively.
You can also use HashiCorp Vault to fetch the secrets (credentials) for User Id and Password. Each secret is maintained as a key-value pair in Hashicorp Vault. Select the checkbox against the respective fields to use Vault to fetch secrets for the fields. Enter the variable in the following format in the field:
${Vault:<Key1>}Where, <Key1> is the key in Hashicorp Vault that is defined for the field.
For example, you need to enter ${Vault:mailEventUserId} in the User Id field, if you have defined maiEventUserId as the key for this field in the Vault. For more details, refer to this page. - When you select OAuth 2.0 as the Authentication Type, you need to provide an OAuth account in the field that follows.
OAuth Account field displays only those OAuth Accounts for which you have selected Use In Mail Activity check box while creating the account. Click here to know how to create an OAuth Account.
- When you select Basic as the Authentication Type, provide the mail server credentials in the User Id, Password, and Confirm Password fields respectively.
-
Select the project from the drop-down and click Save.
Triggers
A Trigger specifies when a particular Transaction will start executing. While configuring the Source of a Template, you need to choose an event.
Following triggers are available for Email at Source.
Trigger Name | Description |
|---|---|
New Email | Triggers when a new email is received. |
Actions
An Action specifies how the data will be transferred at the destination location. While configuring the Destination (Target) of a Template, you need to choose an action.
Following actions are available for Email at Destination.
Action Name | Description |
|---|---|
Send Email | Sends an email to the configured email IDs (separated by commas) with the retrieved data. |