Creating an account for Dropbox connector
In Adeptia Connect, you can create an account that contains the details for connecting to Dropbox and exchanging data with it. Below are the steps for creating an account in the following scenarios:
While defining the Source or Destination in a Template/Transaction
-
At the Select Account step, click
 .
.
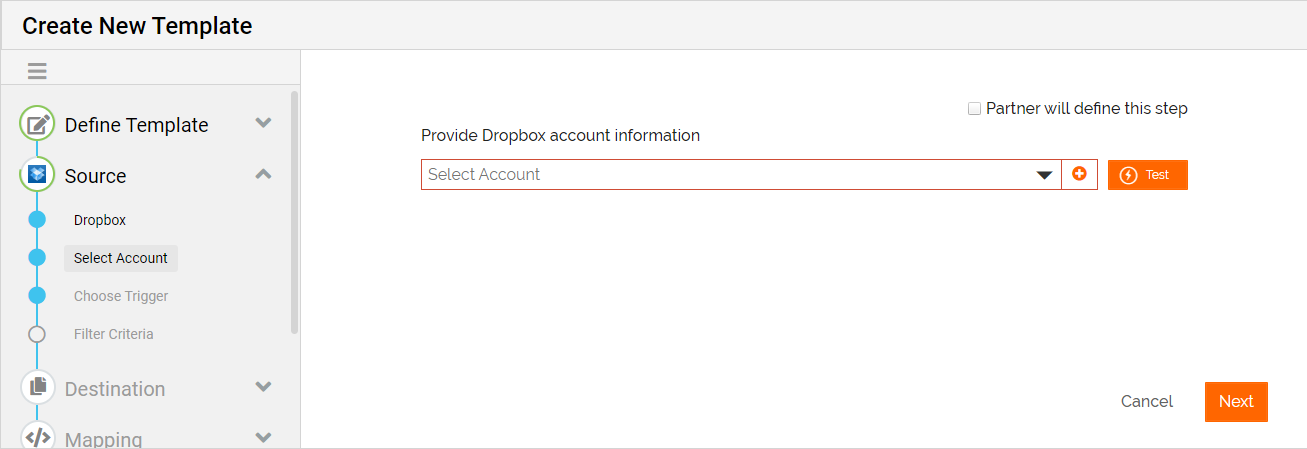
-
On the Create New Account screen, enter a name for the account.
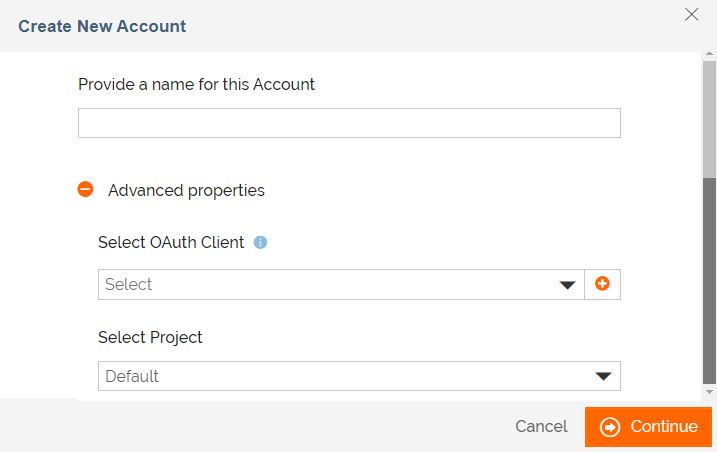
-
Expand Advanced properties, and then provide values for the fields described in the following table:
Field Description Select Oauth Client The OAuth Client you may have created in Adeptia Connect.
- This is an optional field. In this field, you can select the OAuth Client you may have created for the Dropbox app connector you are using in the Template/Transaction.
- For the OAuth Client to work, you must enter the Redirect URI (Callback URL) in the following format while registering Adeptia Connect with the app.
https://<domainName>/rest/connectors/oauth/account.
To learn more about creating an OAuth Client, refer to this section.
Select Project Select a Project. -
Click Continue.
You will be redirected to the Dropbox login page if you are not logged in to it.
While defining the Application Trigger for a Process Flow
You can create an account from within an Application Trigger (having Dropbox as a Source) that you want to bind to a Process Flow. For more details on how to create an Application Trigger, refer to this page.
Follow the steps given below to create an account.
- At the Provide account information step on the Create Application Trigger screen, click .
- Follow the steps given here (step 2 through 4).
While defining the Application Action for a Process Flow
An Application Action is an activity wherein you can select a Dropbox connector and define what data you want to send to Dropbox.
 | To use Dropbox as a Source in a Process Flow, you need to use an Application Trigger. |
While defining the Application Action, you can create an account that you can use for exchanging data with Dropbox.
Follow the steps given below to create an account.
- At the Provide account information step on the Create Application Action screen, click .
- Follow the steps given here (step 2 through 4).