Migration on Windows
This section assists you in migrating objects on a Windows based operating system.
To migrate objects:
-
Go to the location where Adeptia Connect is installed, for example, C:\Program Files\AdeptiaConnect\AdeptiaConnect-<version>.
-
Open the bin folder.
-
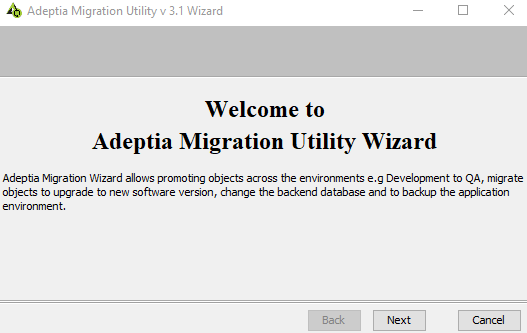
Double-click MigrationUtility.exeto run the Migration utility.
-
Click Next.

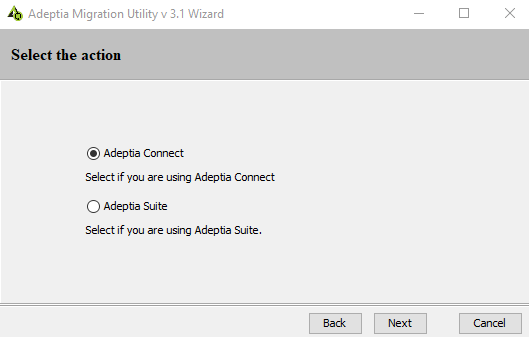
Before you start migration, you need to determine which application’s activities, Connect or Suite, you are going to migrate. In case of using Suite as a standalone application, you need to select Adeptia Suiteon the screen to migrate activities specific to the application. Select Adeptia Connect to migrate the activities that belongs to Connect. -
Select Adeptia Connect. In case you select Adeptia Suite, click here to follow the steps for migration.
-
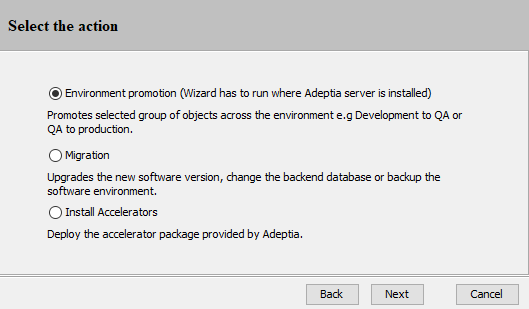
Select the appropriate way to run Migration utility and click Nextto proceed further.
-
Select the migration action and click Nextto proceed further.
For Environment Promotion, refer to Environment Promotion. For Migration, refer to Migration. For Installing Accelerators, refer to Installing Accelerators.
Next Step
Environment PromotionMigrationInstalling Accelerators
You may be interested in...