Using REST Webhook in a Template
REST Webhook can be used as a source in a template. While you have a pre-bundled set of REST providers to be used as a Simple Webhook type, you also have an option to create and use a REST provider as an Advanced REST Webhook type in a template according to your need.
If you have published a REST Provider as a Template, you will be able to select it from the designated drop-down box. You can also create a new one by clicking [+] and use that as a source even when you are in the middle of creating a template.
Follow the steps below to create and use a REST Webhook as a source in a template.
 | For steps previous to the step 1 being discussed below, refer to Creating a Template. |
|---|
-
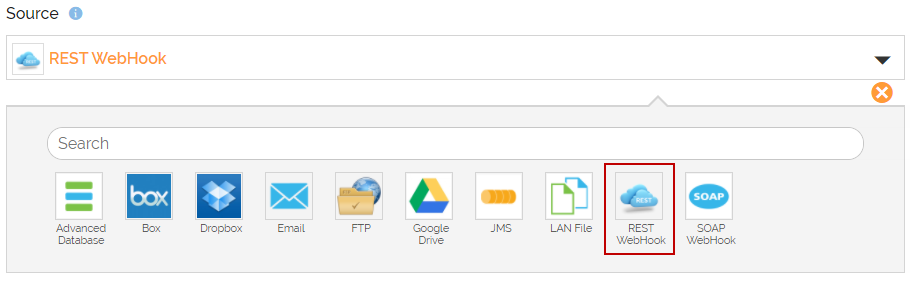
Select REST Webhook as a source application.
-
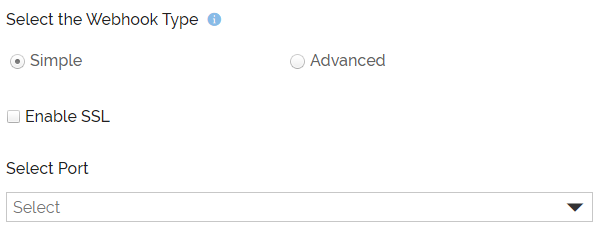
Select the Webhook type as Simple or Advanced.
-
When Simple configuration is selected:
-
Select Enable SSL check box if you want the REST Provider service to offer a SSL security.
-
Select a port in the Select Port field.

If you want to publish the REST Webhook to a custom port instead of the default port, refer to this document. 
These two fields are available only when you have selected the Simple as a Webhook type.
-
-
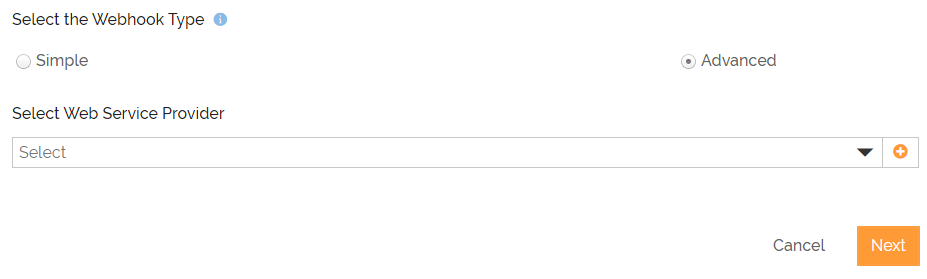
When Advanced configuration is selected:
-
Select a pre-defined REST Provider in the Select Web Service Provider field.
-
You can also create a new provider by clicking
 .
.When you create a new REST Provider from Template wizard:
• The field Publish as will not be available and by default, the REST Provider will always be published as a Template.
• By default, the REST provider will be created in a published state.
-
-
Click Next.
-
Select the Apply Security Policy check box.
This screen appears only when you have selected Webhook type as Simple. -
Select a pre-defined security policy in the Select Security Policy to applyfield. You can also create a new security policy by clicking
. -
Click Nextto proceed to the next step of template creation.
| | Once the Template is created, you can get the Webhook URL by clicking Copy URL (in case of Simple Webhook type) and Endpoint URL (in case of Advanced Webhook type) **** under the Action menu on the Templates manage page.
| | This option is available only when the template is in active state . |
| --- | --- |
The format of the copied URL for an Advanced Webhook type will be as follows:
<selected Scheme in Provider>://<Server>:<Selected Port>/wsapi/apiVersion/resource end path
The table below explains the components of this URL for different cases:
| Case | Endpoint | Endpoint | Endpoint | Endpoint |
| :---: | :---: | :---: | :---: | :---: |
| Scheme | Host | Port | Context path |
| No Port | GUI Scheme | GUI Host | GUI Port | /wsapi/resource end path |
| Non SSL Port | http | GUI Host | Selected Port | /wsapi/resource end path |
| SSL Port | https | GUI Host | Selected Port | /wsapi/resource end path |
The format of the copied URL for a Simple Webhook type will be as follows:
<selected Scheme in Provider>://<Server>:<Selected Port>/rest/triggerprocess/<templateId>
The table below explains the components of this URL for different cases:
| Case | Endpoint | Endpoint | Endpoint | Endpoint |
| :---: | :---: | :---: | :---: | :---: |
| | Scheme | Host | Port | Context path |
| No Port | GUI Scheme | GUI Host | GUI Port | /rest/triggerprocess/<templateId> |
| Non SSL Port | http | GUI Host | Selected Port | /rest/triggerprocess/<templateId> |
| SSL Port | https | GUI Host | Selected Port | /rest/triggerprocess/<templateId> | |
| --- | --- |
Related Topic
Using API Documentation for REST Webhook Transaction
You may be interested in...