Performing an Action within a Project
You can perform an action within a project. On the Project page, select the project and click the icon to view the action menu. These are the following actions which you can perform within a project. In addition, you can also check-in the activity, if you have enabled versioningin your Adeptia Connect installation.
 | You cannot create an activity from the Projects page. You can only manage activities from this page. |
|---|
Before performing an action within a project, ensure that you have logged into Adeptia Connect with Admin or IT User rights. [+] Edit [-] Hide Follow these steps to edit the existing project.
- Go to Configure > Project to view the list of existing projects.
- Click the More
 option under the Action column to view the action menu of the project you want to edit and then click Edit.
 - On the Edit Project screen, update the project details.
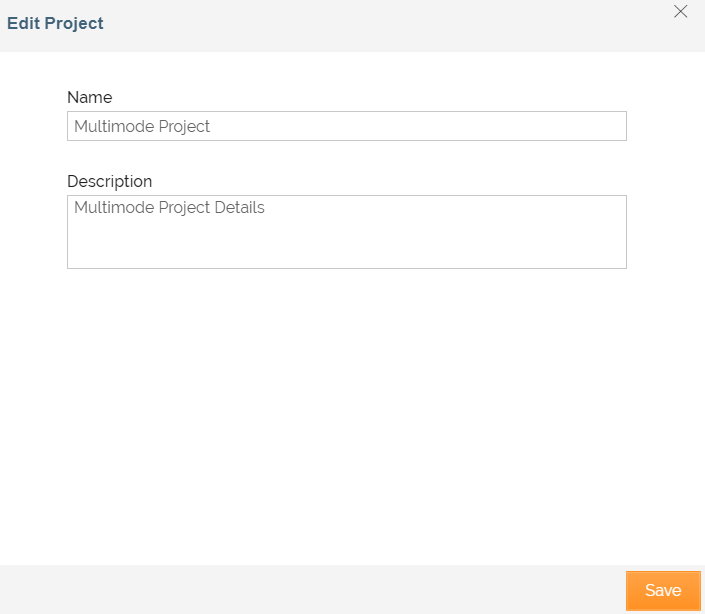
- Click Save. [+] Delete [-] Hide You may want to delete a project from Adeptia Connect after you have achieved your objective. You can only delete a project if:
- You are an Administrator or IT user.
- You are owner of the Project to be deleted.
- Project has no activities. Delete the activities of a project before deleting it.
- You must ensure that activities have no dependencies on other projects; else you need to move those activities to the relevant project. If you have not moved the activities with dependencies to another project, you will be automatically directed to the Move Activity page where you are required to select another project.
Steps to Delete a Project
-
Go to Configure > Project to view the list of existing projects.
-
Click the More
option under the Action column to view the action menu of the project you want to delete. -
Click Delete. A dialog box appears prompting you to confirm the deletion.

-
Click Yes, delete it to delete the project.
-
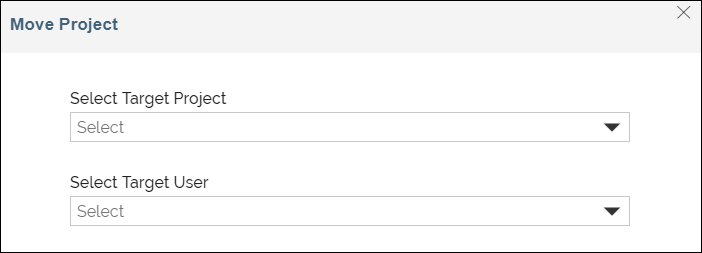
If the project you want to delete has activities with dependencies on other projects, you will see Move Project page**.
 **
** -
Click Move & Delete after selecting the Target Project and User and confirmation message is displayed.
 [+] View Templates
[-] Hide
Follow these steps to view the Templates applicable to the existing projects.
[+] View Templates
[-] Hide
Follow these steps to view the Templates applicable to the existing projects. -
Go to Configure > Project to view the list of existing projects.
-
Click the More
option under the Action column to view the action menu of the project you want to view templates. -
Click View Templatesand it will redirect you to Template Manage Page (Configure > Templates) and display the Templates which are applicable to this project. [+] View Web Forms [-] Hide Follow these steps to view Web Forms applicable to the existing projects.
-
Go to Configure > Project to view the list of existing projects.
-
Click the More
option under the Action column to view the action menu of the project you want to view Web Forms. -
Click View Web Forms and it will redirect you to Web Form Manage Page (Configure > Web Forms) and display the Web Forms which are applicable to this project. [+] View Activities [-] Hide You can view the activities associated with the existing projects. To do so,
-
Go to Configure > Project to view the list of existing projects.
-
Click the More
option under the Action column to view the action menu of the project you want to view activities. -
Click View Activities.
-
Click View All to navigate to the Manage Object page displaying the corresponding list of activities.
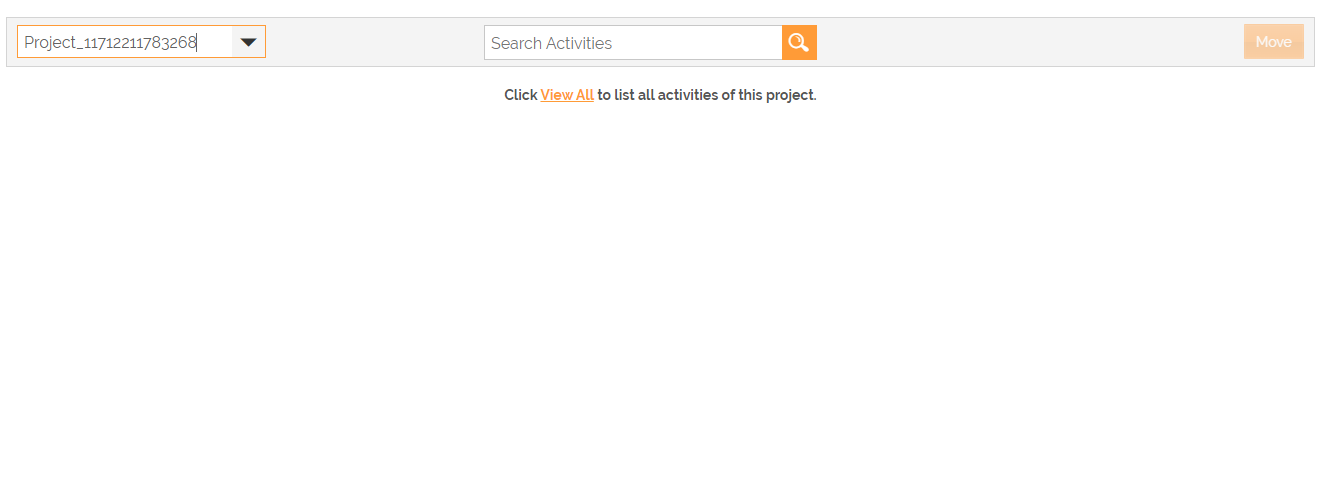
You can filter the project and its activities by selecting the project in the Select Projectfield. -
If you want to move activities to another Project from this screen,
- Search the name of the activity or *****. The list of all the activities associated with the Project is displayed.
- Select the activities that you want to move to another Project.
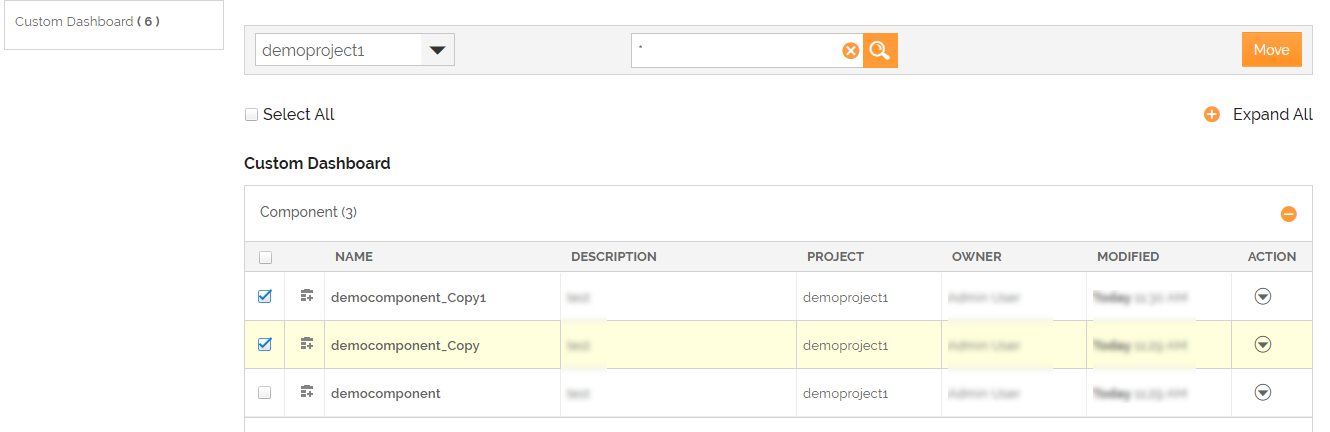
| You can expand and select all the activities at once using the  and Select Allcheckbox respectively. and Select Allcheckbox respectively. |
|---|
- On the Move Project screen, select the Target Project and Target User.
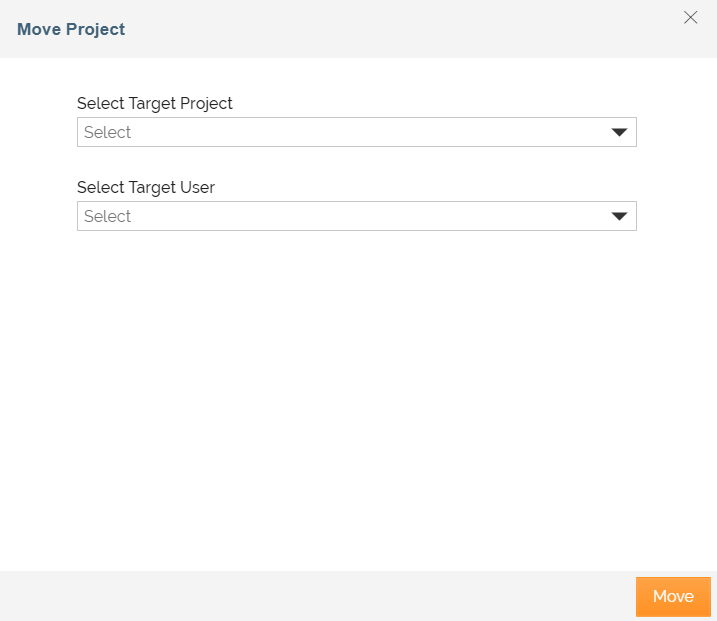 4. Click Move.
[+] Move All
[-] Hide
You can move an activity of a project to another project. You can move either all activities or the selected activities of a project.
4. Click Move.
[+] Move All
[-] Hide
You can move an activity of a project to another project. You can move either all activities or the selected activities of a project.
Follow these steps to Move an Activity to another Project.
- Go to Configure > Project to view the list of existing projects.
- Click the More option under the Action column to view the action menu of the project you want to move.
- Click Move All.
- On the Move Project screen, select the Target Project and Target User and click Move. Your activities will be moved to respective Target Project and User. [+] Grant Access [-] Hide You can grant access to partners of a projects using this option.
Follow these steps to grant access to partners.
-
Go to Configure > Project to view the list of existing projects.
-
Click the More
option under the Action column to view the action menu of the project. -
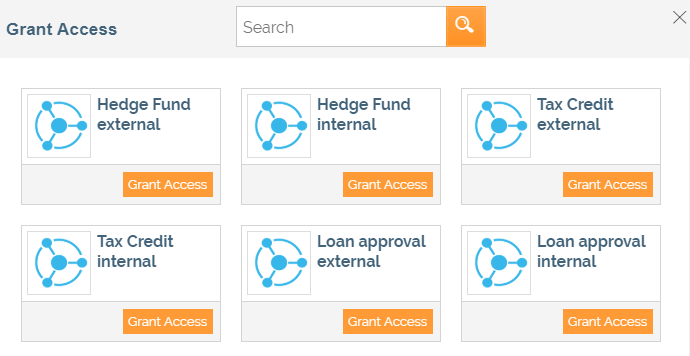
ClickGrant Access and you will see the Grant Access page with list of Partners.
-
Click Grant Access to provide access to a particular Partner.
-
SelectYes, grant it to grant the access.
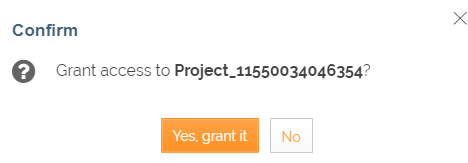
You can select number of Partners by clicking Grant Access. -
A confirmation message is displayed.
 [+] Synchronize With Head
[-] Hide
You can sync all the activities of a project to latest version by using Synchronize With Head option. With this option, you can check-out the project.
[+] Synchronize With Head
[-] Hide
You can sync all the activities of a project to latest version by using Synchronize With Head option. With this option, you can check-out the project.
Follow these steps to check-out the project.
- Go to Configure > Project to view the list of existing projects.
- Click the More option under the Action column to view the action menu of the project.
- Click Synchronize With Headand a dialog box appears prompting you to confirm synchronize project with Head.
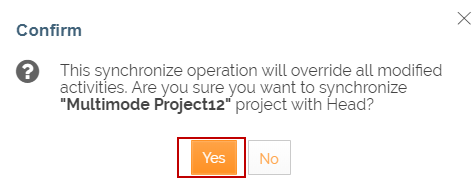
- Click Yes to check-out the project and confirmation message is displayed.
