Using the Data Interface Template
You can create a Data Integration Transaction by using prebuilt Data Integration Template bundled with Connect.
To create a Data Integration Transaction:
-
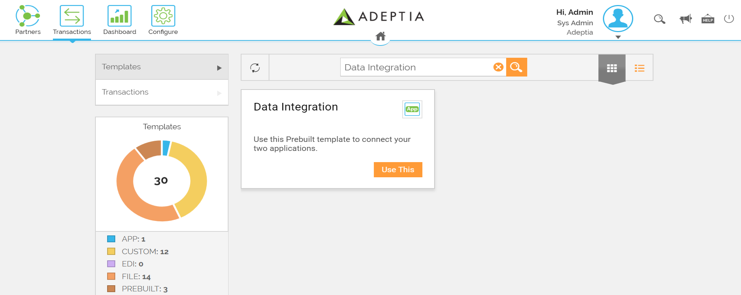
Click Transactions> T emplates.
-
On the Templates screen, search Data Integration.
-
Click
 for the Data Integration Template to create a Data Integration Transaction.
-
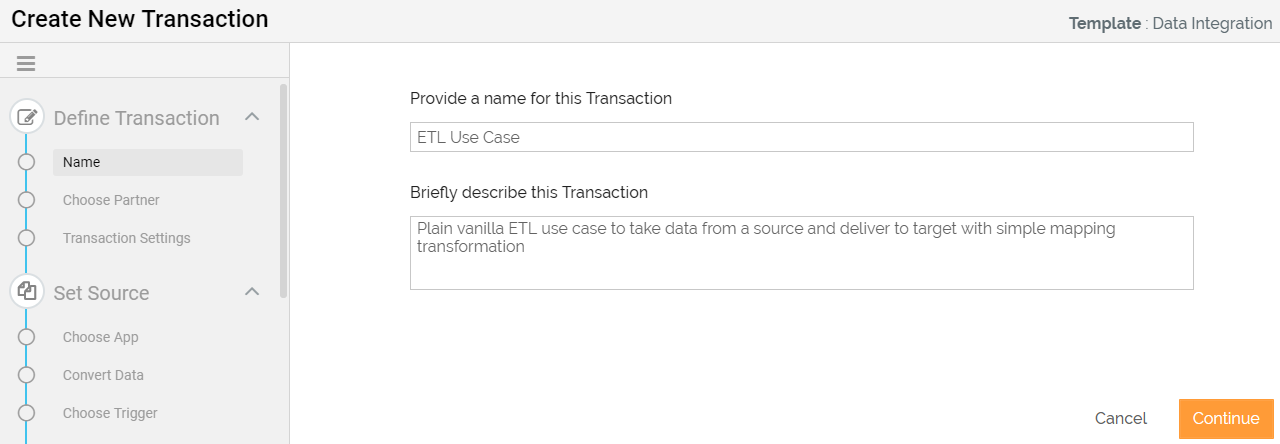
Provide the name and description of the Transaction.
-
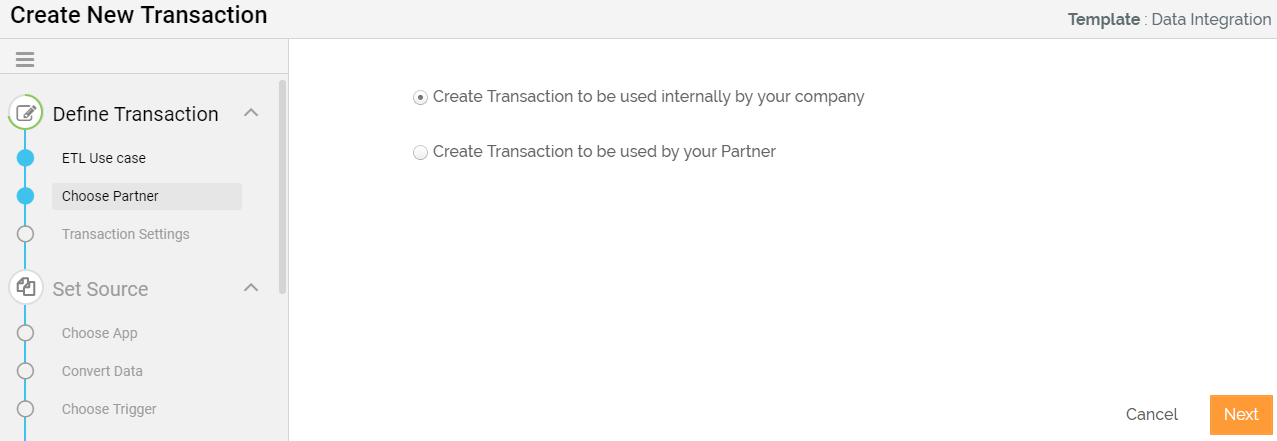
Select the Transaction user type.
-
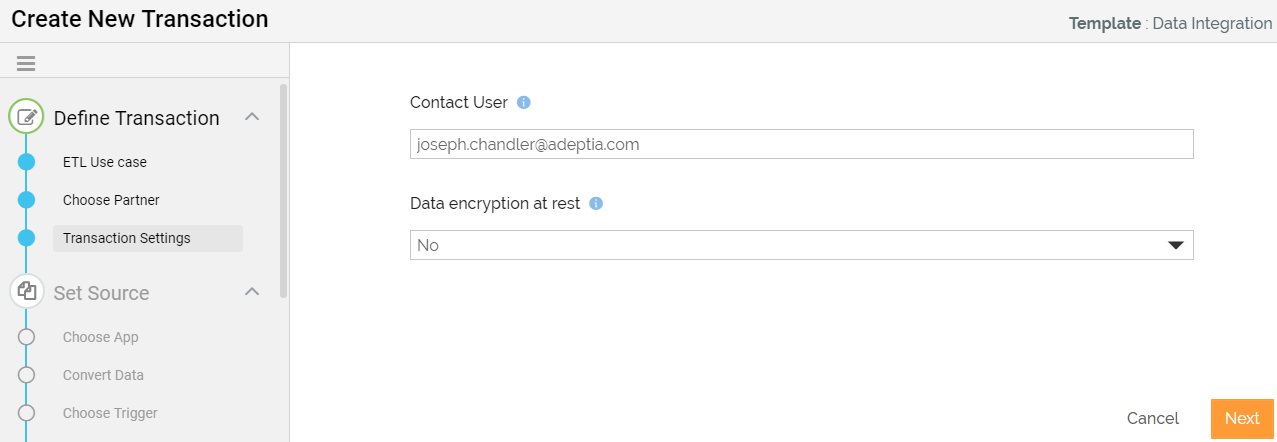
Provide the email id in the Contact User and select Data encryption at rest from the drop-down list.
-
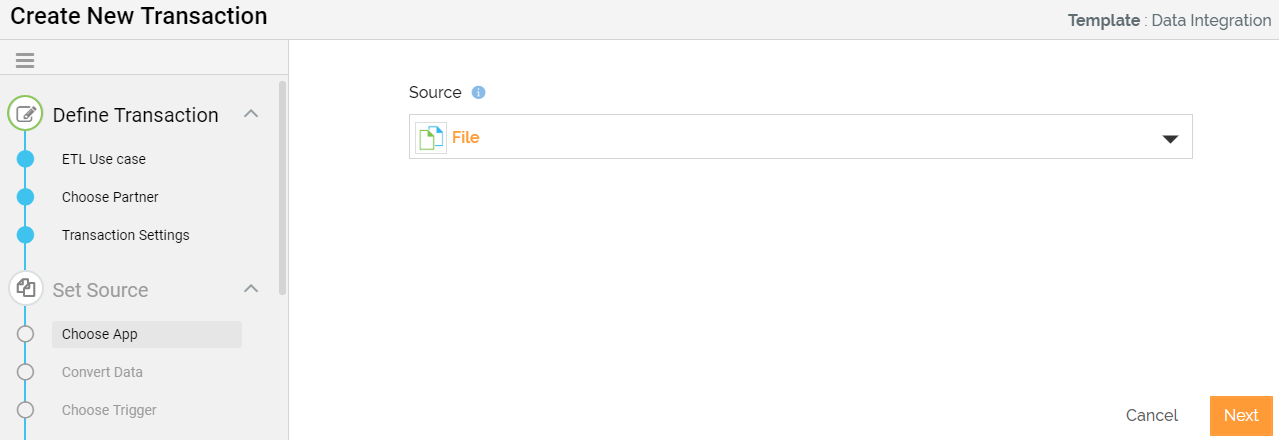
Click Next to define the Source application account. Select File as source type and click Next.
-
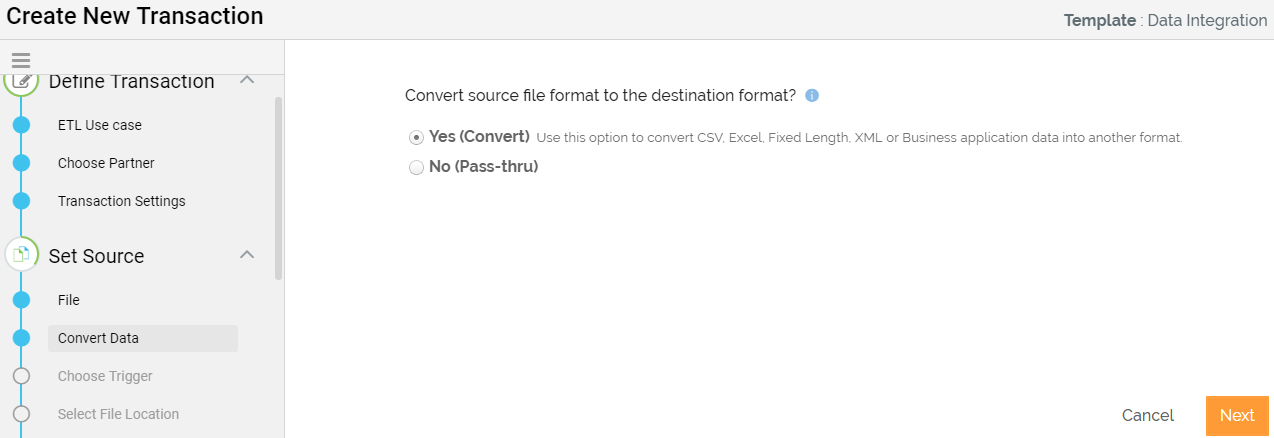
Select the option to Convert or Pass-thru the source file format to the destination format and click Next.
-
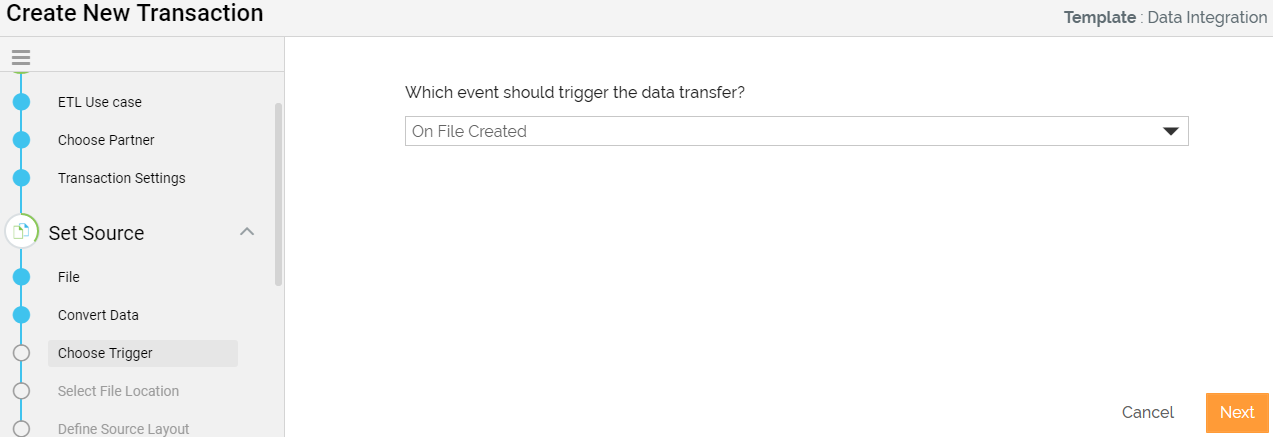
Choose the event to Trigger the data transfer.
-
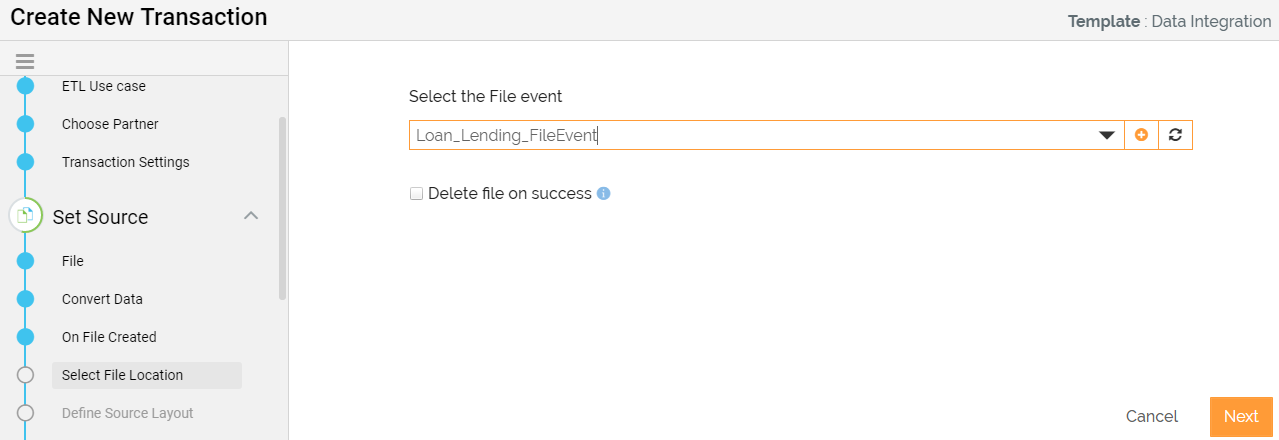
ClickNext to specify the file event.
-
ClickNext to define the source data layout.
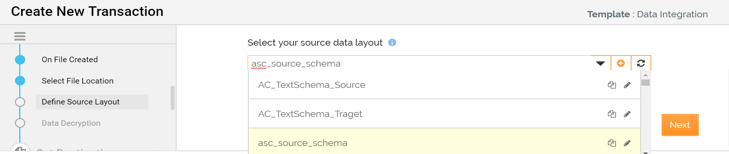
-
Click Next and select the checkbox if the source file is in the encrypted format.
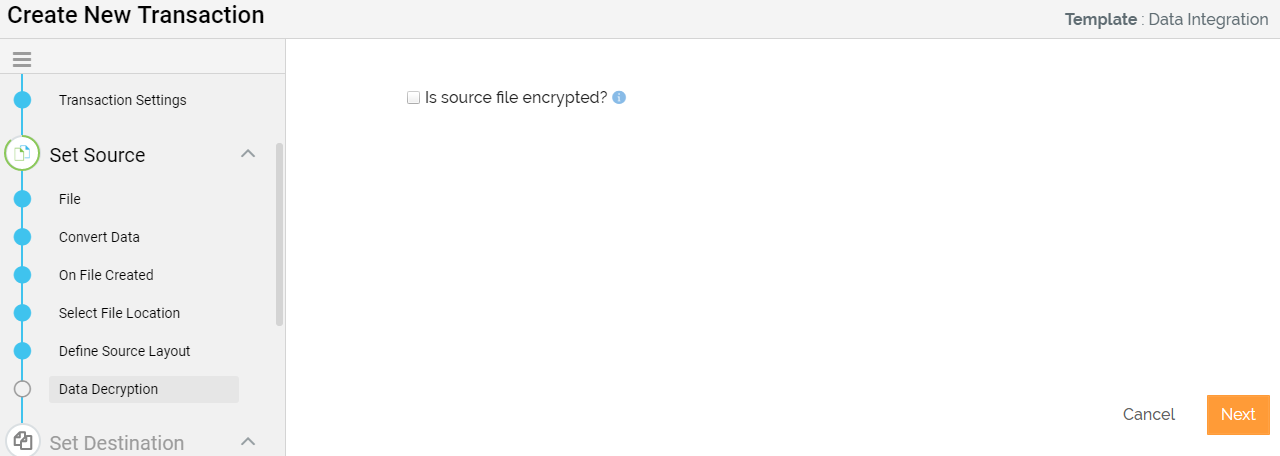
-
Click Next to define the Destination application account. Choose File as a destination application.
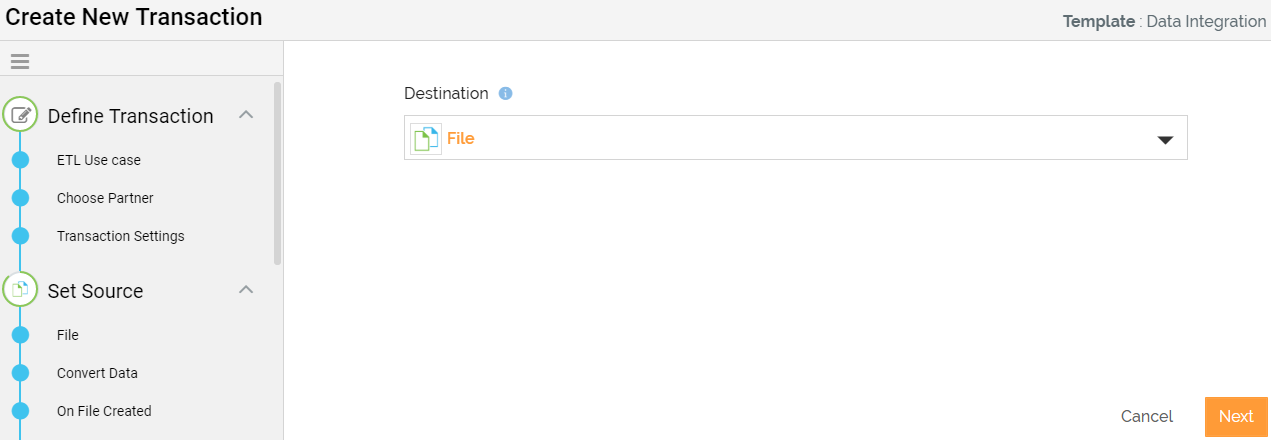
-
Click Next to define the data delivery to destination.
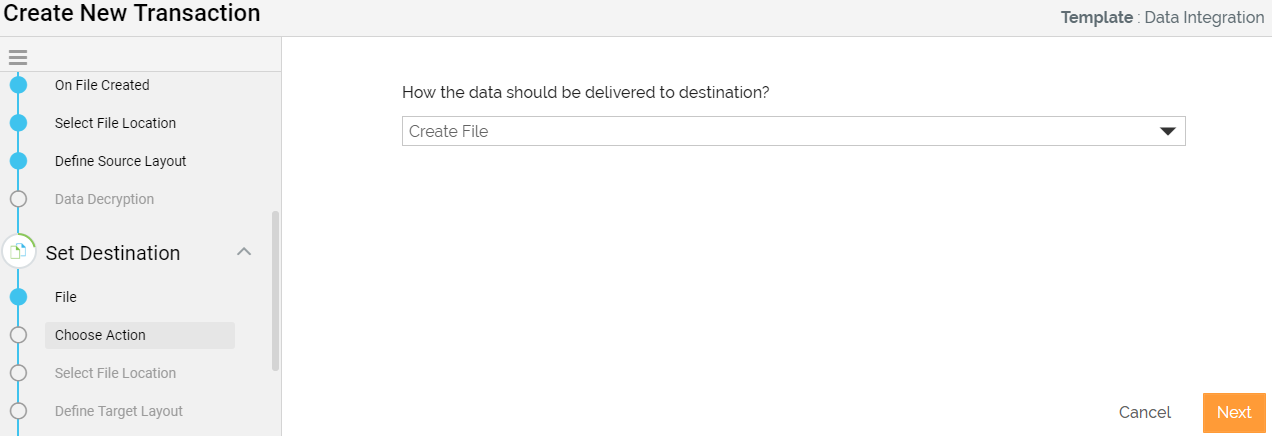
-
Click Next to select the LAN target.
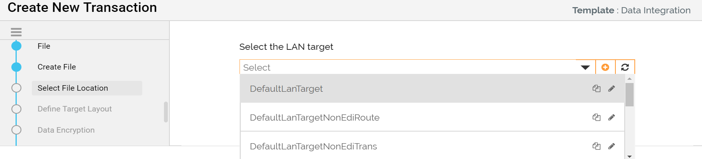
-
Click Next to select the target data format and data layout for the Destination application.
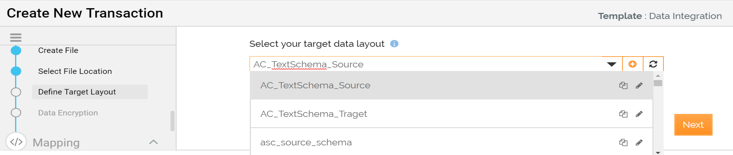
-
Select Data Encryptionand check the box if you want to encrypt the destination file.
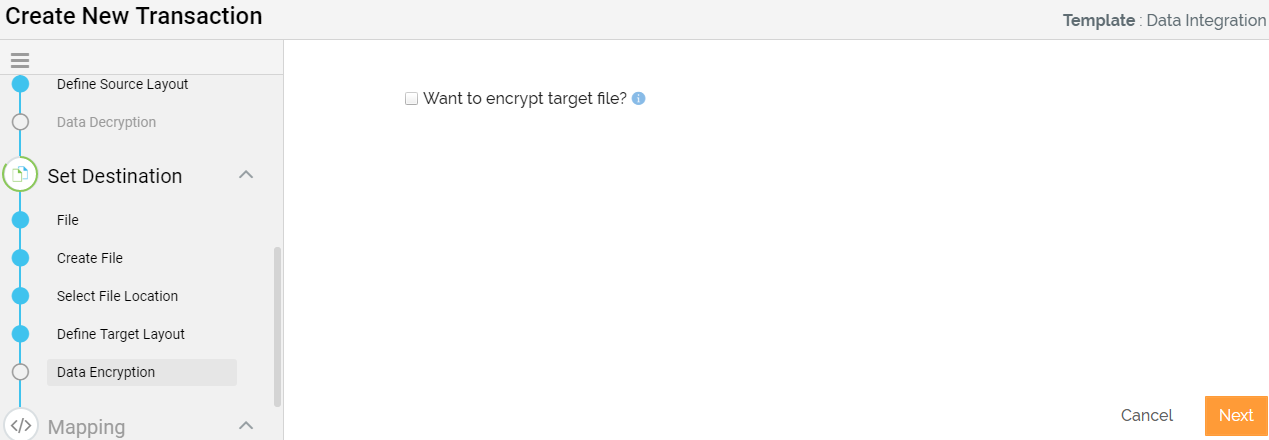
-
Click Next to define the Mapping between the fields of the selected source and the destination application.
-
Select the mapping from the Select Mapping drop-down list and clickNext.
Or
-
Click to create a new mapping. A new window will appear, enter the details and click Create.
-
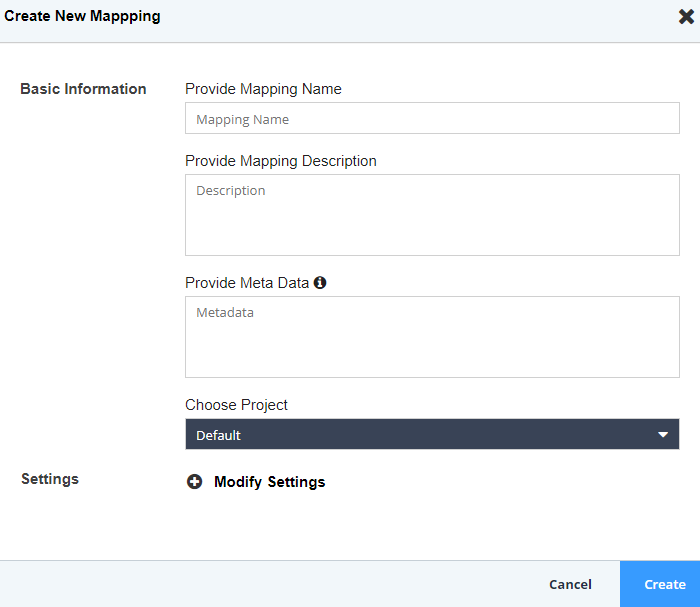 3. Map the elements in Mapper and save the mapping.
19. Click Save & Exit to save the Transaction.
20. Click Yes, turn On, when prompted to confirm.
3. Map the elements in Mapper and save the mapping.
19. Click Save & Exit to save the Transaction.
20. Click Yes, turn On, when prompted to confirm.

Next Step
/wiki/spaces/AC37/pages/15730616