Custom Form Development Steps
Sencha Architect Pre-requisites
- Ext JS Framework
- Sencha cmd
- Ruby Installer
- Eclipse
- Apache Tomcat Server
- Adeptia Connect WAR File
- AIS Installer Compatible with the AC WAR
Sample Project in Eclipse
Below is the Cmd command to create a sample extjs application:
- Sencha -sdk <path where sencha framework exists> generate app <App Name> <path where we want to copy the framework libs>. For example, sencha -sdk E:\Software\ext-5.1.1-commercial\ext-5.1.1 generate app SampleApplication E:\Project\webcontent\sampleapplication.
- Add folder name in 'index.html' before 'bootstrap.js'.
- Add 'indexhtmlpath' value i.e. '.../index.html'.
- Command for creating extjs production (compressed) build: Sencha app build production.
Sencha Project in Eclipse
Eclipse Project Structure:
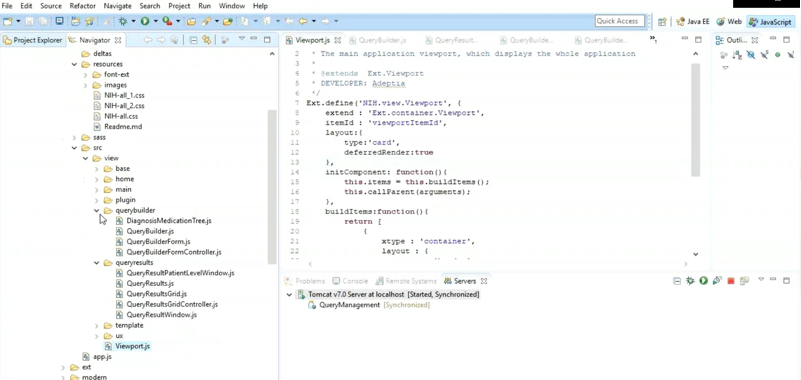
Eclipse Project Structure
Eclipse Project Structure for Query Builder Custom UI:
Backend Settings in Eclipse Project
Backend API settings for Query Builder:
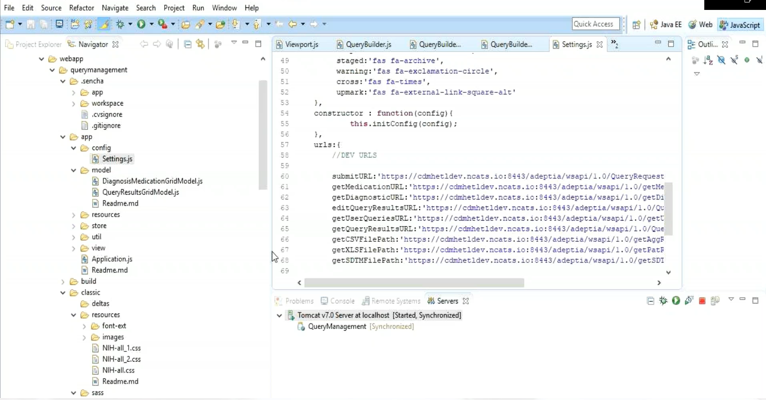
Custom UI Preview in Sencha Project
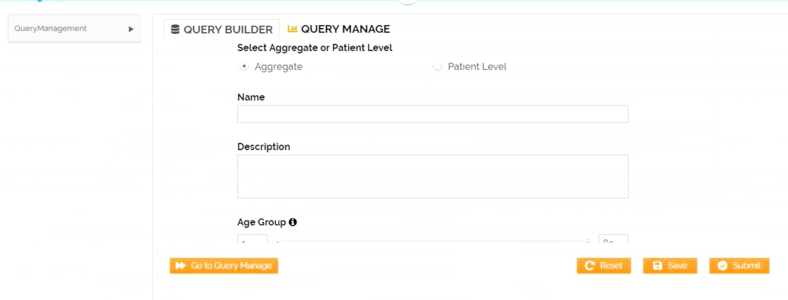
Query Builder UI:
Ensure User Context for API’s
-
User Credentials for API:
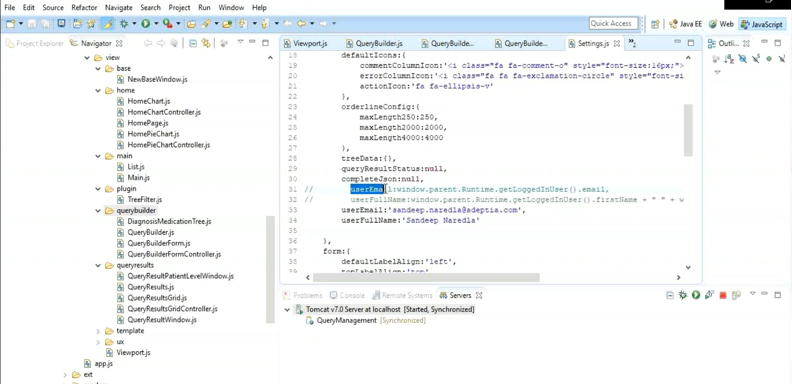
-
Run Time User Context
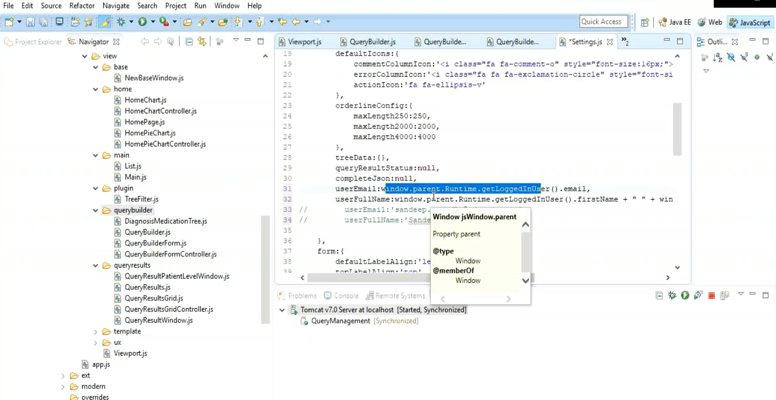
Query Builder Form
Form View for Query Builder:
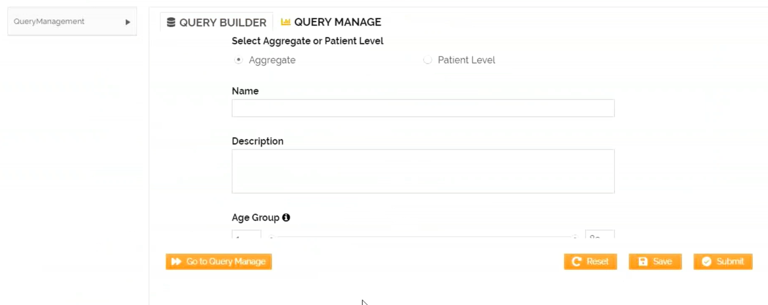
Custom Form View in Eclipse Project
Query Builder Form View:
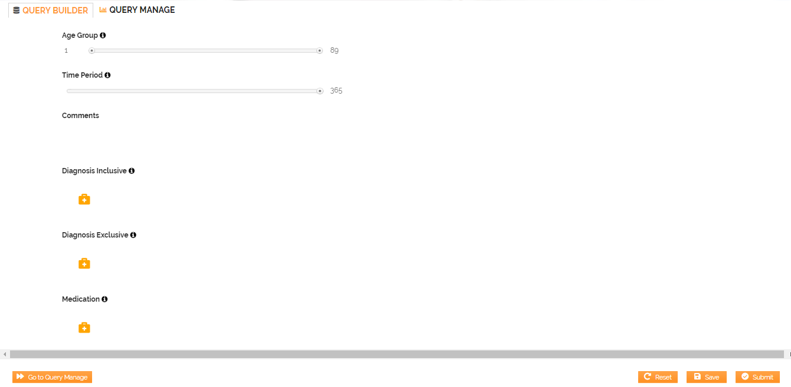
Create WebForm in Adeptia Connect
Follow these steps to create a Web Form in Adeptia Connect:
- Click Configure > Web Forms > CREATE Web Form.
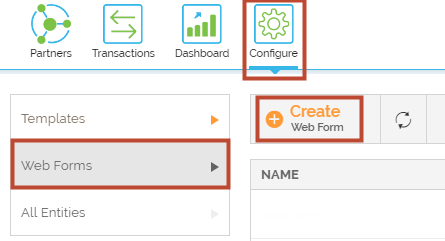
- On theCreate Web Form window:
-
- Provide a unique Web Form name and brief description.
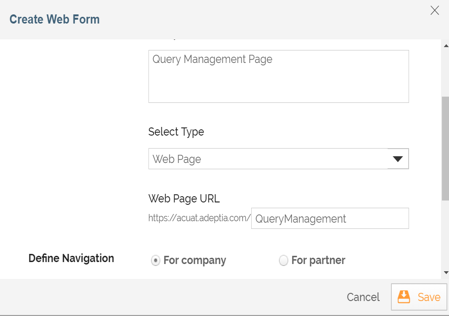
- Select the type of form you want to create from the Select Type - Web Page and Transaction/Template.
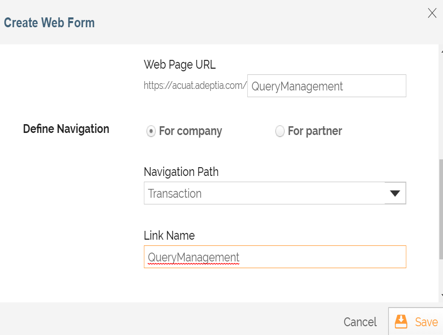
- Click Save to publish the Web Form in Connect.
- Select the type of form you want to create from the Select Type - Web Page and Transaction/Template.
- Provide a unique Web Form name and brief description.
Query Builder Usage in Adeptia Connect
- Building Query
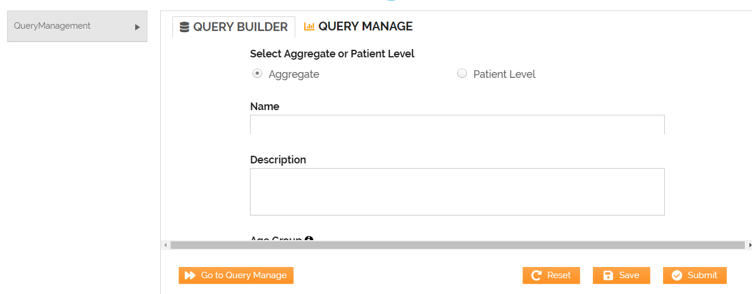
- Query Builder Form View
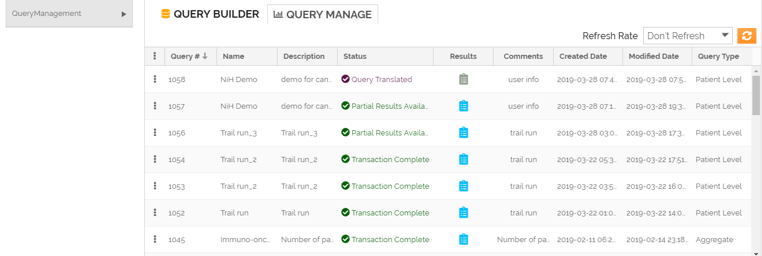
- Query Manage Page
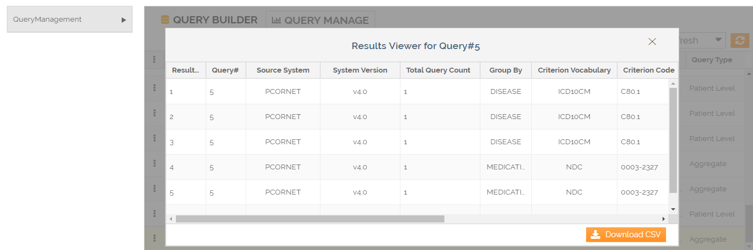
- Results Viewer
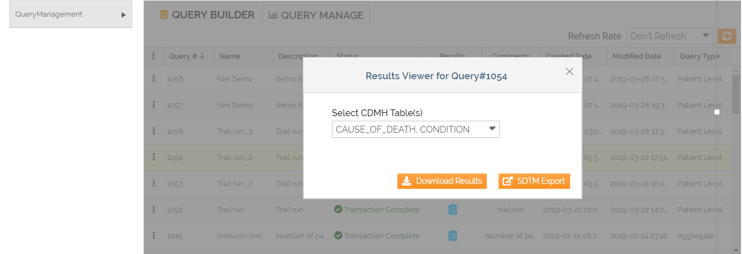
- Results Page